Orlando |
||||||||
|
|
|
|||||||
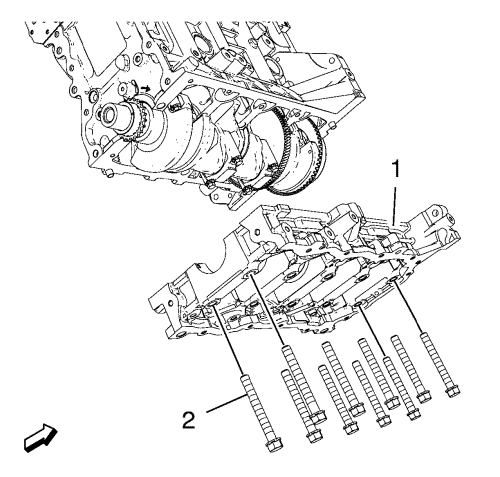
Note: The complete installation procedure of the lower crankcase should be done in 10 minutes.
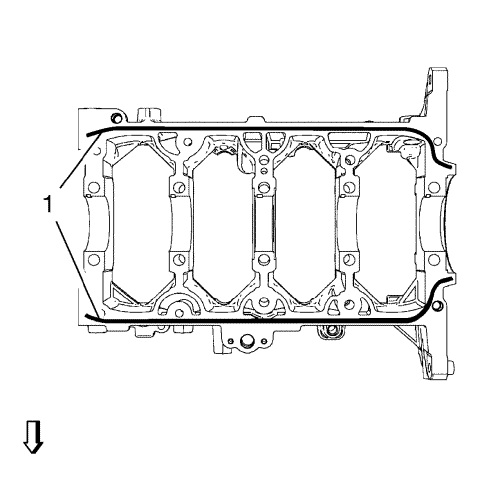
Note: Do not coat sealing compound on the crankcase bolt holes and threads.
Note: Do not tighten the bolts.
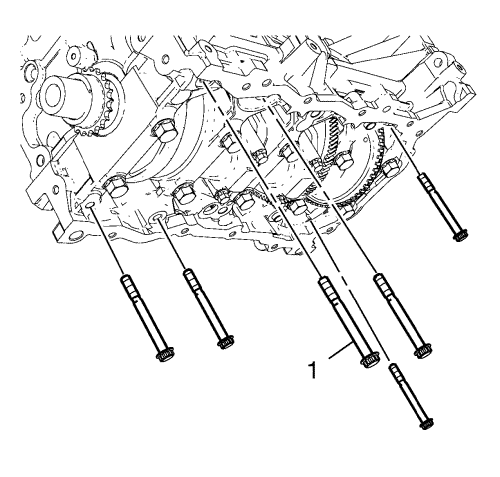
Caution: Refer to Fastener Caution in the Preface section.
Caution: Refer to Torque-to-Yield Fastener Caution in the Preface section.
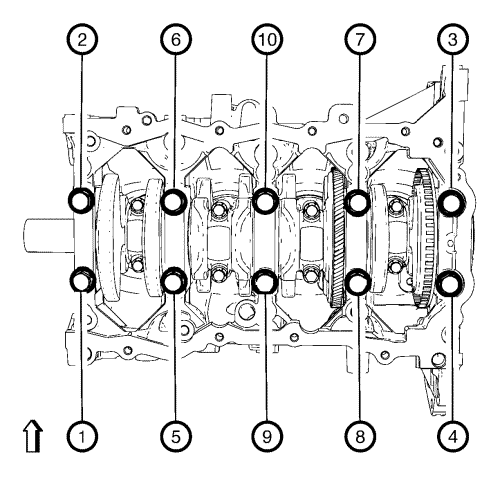
| 5.1. | First Step: Tighten the 10 lower crankcase bolts to 55 N·m (41 lb ft). |
| 5.2. | Second Step: Tighten the 10 lower crankcase bolts 120°. |
| © Copyright Chevrolet. All rights reserved |
| © Copyright Chevrolet. All rights reserved |


