Control Valve Body Assemble
Note:
• | Be careful not to drop or lose the oil filter. |
• | Apply automatic transmission fluid (ATF) to all of the components. |
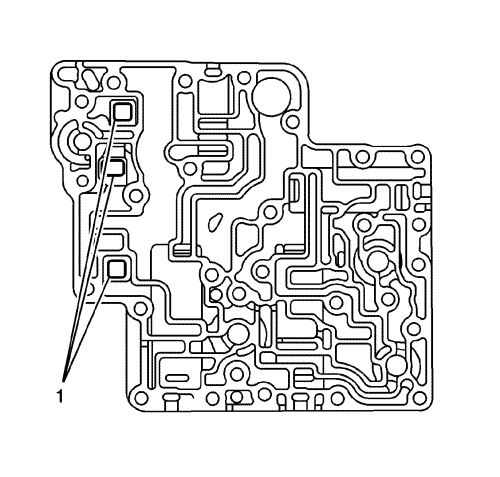
- Apply ATF to the oil filter (1) and install it in the lower control valve body.
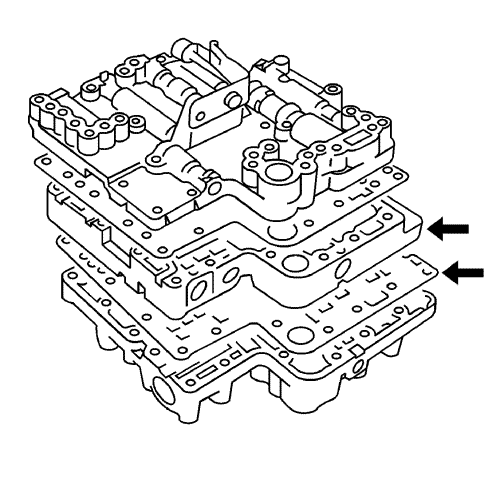
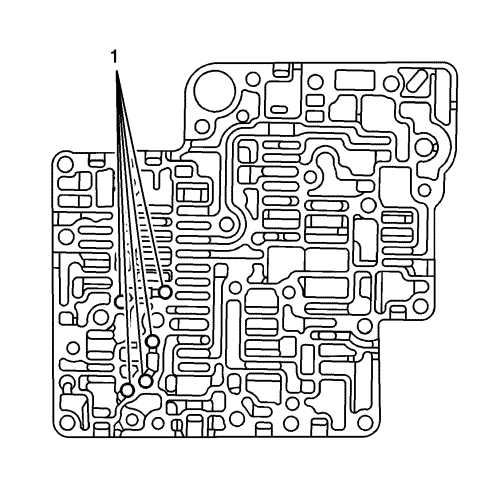
- Apply ATF to the steel ball (1) and the new separator plate B. Then install these items in the lower side of the control valve centre body.
- Install the control valve centre body and the separator plate B as an assembly in the lower control valve body.
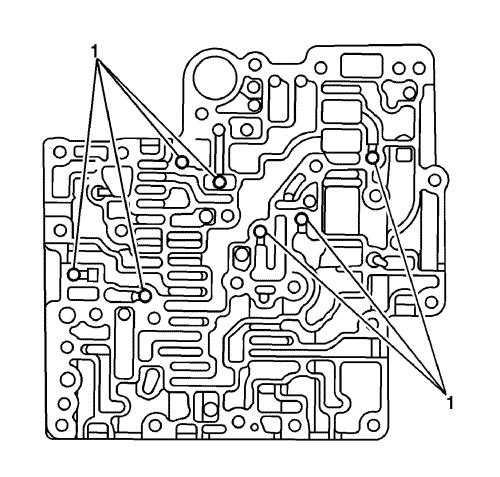
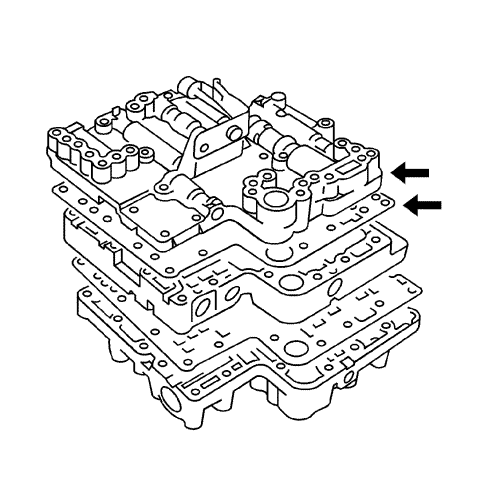
- Apply ATF to the steel balls (1) and the new separator plate. Then install these items in the upper control valve body.
- Install the upper control valve body and the separator plate as an assembly in the upper side of the control valve centre body.
Caution: Refer to Fastener Caution in the Preface section.
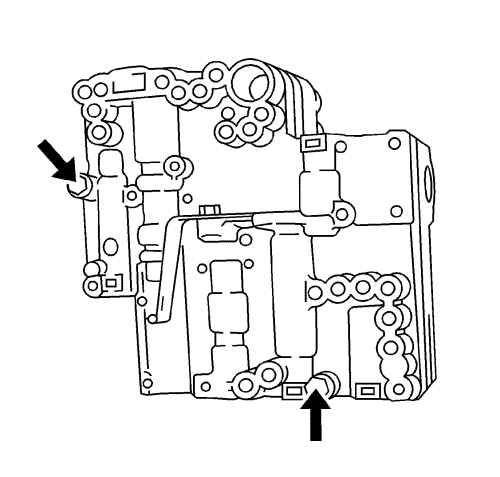
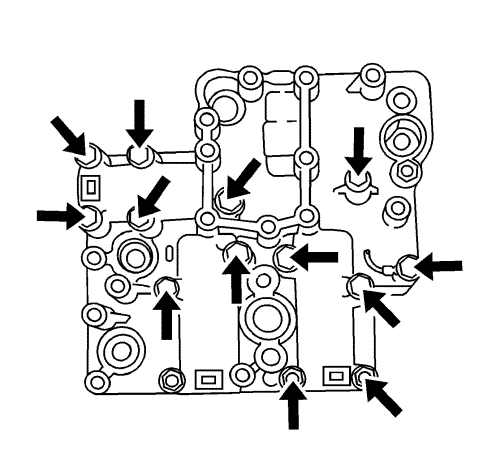
- With the upper control valve body facing upward, tighten the bolt and the nut to 8 N·m (71 lb in).
- Tighten the bolts on the side of the lower control valve body to 8 N·m (71 lb in).
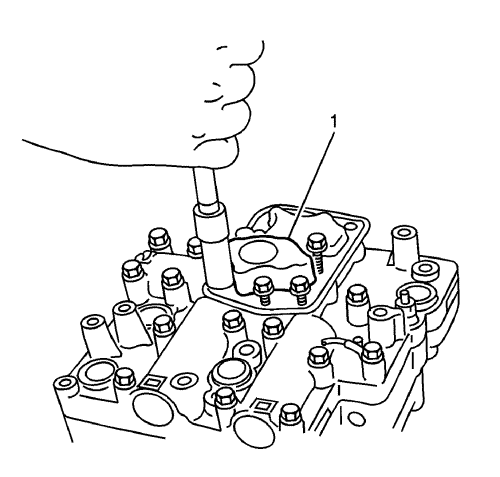
- Install the oil strainer (1) in the lower control valve body, install the bolts and tighten to 8 N·m (71 lb in).
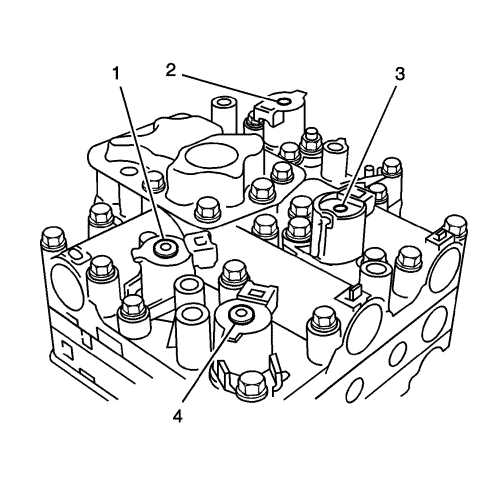
- Install the 1-2 shift solenoid valve (1), the 2-3 shift solenoid valve (4), the pressure control solenoid valve (3) and torque converter clutch solenoid valve (2) in the lower control valve body and tighten to 8 N·m (71 lb in).
© Copyright Chevrolet. All rights reserved |