Fuel Tank Replacement
Removal Procedure
- Open the bonnet.
Warning: Refer to Battery Disconnect Warning in the Preface section.
- Disconnect the negative battery cable. Refer to Battery Negative Cable Disconnection and Connection .
- Drain the fuel tank.

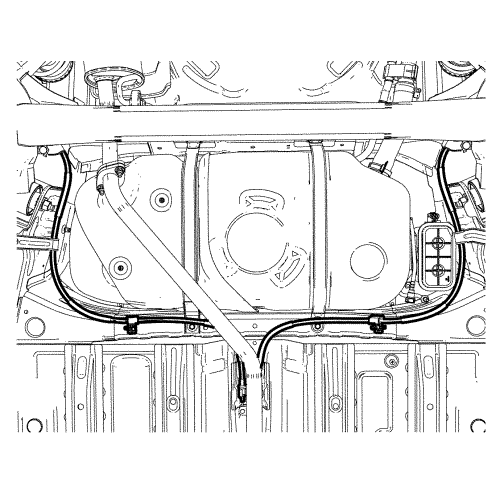
- If needed, remove the parking brake cable retaining clamp and set it away from the path.
Warning: Refer to Fuel Vapors in Evaporative Emission Components Warning in the Preface section.

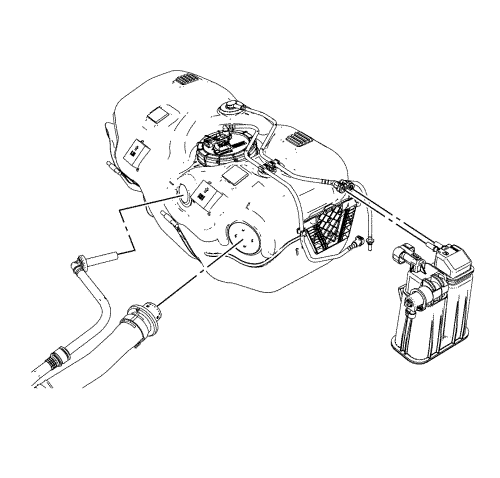
- Disconnect the fuel tank filler tube, EVAP bent tube and EVAP line from the fuel tank.
- Disconnect the fuel supply line and wiring harness connector from the fuel pump. Refer to Fuel Pump Replacement .
- If needed, disconnect the fuel supply line and wiring harness in the right side of the fuel tank.

- Remove the exhaust pipe. Refer to Exhaust Pipe Replacement .
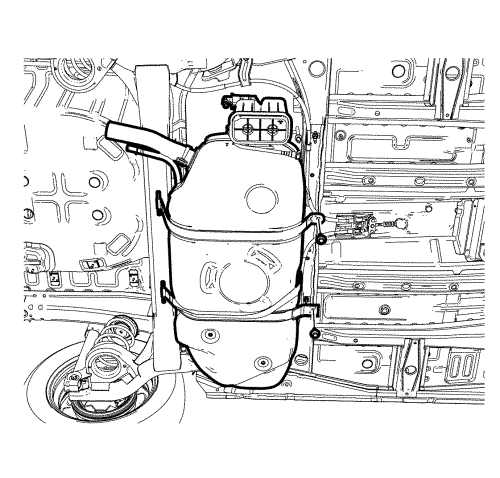
- Place a suitable jack under the fuel tank.
- Remove the 2 fuel tank strap bolts.
- Remove the 2 fuel tank straps.
- Lower the vehicle. Refer to Lifting and Jacking the Vehicle .
Installation Procedure

- Raise the jack.
- Install the fuel tank.
- Install the 2 fuel tank straps.
Caution: Refer to Fastener Caution in the Preface section.
- Install the 2 fuel tank strap bolts and tighten to 20 N·m (14.8 lb ft).

- Connect the fuel supply line.
- Connect the fuel filler tube to the fuel tank.
- Connect the EVAP bent tube and EVAP line.
- Install the parking brake cable retainer.
- Install the exhaust pipe. Refer to Exhaust Pipe Replacement .
- Connect the fuel supply line and wiring harness connector to the fuel pump. Refer to Fuel Pump Replacement .
- Connect the negative battery cable. Refer to Battery Negative Cable Disconnection and Connection .
- Fill with fuel and check the fuel leakage of the fuel connection line.
- Close the bonnet.
| © Copyright Chevrolet. All rights reserved |


