Rear Window Replacement
Special Tools
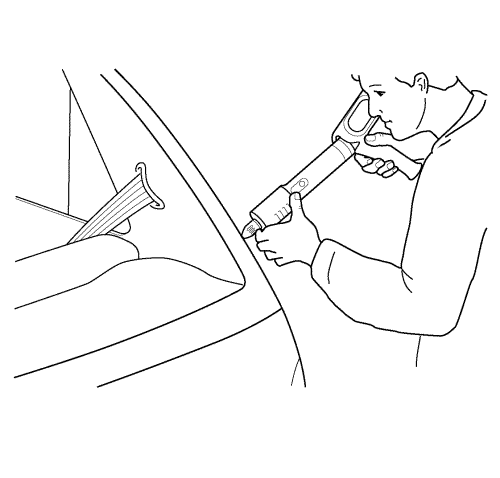
J-24402 Glass Sealant Remover
Removal Procedure
Warning: Refer to Defroster Outlet Warning in the Preface section.
- Disconnect the negative battery cable.
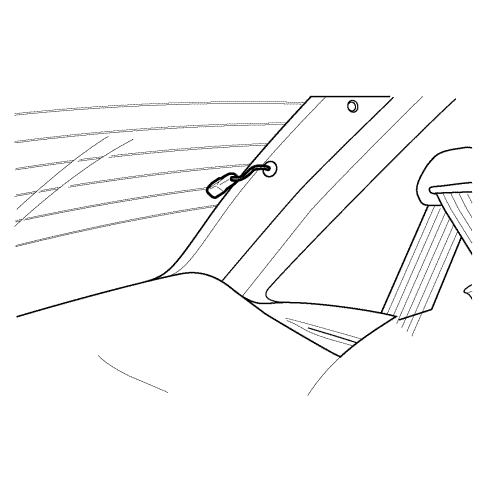
- Disconnect the rear window demister electrical connectors.
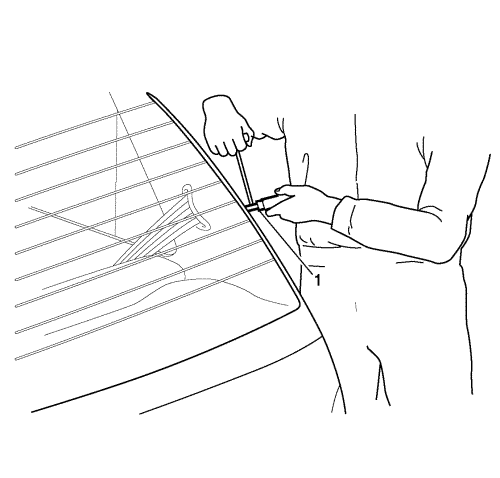
- Using the J-24402 glass sealant remover (1), cut the adhesive around the rear window glass.
- Remove the rear window glass from the vehicle.
- Using a knife, remove the adhesive from the rear window glass.
Installation Procedure
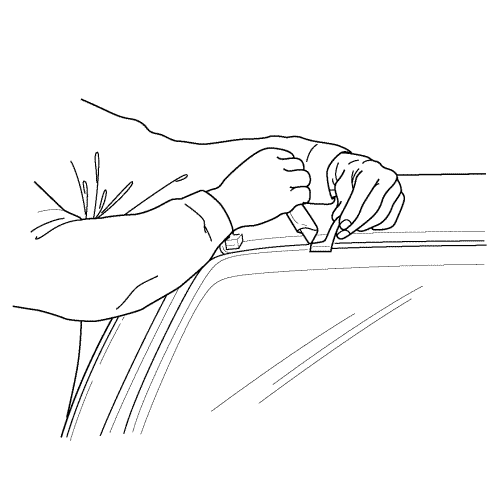
- Apply tape to the new weatherstrip and the rear window to hold the weatherstrip in place.
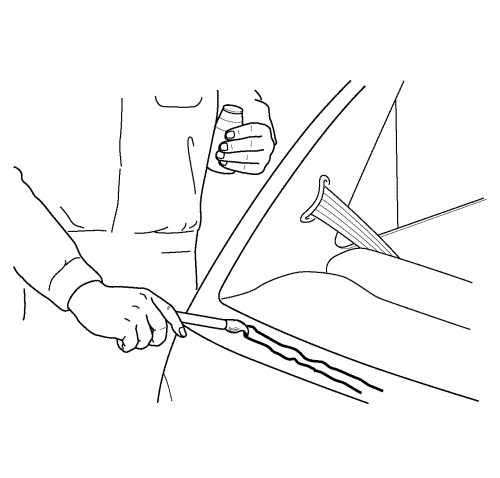
- Apply adhesive primer to the rear window frame and the perimeter of the rear window.
Warning: Insufficient curing of urethane adhesive may allow unrestrained occupants to be ejected from the vehicle resulting in personal injury.| • | For the moisture-curing type of urethane adhesive, allow a minimum of 6 hours at 21°C (70°F) or greater and with at least 30 percent relative humidity. Allow at least 24 hours for the complete curing of the urethane adhesive. |
| • | For the chemical-curing type of urethane adhesive, allow a minimum of 1 hour . |
- Apply glass adhesive to the rear window frame.
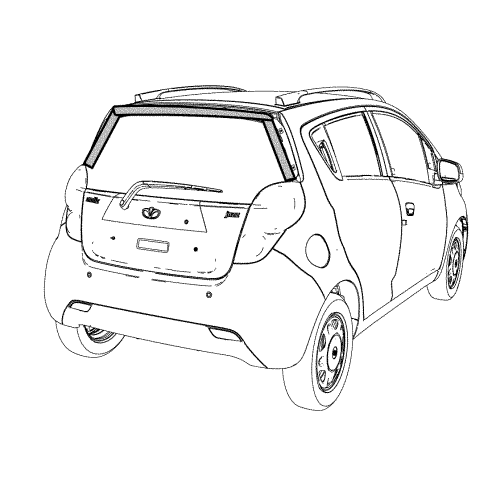
- Install the rear window into the rear window frame.
- Reposition the tape over the weatherstrip, the rear window and the rear window frame to hold the rear window in place.
- Let the adhesive dry for 24 hours.
- Remove the tape.
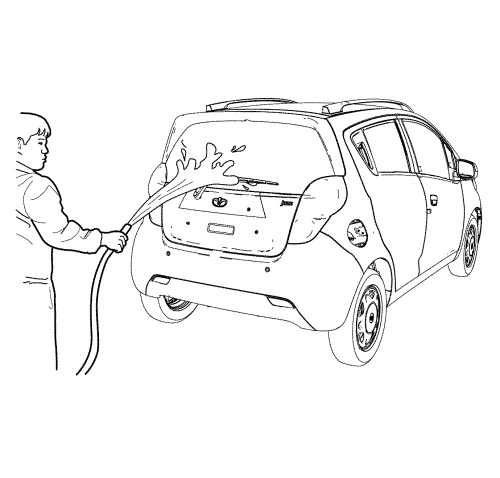
- Inspect for water leaks by pouring water on the rear window. If a leak is found, dry the window and fill the area that leaks with adhesive. If the leak persists, remove the rear window and repeat the entire procedure.
- Connect the rear window demister electrical connector.
- Connect the negative battery cable.
| © Copyright Chevrolet. All rights reserved |


