Plastic Collar Quick Connect Fitting Service
Removal Procedure
Warning: Refer to Petrol/Petrol Vapours Warning in the Preface section.
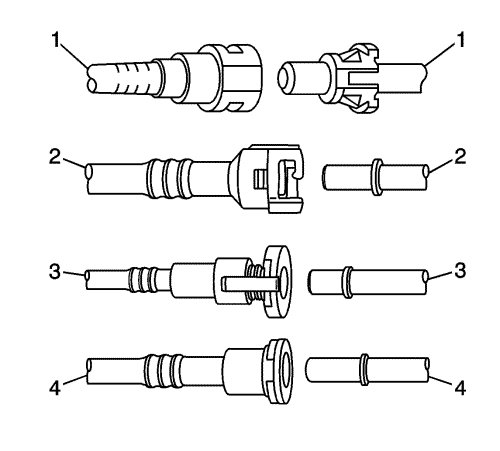
Note: There are several types of plastic collar fuel and evaporative emission quick connect fittings used on this vehicle.
- Relieve the fuel system pressure. Refer to Fuel Pressure Relief .
Warning: Refer to Safety Glasses Warning in the Preface section.
Caution: Refer to Fuel and Evaporative Emission Hose/Pipe Connection Cleaning Caution in the Preface section.
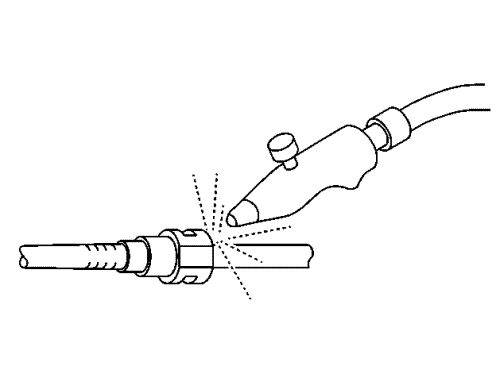
- Using compressed air, blow any dirt out of the quick-connect fitting.
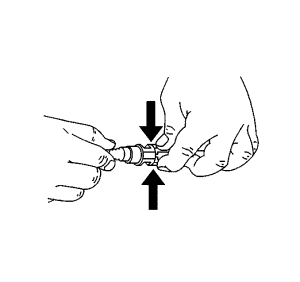
- This step applies to Bartholomew style connectors ONLY. Squeeze the plastic quick connect fitting release tabs.
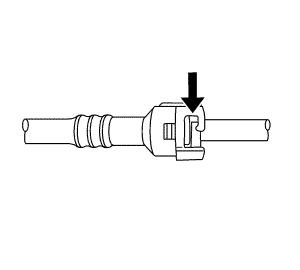
- This step applies to Q Release style connectors ONLY. Release the fitting by pushing the tab toward the other side of the slot in the fitting.
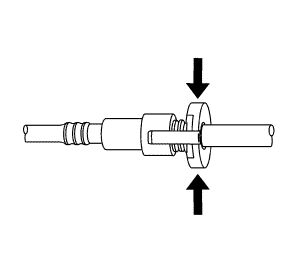
- This step applies to Squeeze to Release style connectors ONLY. Squeeze where indicated by arrows on both sides of the plastic ring surrounding the quick connect fitting.
Warning: Refer to Relieving Fuel Pressure Warning in the Preface section.
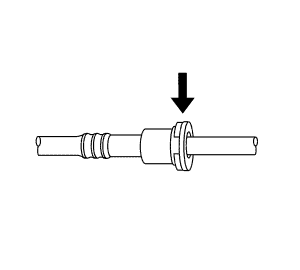
- This step applies to Sliding Retainer style connectors ONLY. Release the fitting by pressing on one side of the release tab causing it to push in slightly. If the tab doesn't move try pressing the tab in from the opposite side. The tab will only move in one direction.
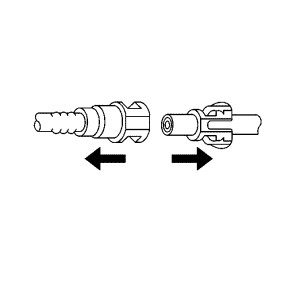
- Pull the connection apart.
Installation Procedure
Warning: Refer to Fuel Pipe Fitting Warning in the Preface section.
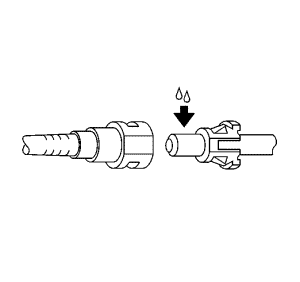
- Apply a few drops of clean engine oil to the male connection end.
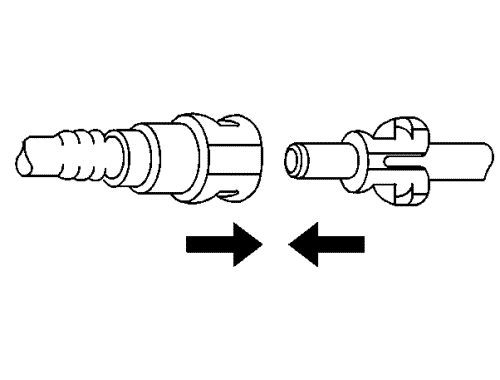
- Push both sides of the quick-connect fitting together in order to cause the retaining feature to snap into place.
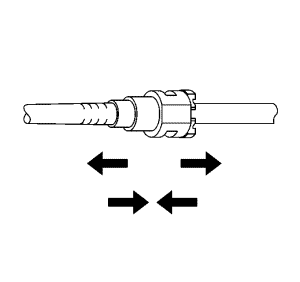
- Once installed, pull on both sides of the quick-connect fitting in order to make sure the connection is secure.
| © Copyright Chevrolet. All rights reserved |
| © Copyright Chevrolet. All rights reserved |


