Air Conditioning Clutch Replacement
Special Tools
| • | CH-50198 Clutch Plate Holder |
| • | GE-39400-A Halogen Leak Detector |
For equivalent regional tools, refer to Special Tools .
Removal Procedure
- Remove the compressor. Refer to Air Conditioning Compressor Replacement .
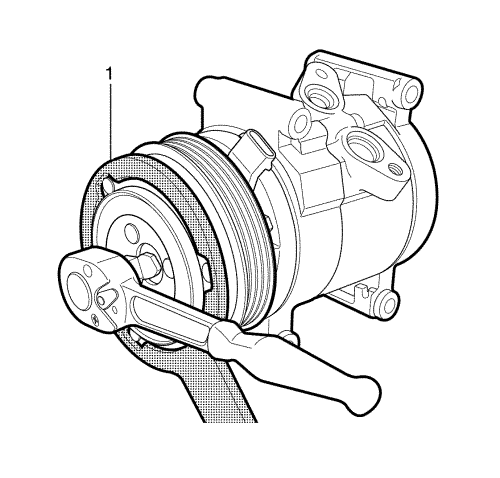
- Use the CH-50198 holder (1) to stop the compressor clutch plate from turning.
- Remove the compressor clutch plate bolt from the compressor.
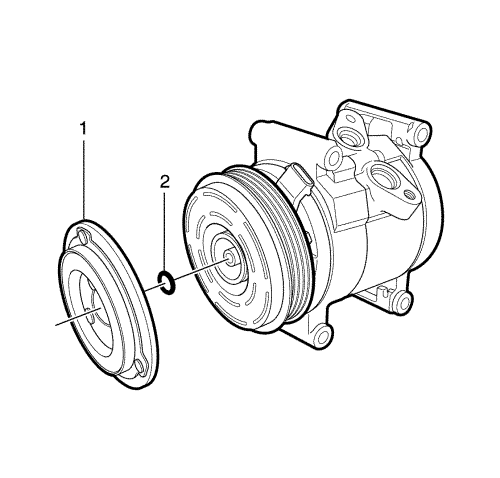
- Remove the compressor clutch plate (1) and air gap shim (2) from the compressor.
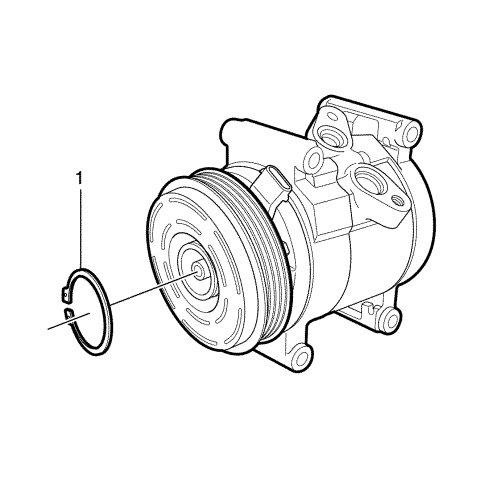
- Remove the compressor pulley circlip (1) using a ring pryer.
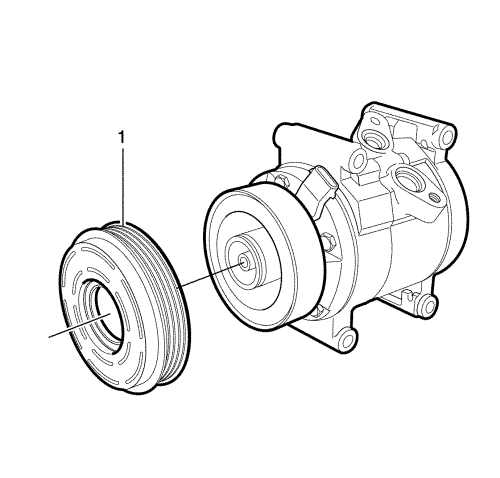
- Remove the compressor pulley (1) from the compressor.
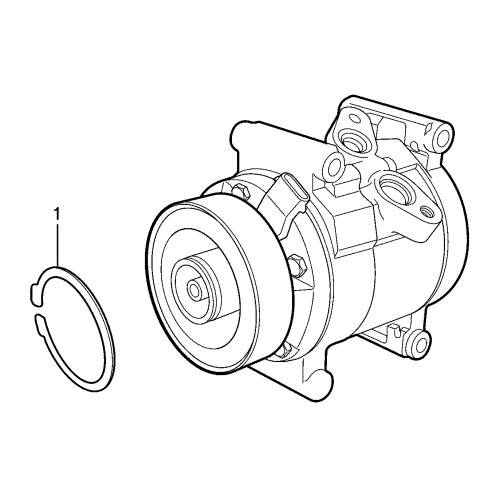
- Remove the compressor clutch coil circlip (1) using a ring pryer.
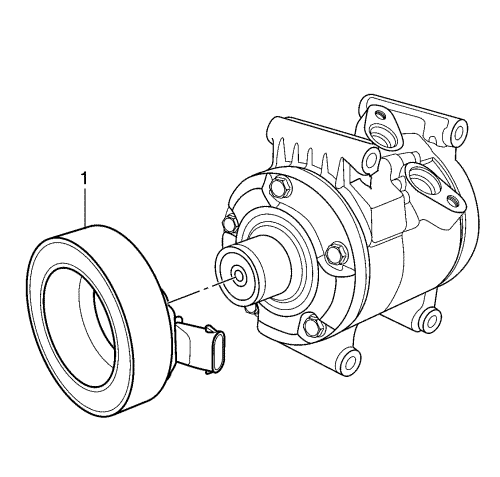
- Remove the compressor clutch coil (1) from the compressor.
Installation Procedure

- Install the compressor clutch coil (1) to the compressor.

- Install the compressor clutch coil circlip (1) using a ring pryer.

- Install the compressor pulley (1) to the compressor.

- Install the compressor pulley circlip (1) using a ring pryer.

- Install the compressor clutch plate (1) and air gap shim (2) to the compressor.
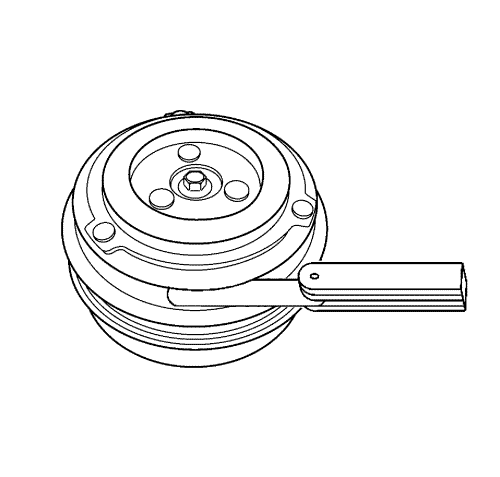
- Measure the air gap between the pulley and the drive plate. Adjust the shims to achieve a 0.3-0.6 mm (0.012-0.024 in) air gap.

- Use the CH-50198 holder (1) to stop the compressor clutch plate from turning.
Caution: Refer to Fastener Caution in the Preface section.
- Install the compressor clutch plate bolt and tighten to 14 N·m (10 lb ft).
- Install the compressor. Refer to Air Conditioning Compressor Replacement .
- Leak test the fittings using the GE 39400-A detector.
| © Copyright Chevrolet. All rights reserved |


