Oil Pump Housing Removal
Special Tools
| • | EN-662-C Holding Spanner |
| • | EN-50515 Fixing Tool Camshaft |
| • | EN-50516 Fixing Tool Crankshaft |
| • | EN-50519 Fixing Tool Balance Shaft Driven Gear |
For equivalent regional tools, refer to Special Tools .
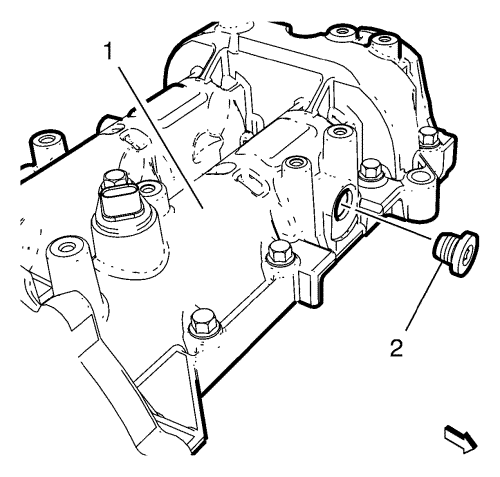
- Remove the cylinder head core hole plug exhaust side (2) from the camshaft housing (1).
- Clean the threads of the cylinder head core hole plug and the camshaft housing.
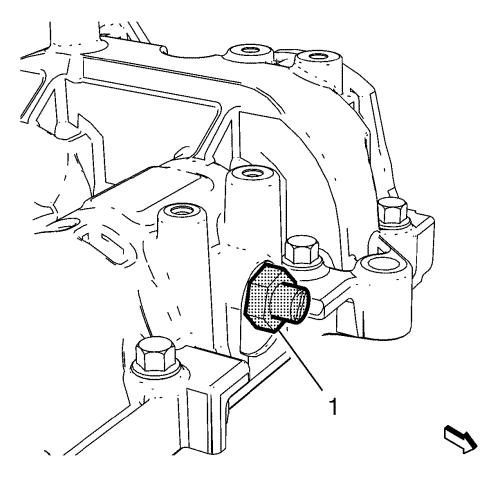
- Install the EN-50515 fixing tool (1) on exhaust side.
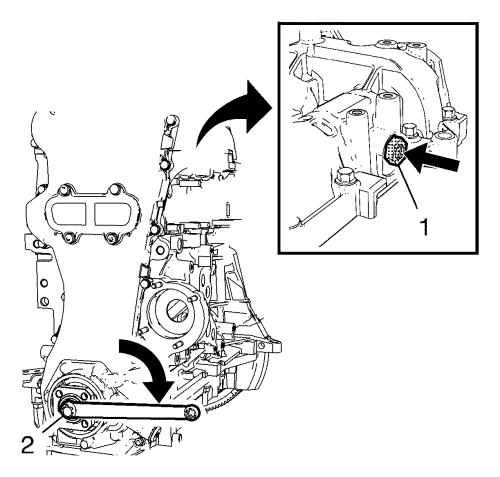
- Apply pressure at EN-50515 fixing tool (arrow) and carefully turn the crankshaft at the crankshaft sprocket bolt (2) in the direction of engine rotation (arrow), until EN-50515 fixing tool (1) engages in the exhaust camshaft.
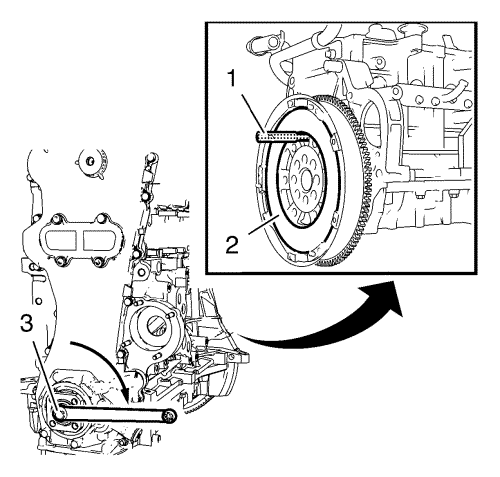
Note: If the EN-50516 fixing tool (1) does not engage with the hole at flywheel (2) and engine block, turn the crankshaft at crankshaft sprocket bolt (3) a little out of position.
- Install the EN-50516 fixing tool (1).
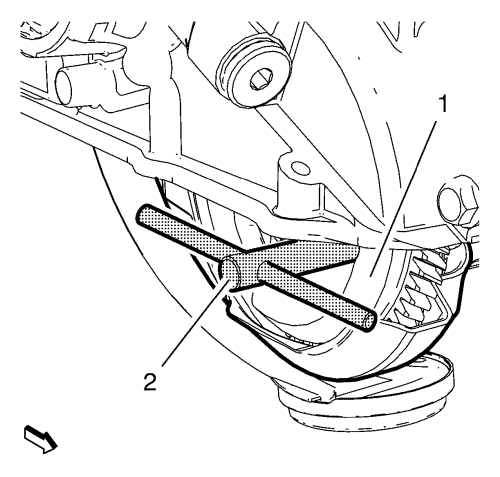
- Install the EN-50519 fixing tool (2) to the balance shaft driven gear (1).
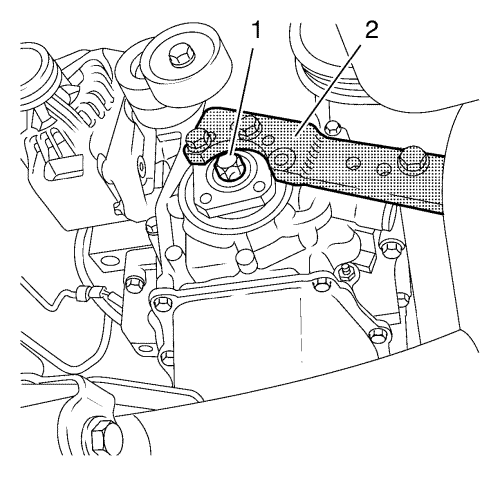
- Install the EN-662-C holding wrench (2).
- Install 2 bolts.
- Loosen the crankshaft sprocket bolt (1)
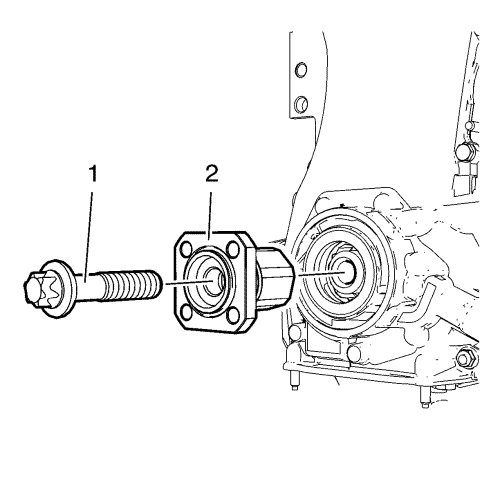
- Remove the crankshaft sprocket bolt. (1)
- Remove the flange (2).
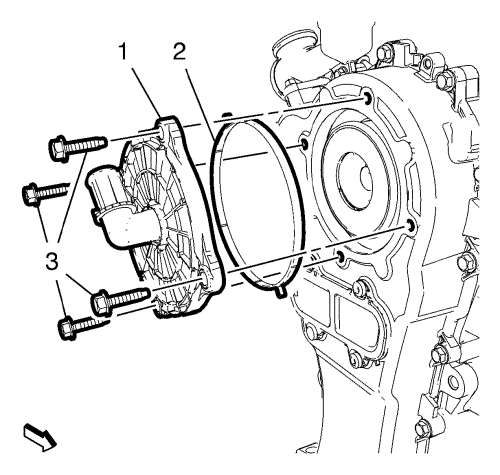
- Remove the 4 positive crankcase ventilation cover bolts (3).
- Remove the positive crankcase ventilation cover (1).
- Remove the positive crankcase ventilation cover gasket (2).
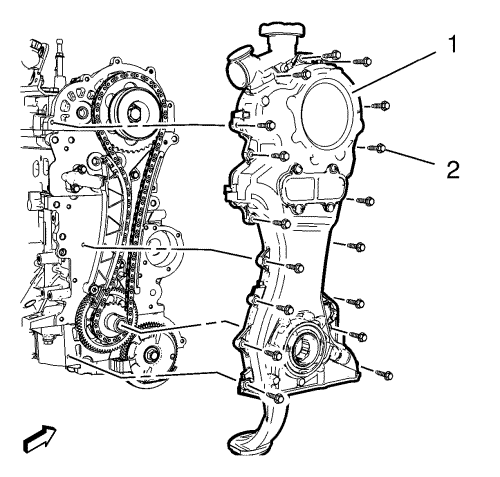
- Remove the 17 oil pump housing bolts (2).
Note: Carefully detach the oil pump housing (1) from the engine block, using a suitable tool. Do not damage the sealing surfaces.
- Remove the oil pump housing assembly (1).
| © Copyright Chevrolet. All rights reserved |


