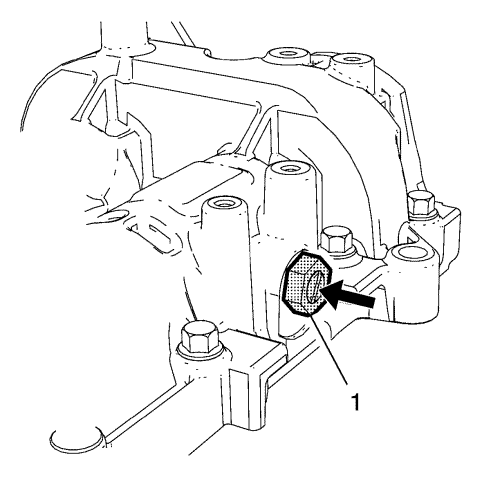
- Ensure that the EN-50515 fixing tool (1) is already installed at the exhaust side and engages in the exhaust camshaft.
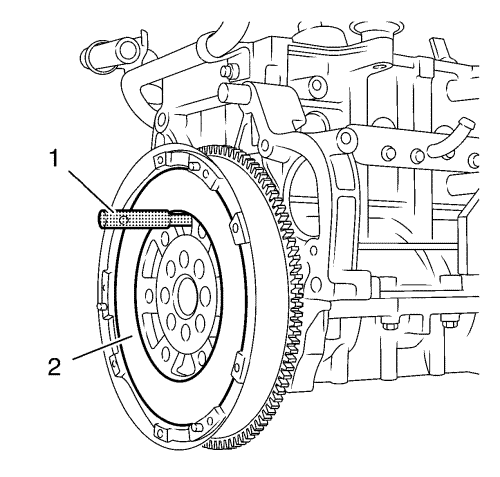
- Ensure that the EN-50516 fixing tool (1) is already installed and engage at the flywheel (2) and at the cylinder block.
Note: All sealing and gasket mating surfaces are to be free of oil and foreign material.
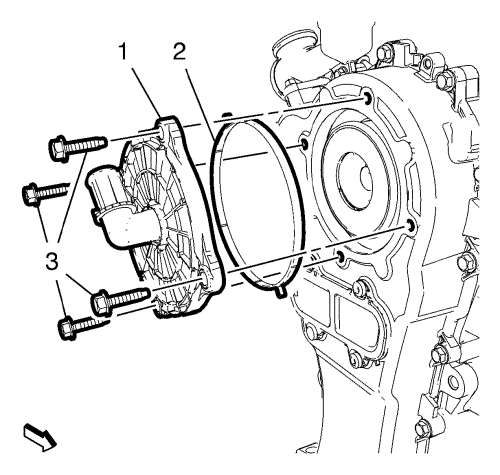
- Clean the sealing surfaces at engine and oil pump housing.
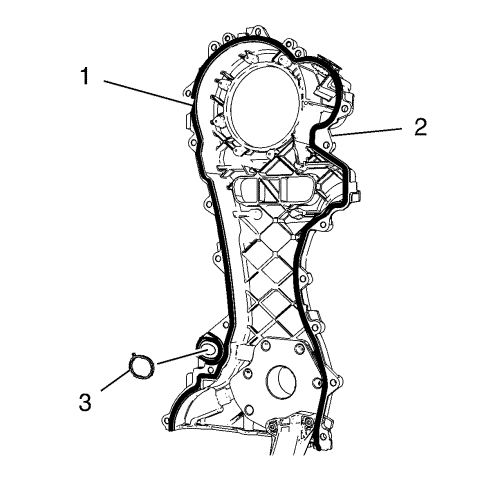
- Install the NEW oil pump housing gasket (3).
Note: Assemble the oil pump housing no later than 3 minutes from the application of the sealers.
- Apply a silicone sealing compound (1) to the oil pump housing (2) with a sealing bed width of 3 mm (0.1181 in) and a bed height of 2 mm (0.0787 in).
- Install the oil pump housing (2) with the EN-46775 centring tool (1).
Caution: Refer to Fastener Caution in the Preface section.
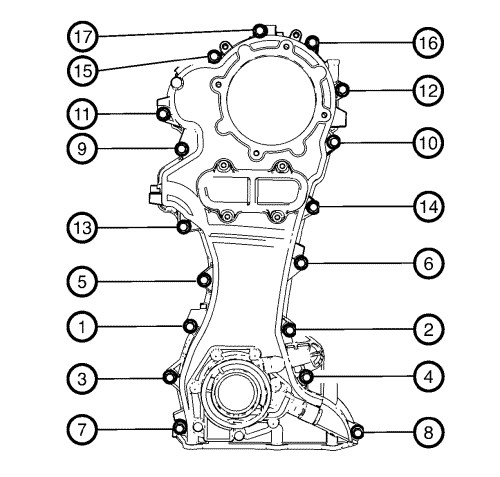
- Tighten the 17 oil pump housing bolts in sequence as shown:
| 7.1. | In first step and in sequence as shown, tighten to 4 N·m (35 lb in). |
| 7.2. | In second step and in sequence as shown, tighten to 10 N·m (89 lb in). |
- Remove the EN-46775 centring tool .
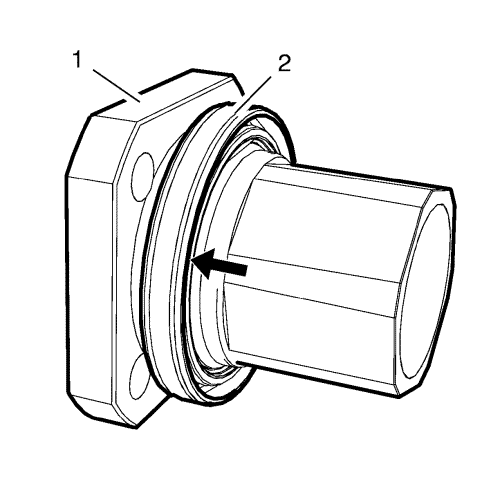
Note: Slide the oil pump seal over the flange sealing surface (arrow).
- Install the oil pump seal (2) to the flange (1).
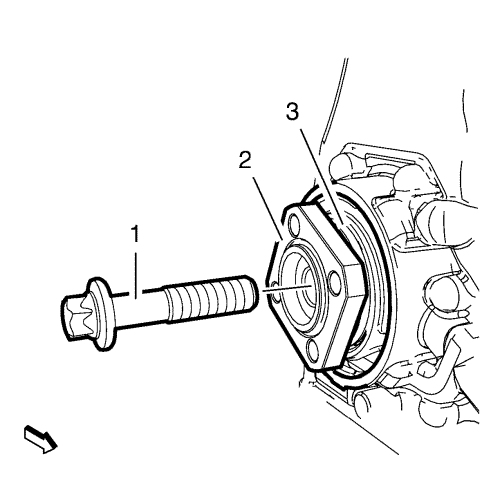
- Position the flange (2) with the oil pump seal (3) to the crankshaft.
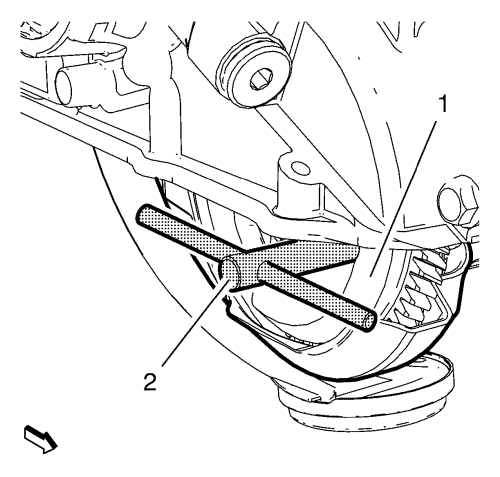
- Tighten carefully the flange bolt (1) to limit stop.
- Remove the flange bolt (1).
- Remove the flange (2).
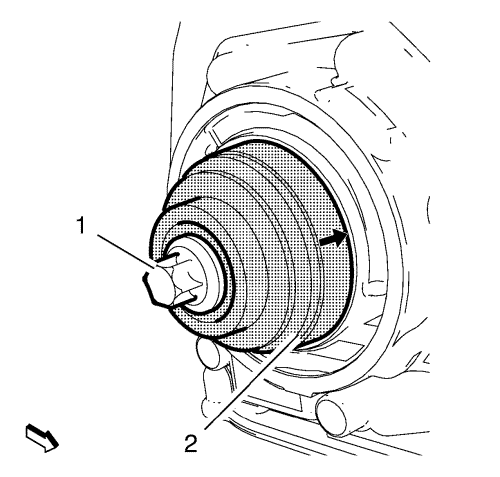
- Position the EN-46775 centring tool (2) with the plane surface onto the oil pump housing.
- Tighten carefully the flange bolt (1) until the EN-46775 centring tool (2) flush with oil pump housing (arrow).
- Remove flange bolt EN-46775 centring toolEN-46775 centring tool (2).
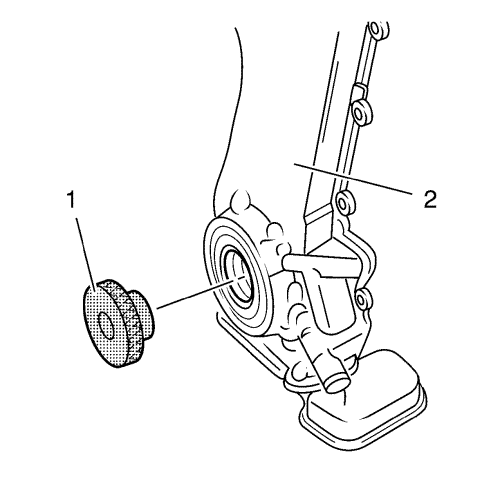
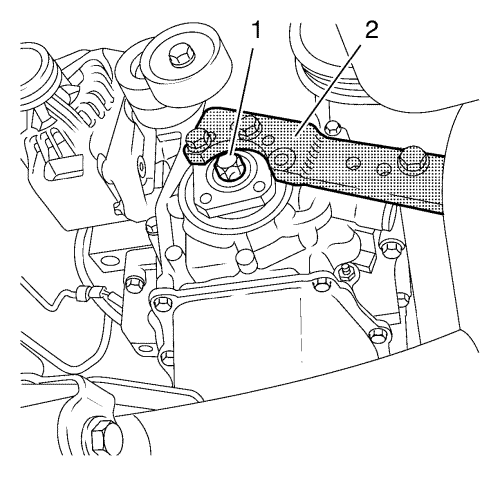
- Install the EN-50519 fixing tool (2) to balance shaft driven gear (1).
Note: Mind the left-hand thread.
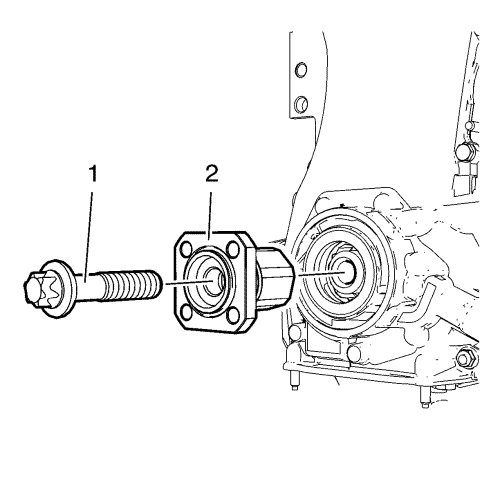
- Install the flange (2).
- Loosely install a NEW crankshaft sprocket bolt (1).
- Install the EN-662-C wrench (2).
- Install the 2 bolts.
Caution: Refer to Torque-to-Yield Fastener Caution in the Preface section.
- Tighten the NEW crankshaft sprocket bolt (1) to 50 N·m (37 lb ft).
- Tighten the crankshaft sprocket bolt to additional 90°, use the EN-470-B torque wrench .
- Remove the EN-50515 fixing tool (1).
- Remove the EN-50516 fixing tool (1).
- Inspect the camshaft timing chain. Refer to Camshaft Timing Chain Inspection .
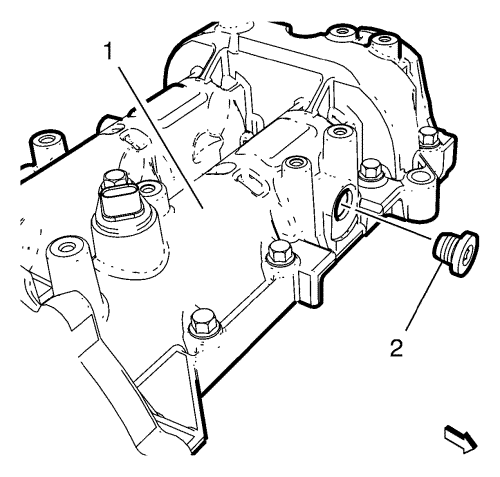
- Clean the threads from cylinder head core hole plug and camshaft housing.
- Install the cylinder head core hole plug exhaust side (2) to the camshaft housing (1) and tighten to 25 N·m (18 lb ft).
- Install the positive crankcase ventilation cover gasket (2).
- Install the positive crankcase ventilation cover (1).
- Install the 4 positive crankcase ventilation cover bolts (3) and tighten in a cross sequence to 10 N·m (89 lb in).


