Rear Axle Upper Control Arm Replacement
Removal Procedure
- Raise and support the vehicle. Refer to Lifting and Jacking the Vehicle .

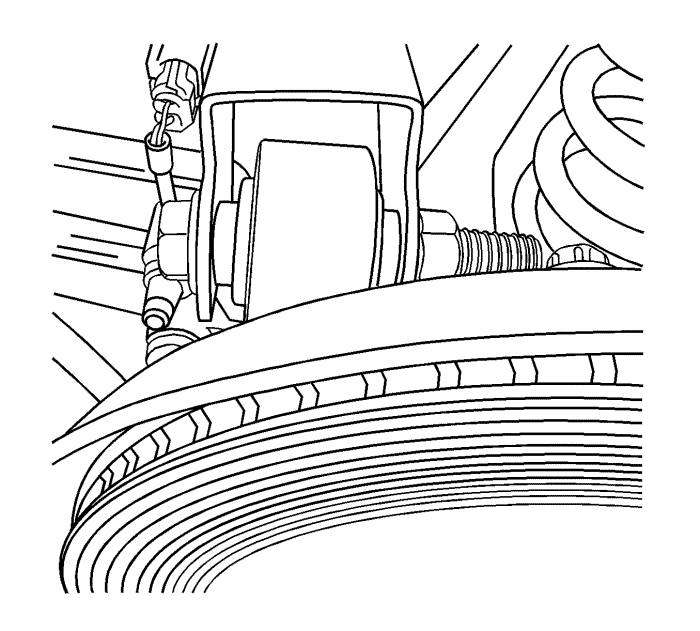
- If equipped, remove the antilock brake system (ABS) brake harness from the upper control arm.
- Remove the upper control arm to knuckle nut and bolt.
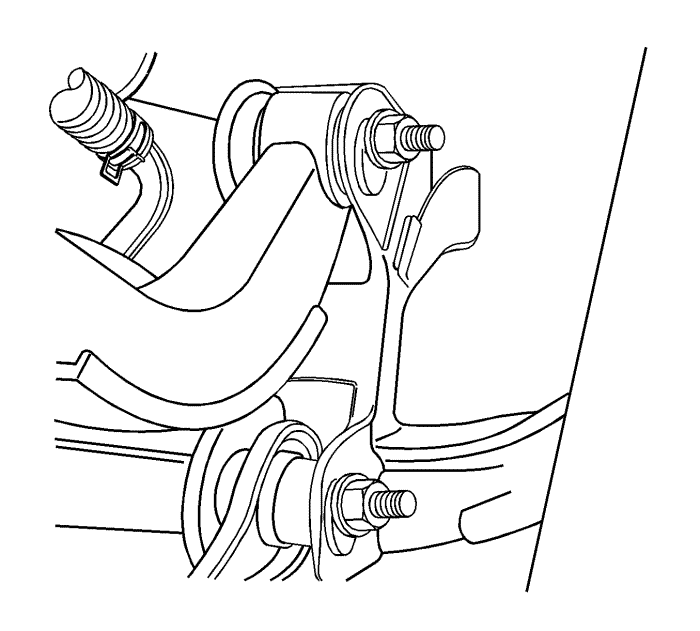
Note: The upper control arm and support frame fastener consists of a cam-type bolt, cam-type washer, washer and nut. Before removing this fastener, mark the original position on the cam of bolt and support frame.

- Remove the upper control arm to support frame bolt and nut.
- Remove the upper control arm.
Installation Procedure

- Install the upper control arm to the knuckle.
Note: Do not tighten the nut or the bolt yet.
- Loosely install the upper control arm to knuckle nut and bolt.

Note: Do not tighten the bolt or the nut yet.
- Install the upper control arm to support frame bolt and nut.
Caution: Refer to Fastener Caution in the Preface section.
- Tighten the upper control arm to knuckle nut and bolt and tighten to 160 N·m (118 lb ft).
- Align the mark on the cam of upper control arm to support frame bolt to the mark on the support frame.
- Tighten the upper control arm to support frame bolt and tighten to 100 Nm (74 lb ft).
- If equipped, install the ABS harness to the upper control arm.
- Push the trailing arm upward in order to align the front bracket to body bolt.
- Lower the vehicle.
- Measure the wheel alignment. Refer to Wheel Alignment Specifications .
- Correct the wheel alignment of the vehicle, if necessary. Refer to Rear Camber Adjustment and Rear Toe Adjustment.
| © Copyright Chevrolet. All rights reserved |


