1
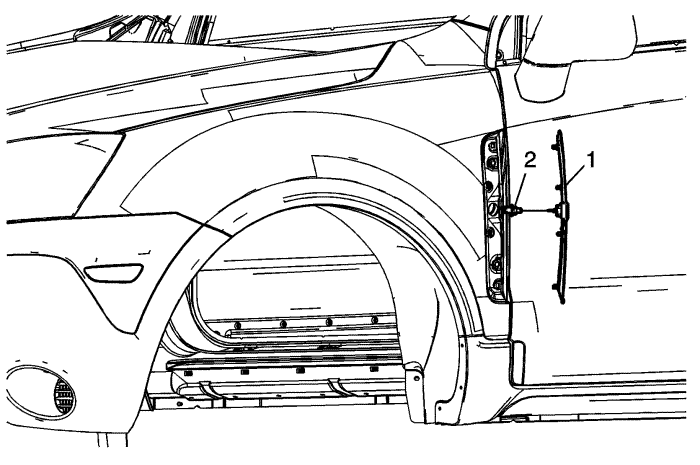
| Front Wing Centre Moulding Assembly
Procedure
- Open the door on the side the front wing moulding is being serviced from.
- Working from inside the hinge pillar area, insert a small 8 mm socket on a ratchet over the plastic retainer clips to release the pressure.
- Begin releasing the retainers at the bottom of the moulding and work towards the top.
- When the first lower retainer clip is released, insert a small plastic flat-bladed tool between the exterior body panel and the moulding assembly to prevent the retainer from re-engaging back into the wing panel hole.
- Disconnect the electrical harness connector from the lamp housing.
- Connect the electrical harness lamp socket to the lamp housing.
- Position the moulding retainers to the wing holes.
- Using the palm portion of the hand, secure the retainers to the wing holes.
- An light audible click will be heard when each retainer is secure to the wing panel.
|