To the top of the document
Captiva
   
GMDE Start Page Load static TOC Load dynamic TOC Help?

Air Conditioning System Seal Replacement

Removal Procedure


    818438
  1. Remove the seal washer from the A/C refrigerant component.
  2. Inspect the seal washer for any signs of damage.
  3. Inspect the A/C refrigerant components for damage or burrs. Repair or replace as necessary.
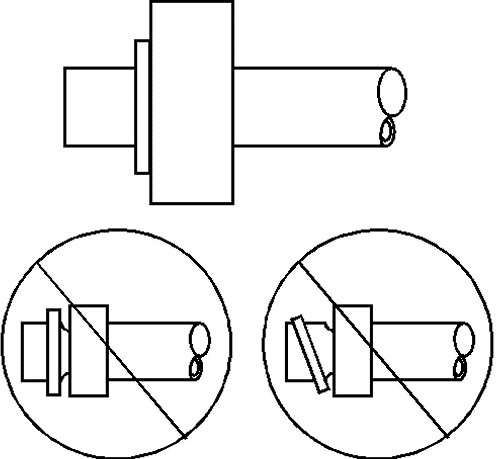
  4. Note: DO NOT reuse sealing washer.

  5. Discard the sealing washer.

Installation Procedure

    Note: Flat washer type seals do not require lubrication.

  1. Inspect the new seal washer for any signs of cracks, cuts, or damage.
  2. Do not use a damaged seal washer.


    818438
  3. Using a lint-free clean, dry cloth, clean the sealing surfaces of the A/C refrigerant components.
  4. Carefully install the new seal washer onto the A/C refrigerant component.
  5. The washer must completely bottom against the surface of the fitting.
  6. Note: After tightening the A/C components, there should be a slight sealing washer gap of approximately 1.2 mm (3/64 in) between the A/C line and the A/C component.

  7. Assemble the remaining A/C refrigerant components. Refer to the appropriate repair procedure.


© Copyright Chevrolet. All rights reserved