Rear Wheel Drive Shaft Replacement
Removal Procedure
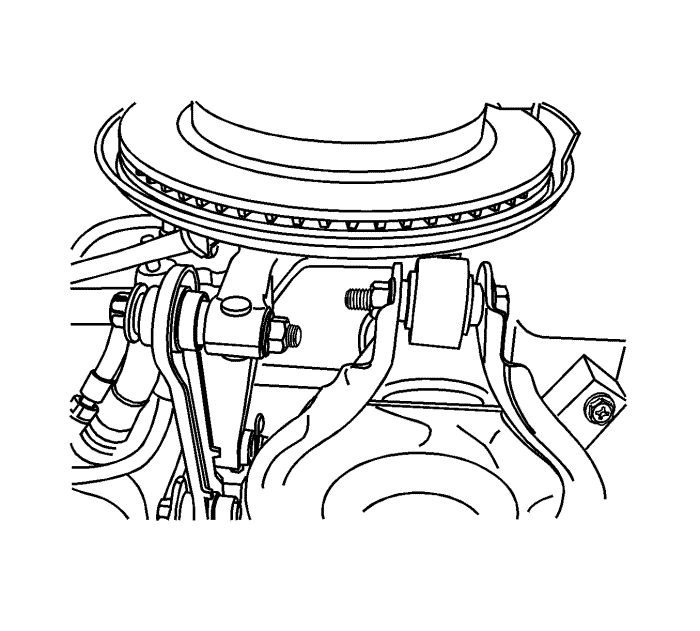
- Raise and suitably support the vehicle. Refer to Lifting and Jacking the Vehicle .
- Remove and discard the rear wheel drive shaft nut. Replace with NEW only.
- Remove the trailing arm bracket to underbody bolts.
- Remove the toe link to knuckle nut and bolt.
- Remove the lower control arm to knuckle bolt and nut.
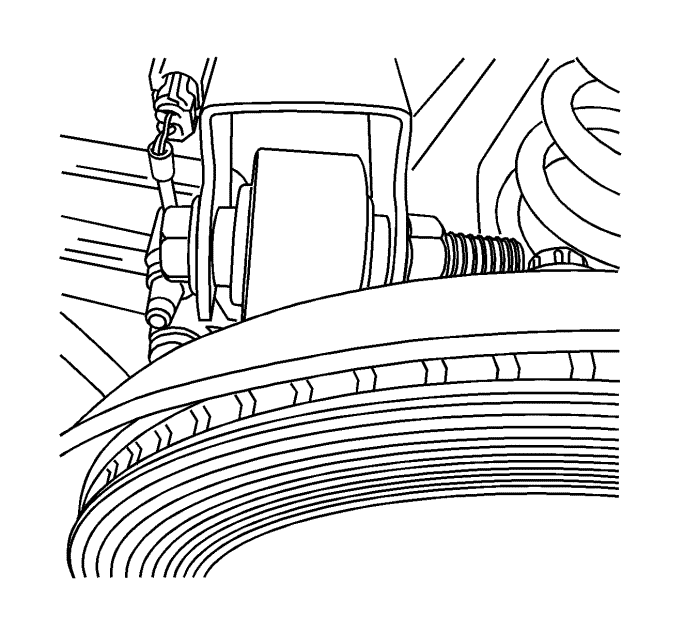
Note: Support the wheel drive shaft while it is disengaged from the wheel hub and bearing assembly in order to avoid damaging the wheel drive shaft boots.
- Loose the knuckle to upper control arm nut and bolt. Do not remove the nut and bolt.
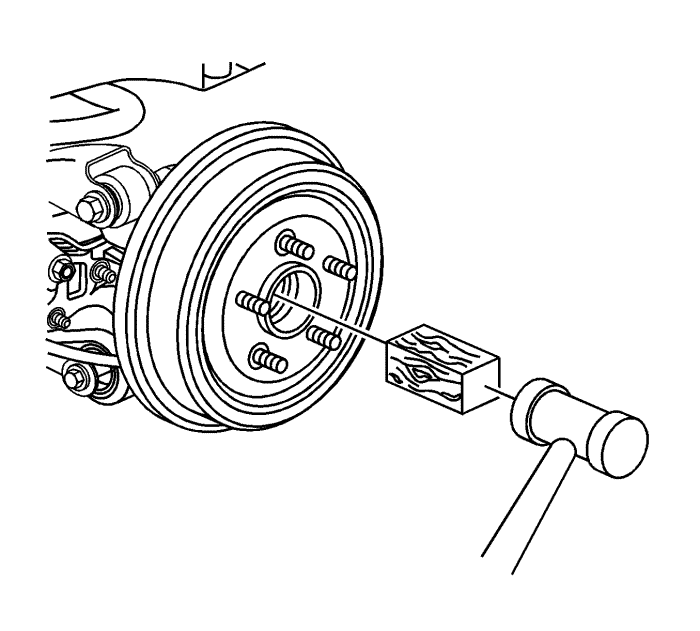
- Place a block of wood against the wheel drive shaft spindle and tap with a hammer to release the spindle from the wheel hub and bearing assembly.
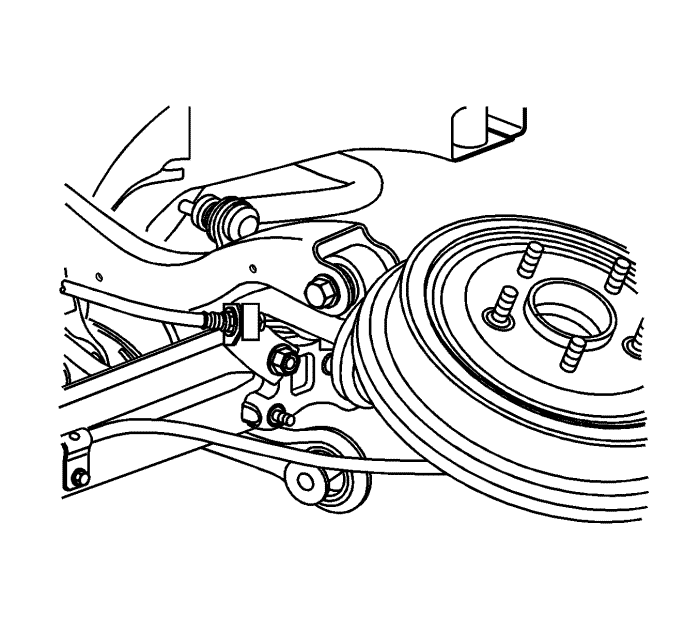
- Rotate the suspension knuckle upward and secure with heavy mechanics wire, or equivalent.
- Remove the wheel drive shaft from the rear drive module (RDM).
Installation Procedure
- Install the wheel drive shaft to the output shaft of the rear drive module (RDM).
- Ensure that the tripot joint is fully seated on the output shaft by grasping the tripot joint and attempting to pull free of the output shaft.
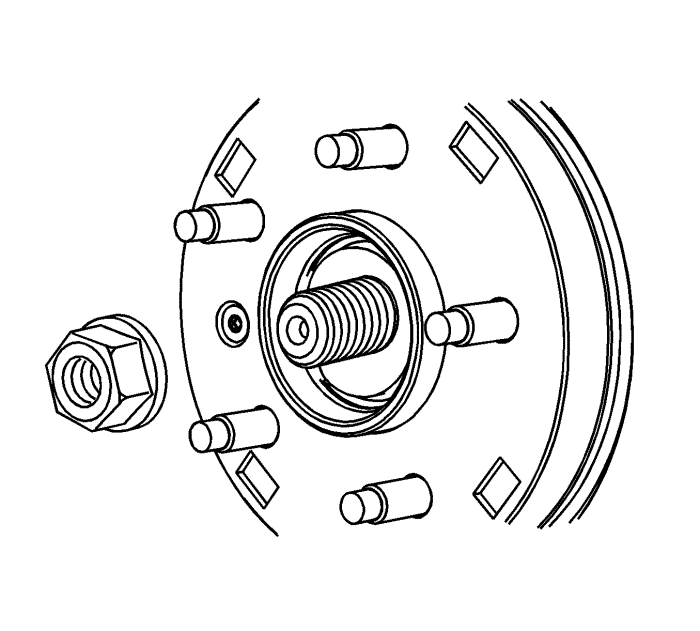
- Rotate the suspension knuckle downward while simultaneously guiding the constant velocity (CV) joint spindle to the wheel hub and bearing assembly of the suspension knuckle.
- Hand install a new wheel drive shaft nut.
Caution: Refer to Fastener Caution in the Preface section.
- Install the lower control arm to knuckle bolt and nut and tighten to 180 N·m (133 lb ft).
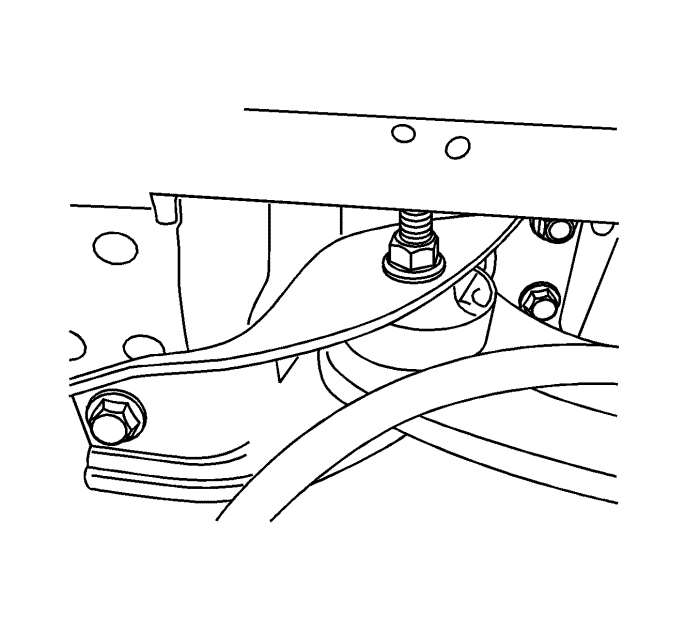
- Install the trailing arm bracket to underbody bolts and tighten to 110 N·m(81 lb ft).
- Install the toe link to knuckle nut and bolt and tighten to 160 N·m(118 lb ft).
- Tighten the wheel drive shaft nut to 320 N·m (236 lb ft).
- Check the rear wheel alignment.
| © Copyright Chevrolet. All rights reserved |


