To the top of the document
Orlando
   
GMDE Start Page Load static TOC Load dynamic TOC Help?

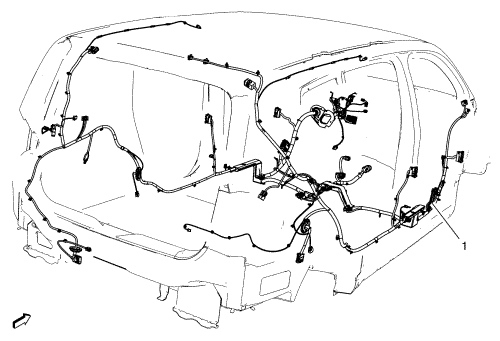
Body Wiring Harness Replacement


2373253

Callout

Component Name

Preliminary Procedures

  1. Using a scan tool, check for DTCs.
  2. Remove front compartment fuse block housing. Refer to Front Compartment Fuse Block Housing Replacement .
  3. Remove front floor panel carpet. Refer to Front Floor Panel Carpet Replacement .
  4. Remove instrument panel assembly. Refer to Instrument Panel Assembly Replacement .
  5. Remove brake, accelerator, and clutch pedal. Refer to Brake, Accelerator, and Clutch Pedal Replacement : Left Hand Drive → Right Hand Drive .
  6. Remove body side trim panel -- left hand side. Refer to Body Side Trim Panel Replacement - Left Hand Side .
  7. Remove body side trim panel -- right hand side. Refer to Body Side Trim Panel Replacement - Right Hand Side .

1

Body Wiring Harness

Caution: Refer to Fastener Caution in the Preface section.

Procedure

Using a scan tool, check for DTCs.

Tip

    • Take photos of original wiring harness routing for correct re-installation.
    • Create a work area large enough to lay out the new and old wiring harnesses.
    • Use care when removing inaccessible harness retainers. Replacement retainers may not be available.
    • Compare the new and old wiring harnesses for the same part number, the same number of wiring harness connectors, the same pin settings, and the same harness retainers.
    • Follow a logical order of steps during the replacement to ensure proper installation of the harness.


© Copyright Chevrolet. All rights reserved