Orlando |
||||||||
|
|
|
|||||||
EL-38125-10 Splice Sleeve Crimping Tool
For equivalent regional tools, refer to Special Tools .
The GM global wire repair strategy uses connector assemblies (pigtails) and terminated leads to repair wiring harnesses.
To reduce and manage GM Service Parts proliferation, the service pigtails and terminated leads are designed with the largest wire gauge size that can be held by either the terminal or the connector housing.
The folded over wire repair technique, in which the copper wire strands are folded over before being installed into a splice sleeve, allows the service part to be used when repairing a smaller gauge size wire in a vehicle. This technique has passed all GM testing standards.
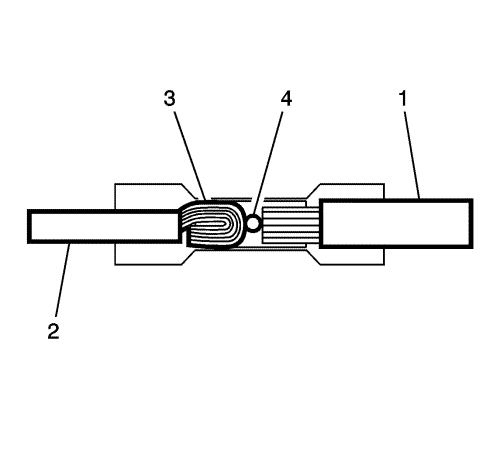
The larger harness size wires (1) will be placed in one side of the splice sleeve and match the splice sleeve closely in size. The wires are moved into the splice sleeve until they hit the stop (4) in the splice sleeve. The smaller harness size wires (2) will be placed in the other side of the splice sleeve. The smaller harness size wires will be folded over (3) to match up with the splice sleeve size.
Use the folded over wire repair for:
| Note: Increasing the amount of copper strands in the smaller gauge size will allow for a better crimp |
| • | Splicing wires of 0.35 mm or less (22, 24, 26 gauge sizes) |
| Note: Vehicle side needs to be of same or less gauge size (not greater than the service part's gauge size) |
| • | Splicing wires of different gauges |
Use the Service Information (SI) connector end-views to determine:
| • | Gauge size of wiring harness |
| • | Recommended Repair: Terminated Lead or Pigtail |
The following table lists the acceptable variance within the gauge size
Harness Wire Gauge | Connector Assembly (Pigtail) or Terminated Lead Wire Gauge Size | ||||
|---|---|---|---|---|---|
- | Salmon Colour Splice Sleeve | Blue Colour Splice Sleeve | Yellow Colour Splice Sleeve | ||
Metric | - | 0.35 mm | 0.5-0.8 mm | 1.0-2.0 mm | 3.0-5.0 mm |
- | Wire Gauge (AWG) | 22 | 20-18 | 16-14 | 12-10 |
0.13 mm | 26 | Fold Over Wire | Fold Over Wire | Fold Over Wire | Not Acceptable |
0.22 mm | 24 | Fold Over Wire | Fold Over Wire | Fold Over Wire | Not Acceptable |
0.35 mm | 22 | Fold Over Wire | Fold Over Wire | Fold Over Wire | Not Acceptable |
0.5 mm | 20 | Not Acceptable | Wire to Wire | Fold Over Wire | Not Acceptable |
0.75 mm | - | Not Acceptable | Wire to Wire | Fold Over Wire | Not Acceptable |
0.8 mm | 18 | Not Acceptable | Wire to Wire | Fold Over Wire | Not Acceptable |
1.0 mm | 16 | Not Acceptable | Wire to Wire | Fold Over Wire | Not Acceptable |
1.5 mm | - | Not Acceptable | Not Acceptable | Wire to Wire | Fold Over Wire |
2.0 mm | 14 | Not Acceptable | Not Acceptable | Wire to Wire | Fold Over Wire |
2.5 mm | - | Not Acceptable | Not Acceptable | Wire to Wire | Fold Over Wire |
3.0-5.0 mm | 12-10 | Not Acceptable | Not Acceptable | Not Acceptable | Wire to Wire |
For an IP Harness of 0.22 mm (24 gauge on left side of table) wire size, the SI connector end-view recommends a pigtail with leads of 0.8 mm (18 gauge on the top of the table) with a salmon coloured DuraSeal splice sleeve of 0.5-1.0 mm (20-16 gauge).
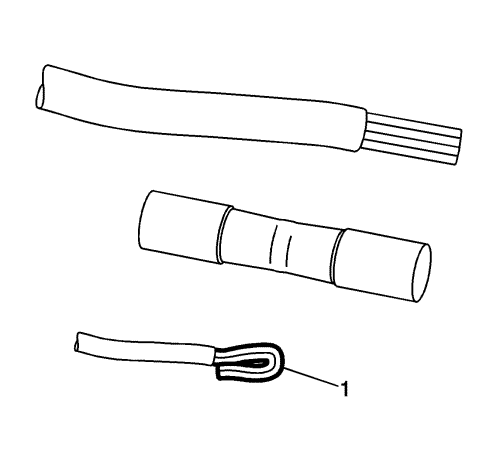
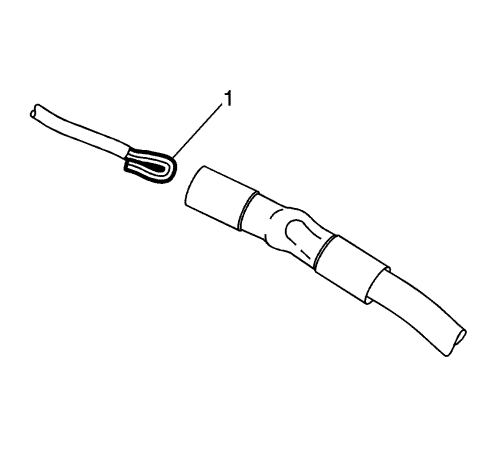
Follow these steps to use the folded over wire (1) technique on an IP Harness.
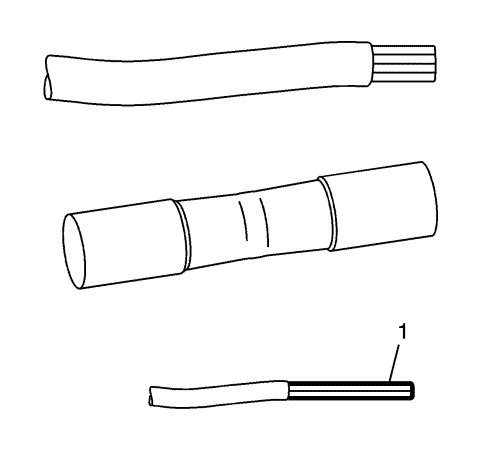
Strip twice the amount of insulation on the smaller (1) wire (IP Harness is the lower wire) than normally required. Normally, the terminated leads have 5 mm of insulation stripped off the wire.
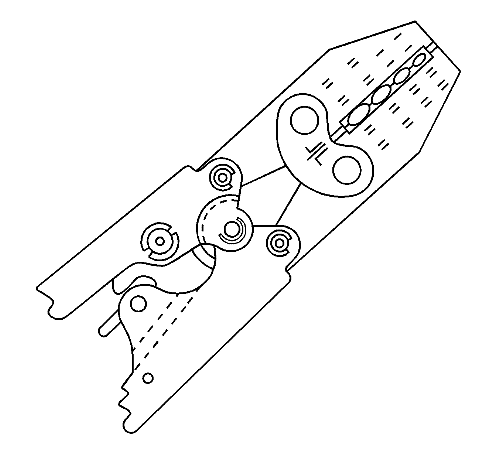
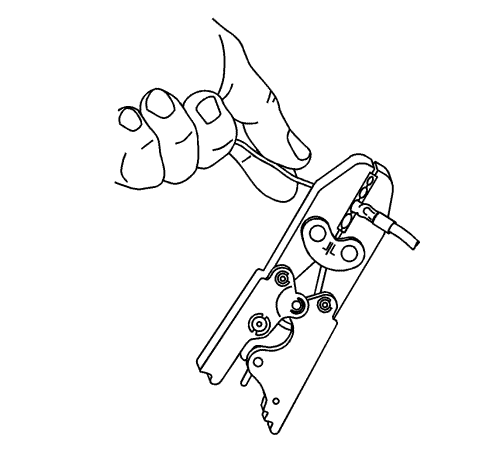
Note: Use EL-38125-10 splice sleeve crimping tool .
| © Copyright Chevrolet. All rights reserved |