Crankshaft Balancer Replacement
Special Tools
| • | EN-38122-A Crankshaft Balancer Holder |
For equivalent regional tools, refer to Special Tools .
Removal Procedure
- Raise and support the vehicle. Refer to Lifting and Jacking the Vehicle .
- Remove the wheel - front right side. Refer to Tyre and Wheel Removal and Installation .
- Remove front wheelhouse liner - right side. Refer to Front Wheelhouse Liner Replacement .
- Remove the front compartment splash shield. Refer to Front Compartment Splash Shield Replacement .
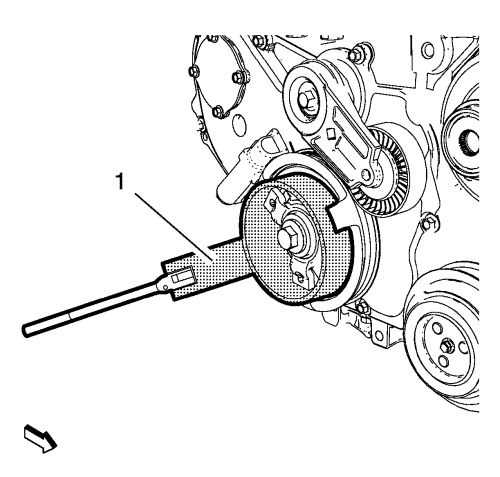
- Use the EN-38122-A holder (1) to counterhold the crankshaft.
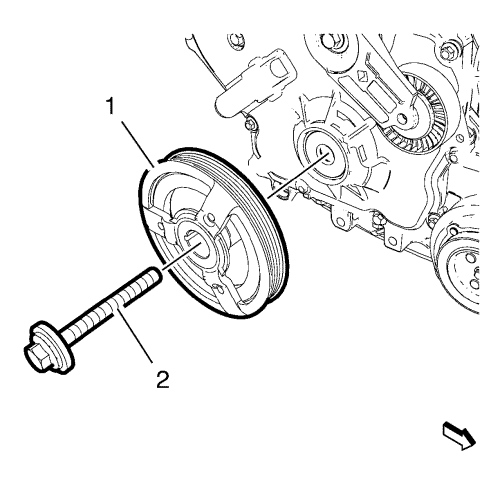
- Remove the crankshaft balancer bolt (2) while counter hold the crankshaft.
- Remove the crankshaft balancer (1).
Installation Procedure
- Install the crankshaft balancer (1).
Caution: Refer to Fastener Caution in the Preface section.
- Install the crankshaft balancer bolt and tighten a first pass to150N·m(111 lb ft). Use the EN-38122-A crankshaft balancer holder (1) to counterhold the crankshaft.
Caution: Refer to Torque-to-Yield Fastener Caution in the Preface section.
- Tighten the crankshaft balancer bolt a final pass to an additional 100 degrees, using the EN-45059 meter . Use the EN-38122-A crankshaft balancer holder (1) to counterhold the crankshaft.
- Install the engine splash shield - right side. Refer to Front Compartment Splash Shield Replacement .
- Install front wheelhouse liner - right side. Refer to Front Wheelhouse Liner Replacement .
- Install the wheel - front right side. Refer to Tyre and Wheel Removal and Installation .
- Lower the vehicle.
| © Copyright Chevrolet. All rights reserved |


