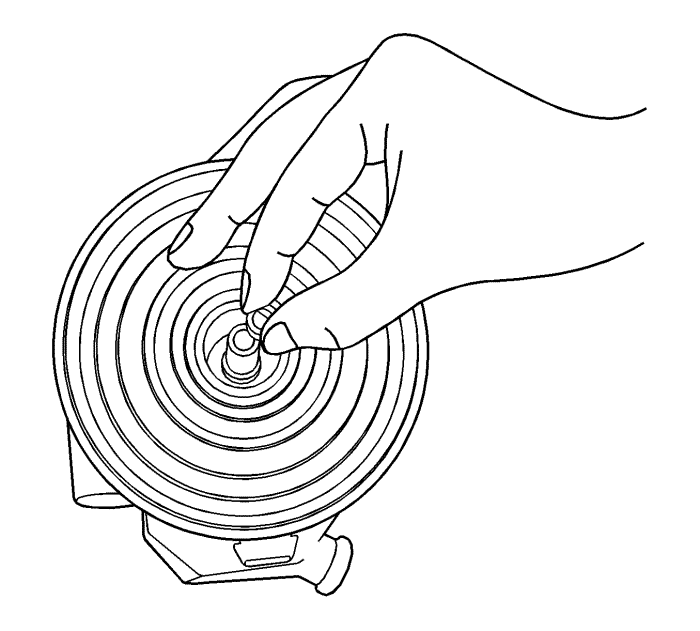
Note: To prevent the risk of damage, do not use hammer to install the pulley and bearing assembly.
- Position the pulley and bearing assembly on the compressor squarely and precisely.
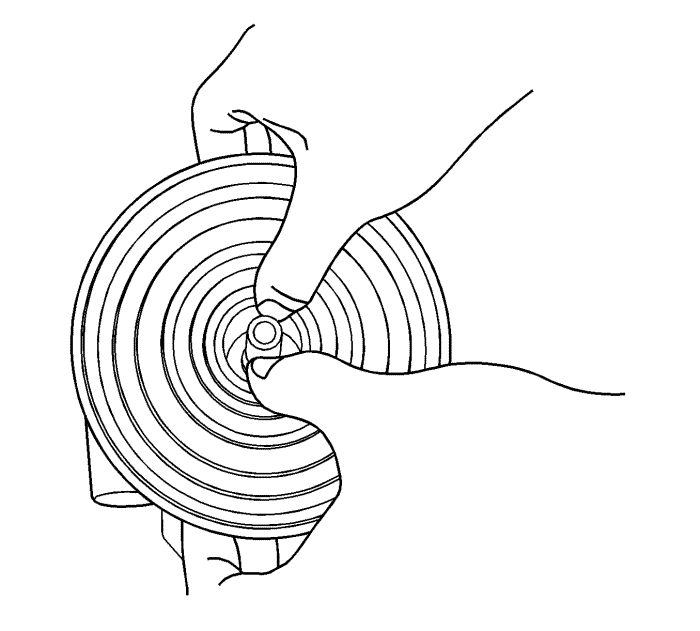
Note: Listen for a distinct change of sound during the installation process to make sure that it is seated correctly.
- Press firmly on the pulley and bearing assembly to fully seat.
- Spin the pulley by hand to check that it has been installed correctly.
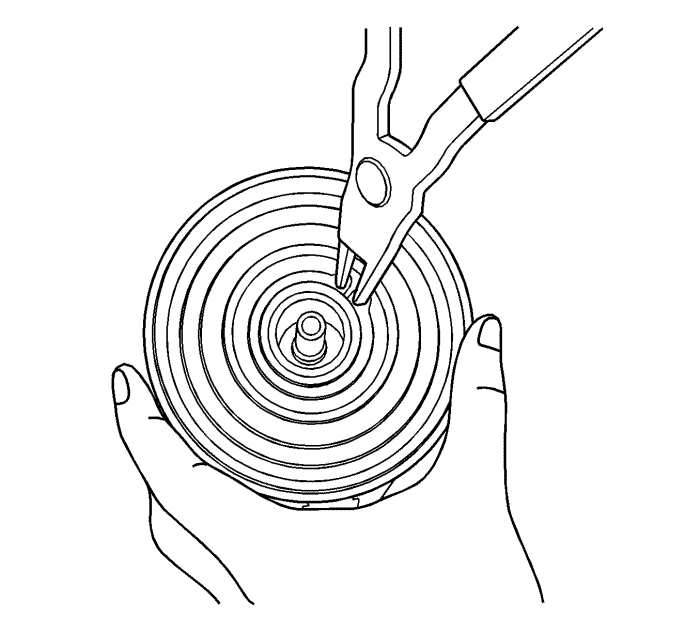
Note: Make sure that the chamfer edge side of the circlip is on the upper side. After assembling, squeezing is required to make sure that the circlip retainer was assembled correctly.
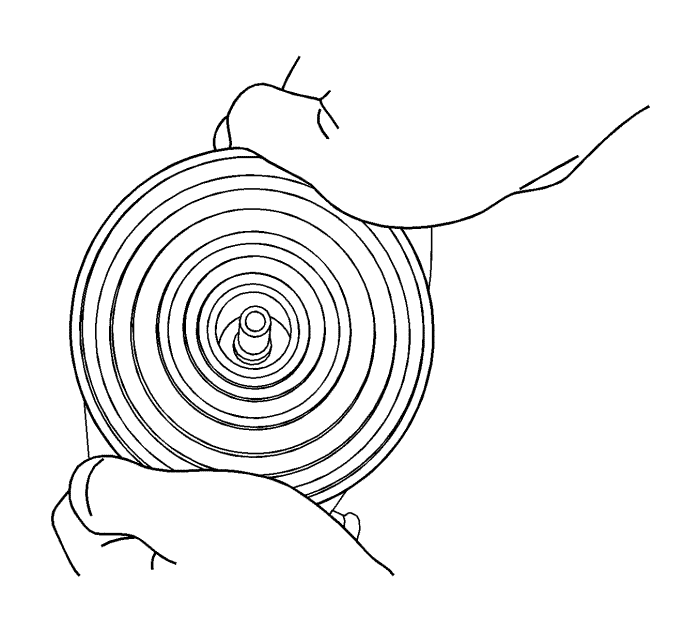
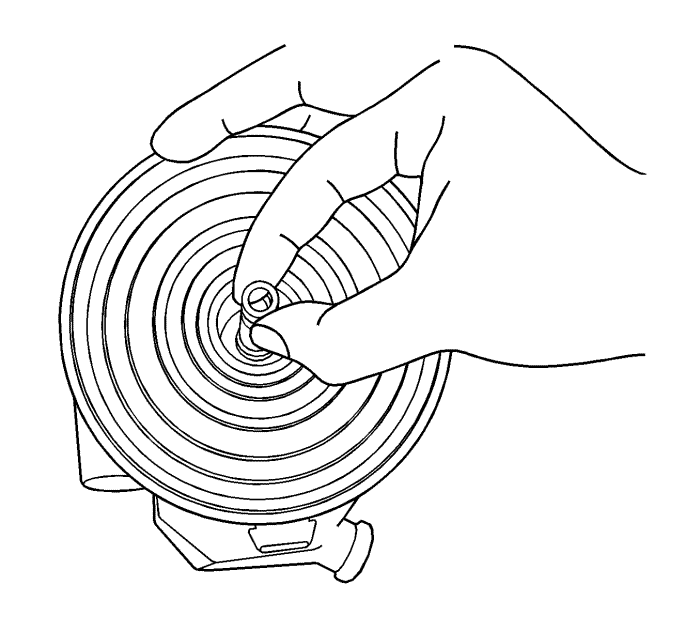
- Install the pulley and bearing assembly circlip.
- Determine how many shims and what type of shim to be used to make an air gap between 0.3-0.6 mm.
- Install the shims on the end of shaft.
- Install the clutch drive assembly. Refer to Air Conditioning Clutch Assembly Replacement .
- Install the compressor. Refer to
Air Conditioning Compressor Replacement : Diesel → V6 → 2.4L .
- Connect the negative battery cable. Refer to Battery Negative Cable Disconnection and Connection .
- Recharge the A/C system. Refer to Refrigerant Recovery and Recharging .