Captiva |
||||||||
|
|
|
|||||||
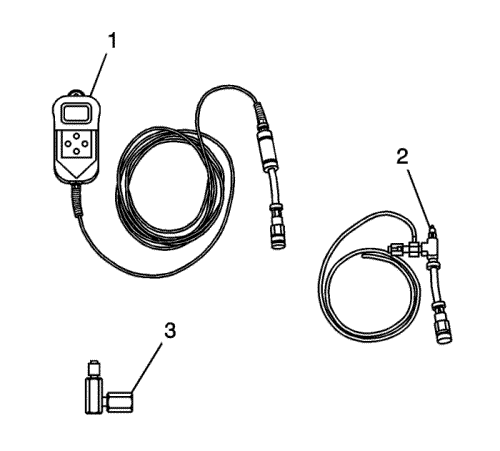
CH-48027-100 Digital Pressure Gauge
Warning: Refer to Petrol/Petrol Vapours Warning in the Preface section.
Warning: Remove the fuel tank cap and relieve the fuel system pressure before servicing the fuel system in order to reduce the risk of personal injury. After you relieve the fuel system pressure, a small amount of fuel may be released when servicing the fuel lines, the fuel injection pump, or the connections. In order to reduce the risk of personal injury, cover the fuel system components with a shop towel before disconnection. This will catch any fuel that may leak out. Place the towel in an approved container when the disconnection is complete.
Warning: Wrap a shop towel around the fuel pressure connection in order to reduce the risk of fire and personal injury. The towel will absorb any fuel leakage that occurs during the connection of the fuel pressure gauge. Place the towel in an approved container when the connection of the fuel pressure gauge is complete.
Caution: Clean all of the following areas before performing any disconnections in order to avoid possible contamination in the system: • The fuel pipe connections • The hose connections • The areas surrounding the connections
Note: If relieving the fuel pressure for the fuel pressure gauge installation and removal, it is NOT necessary to proceed with the following steps.
| © Copyright Chevrolet. All rights reserved |


