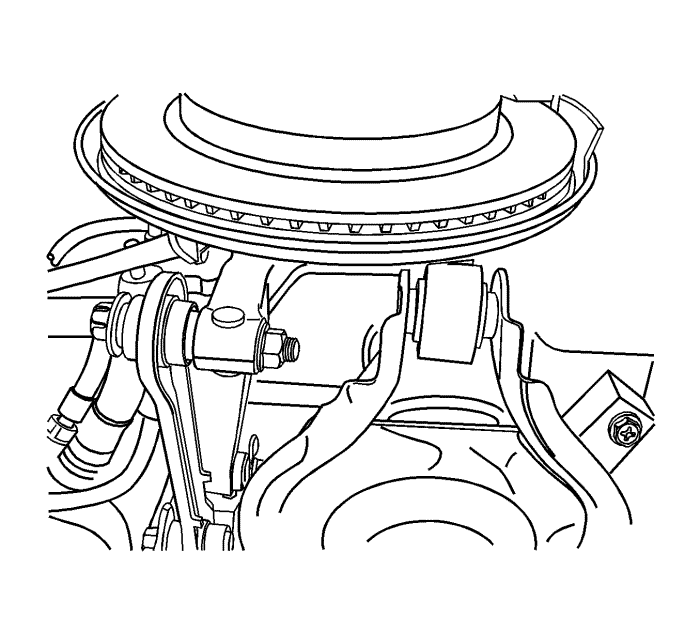
- Install the knuckle to the lower control arm.
Note: Do not tighten the bolt or the nut yet.
- Loosely install the bolt and the nut.
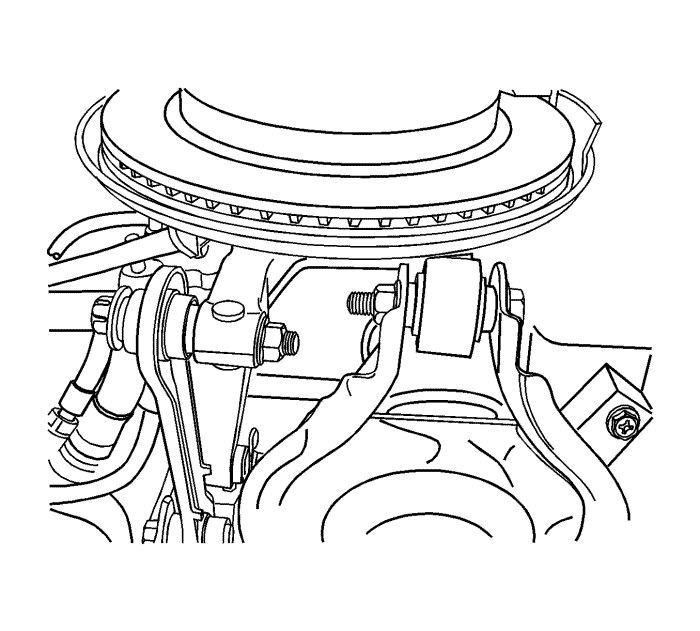
- Install the knuckle to the upper control arm.
Note: Do not tighten the bolt or the nut yet.
- Loosely install the bolt and the nut.
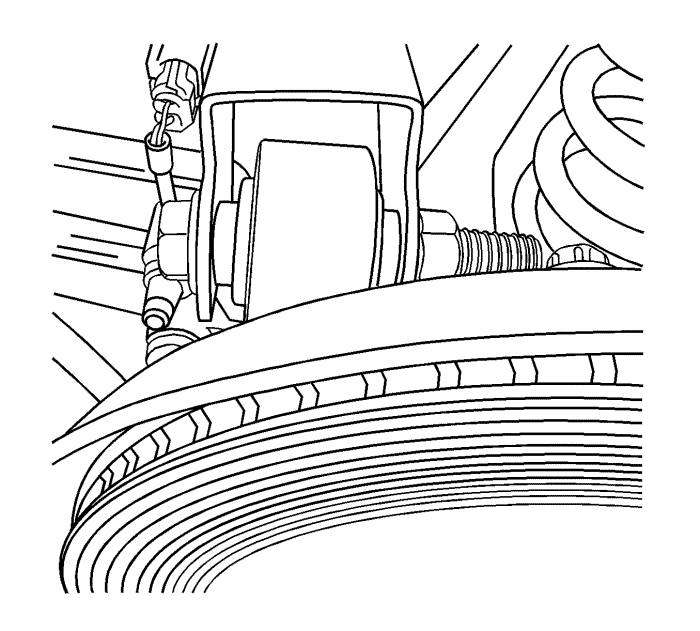
- Install the knuckle to the toe link.
Note: Do not tighten the bolt or the nut yet.
- Loosely install the bolt and the nut.
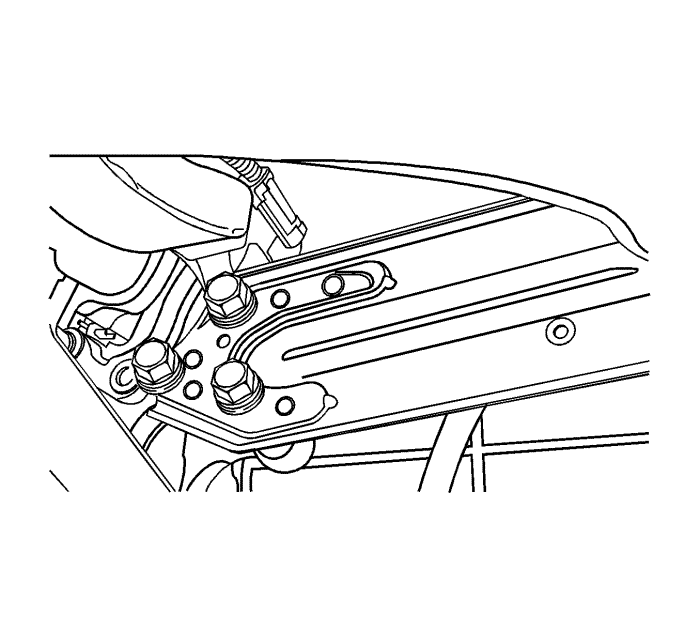
- Install the knuckle to trailing arm.
Note: Do not tighten the bolt or the nut yet.
- Apply threadlocker and then loosely install the bolt and the nut.
Caution: Refer to Fastener Caution in the Preface section.
- Tighten the bolts and nuts in the following sequence.
| • | The knuckle to lower control arm bolt and nut to 160 N·m (118 lb ft). |
| • | The knuckle to upper control arm bolt and nut to 160 N·m (118 lb ft). |
| • | The knuckle to toe link bolt and nut to 160 N·m (118 lb ft). |
| • | The knuckle to trailing arm bolts to 60 N·m+45 degrees (44 lb ft +45 degrees). |
- Install the wheel bearing/hub assembly. Refer to Rear Wheel Bearing and Hub Replacement .
- Install the rear tyre and wheel assembly. Refer to Tyre and Wheel Removal and Installation .
- Lower the vehicle.
- Measure and adjust the wheel alignment. Refer to Wheel Alignment Specifications .