Captiva |
||||||||
|
|
|
|||||||
| • | Crankshaft sprocket |
| • | Primary timing drive chain |
| • | Primary timing drive chain shoe |
| • | Primary timing drive chain guides |
| • | Primary timing drive chain tensioner |
| • | Secondary timing drive chains |
| • | Secondary timing drive chain shoes |
| • | Secondary timing drive chain guides |
| • | Secondary timing drive chain tensioners |
| • | Timing component fastening bolts |
Warning: Refer to Safety Glasses Warning in the Preface section.
Note: Actual camshaft position actuators may vary in appearance from the ones shown.
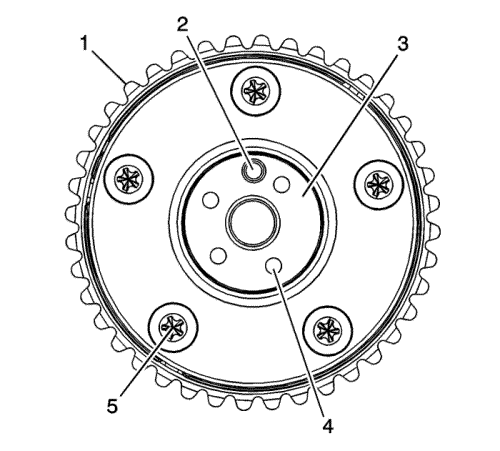
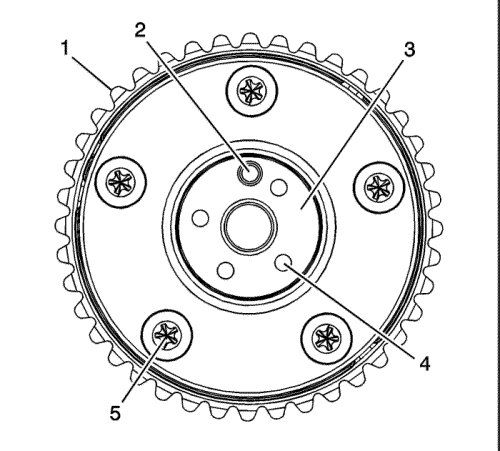
| • | Sprocket damage (1) |
| • | Reluctor/sensor wheel damage (2) |
| • | Camshaft position actuator bolt seating/sealing inner hub flange damage (3) |
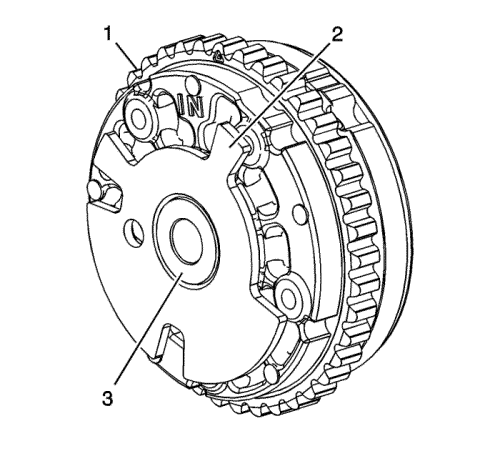
| • | Sprocket damage (1) |
| • | Camshaft locating pin damage (2) |
| • | Camshaft seating/sealing inner hub flange damage (3) |
| • | Blockage to the oil passages (4) |
| • | Loose or missing housing bolts (5) |
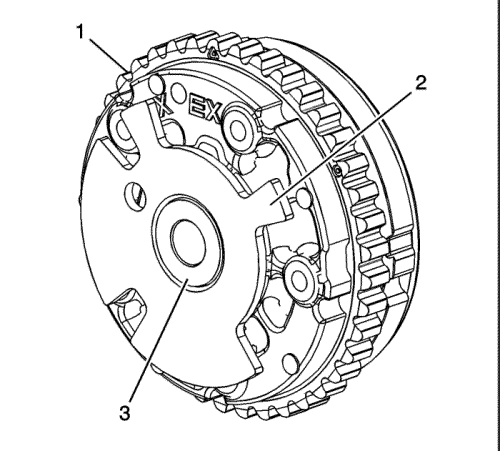
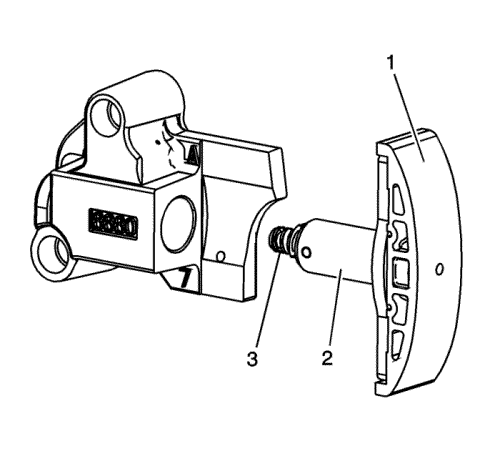
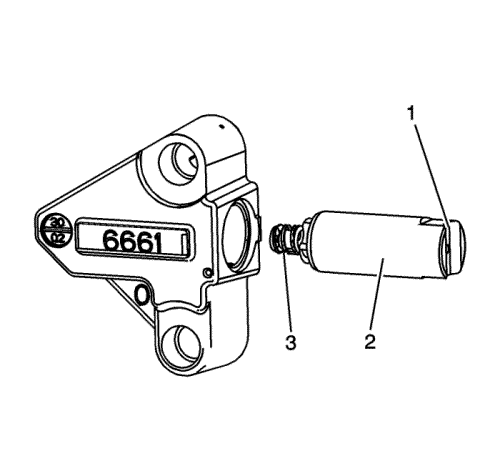
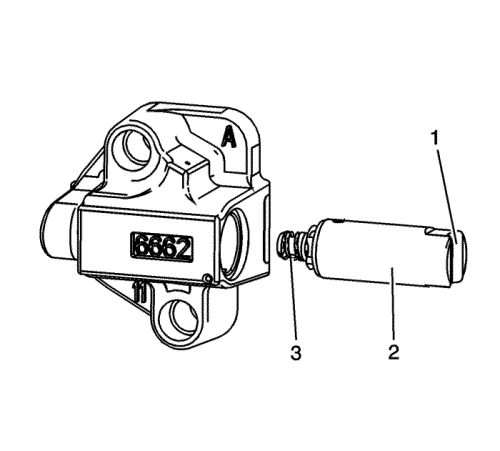
| • | Sprocket damage (1) |
| • | Reluctor/sensor wheel damage (2) |
| • | Camshaft position actuator oil control valve bolt seating/sealing inner hub flange damage (3) |
| • | Sprocket damage (1) |
| • | Camshaft locating pin damage (2) |
| • | Camshaft seating/sealing inner hub flange damage (3) |
| • | Blockage to the oil passages (4) |
| • | Loose or missing housing bolts (5) |
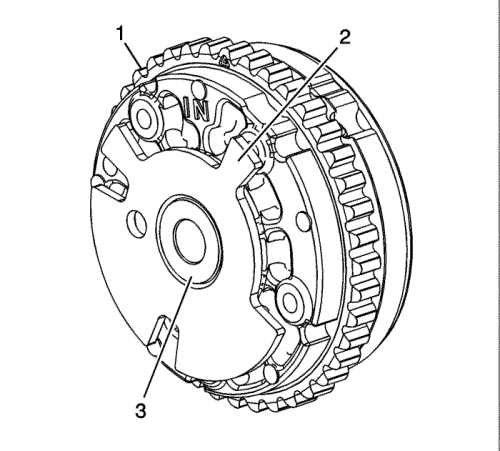
| • | Sprocket damage (1) |
| • | Reluctor/sensor wheel damage (2) |
| • | Camshaft position actuator oil control valve bolt seating/sealing inner hub flange damage (3) |
| • | Sprocket damage (1) |
| • | Camshaft locating pin damage (2) |
| • | Camshaft seating/sealing inner hub flange damage (3) |
| • | Blockage to the oil passages (4) |
| • | Loose or missing housing bolts (5) |
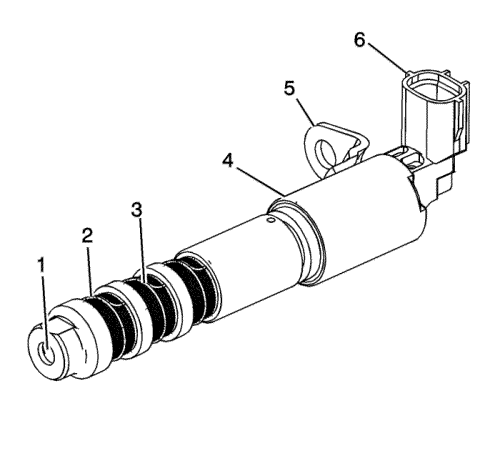
| • | Blockage to the oil passage (1) |
| • | Missing or damaged oil screen clip (2) |
| • | Blockage or damage to the oil screen (3) |
| • | Damage to the sealing surface for the camshaft position actuator oil control valve solenoid oil seal (4) |
| • | Damage to the bracket (5) |
| • | Damage to the wiring harness connection and/or terminals (6) |
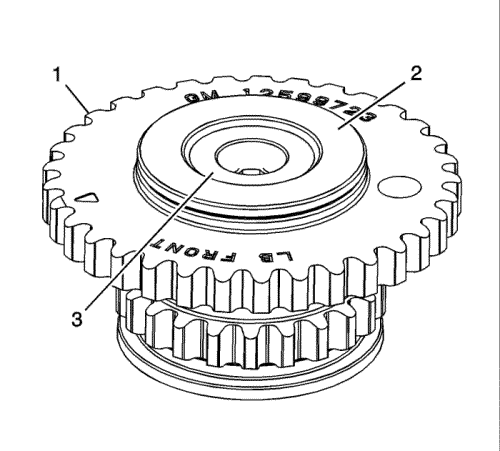
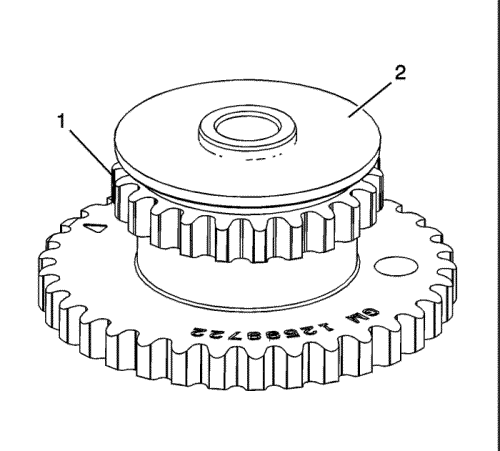
| • | Damage to the primary camshaft drive chain sprocket (1) |
| • | Damage to the hub bearing (2)--Ensure the hub bearing spins freely. If the hub bearing wobbles, is noisy, or feels rough when rotated, replace the intermediate sprocket. |
| • | Damage to the bolt flange seating/sealing surface (3) |
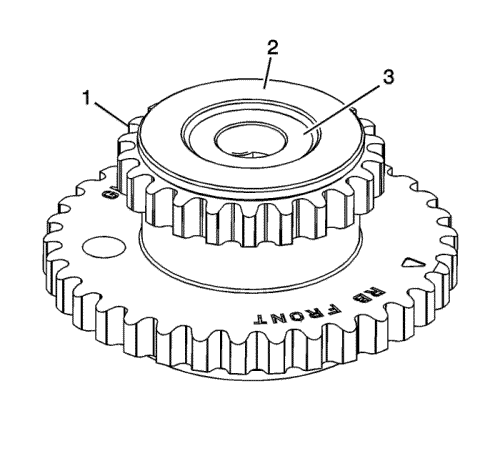
| • | Damage to the left secondary camshaft drive chain sprocket (1) |
| • | Damage to the bearing hub-to-engine block sealing surface (2) |
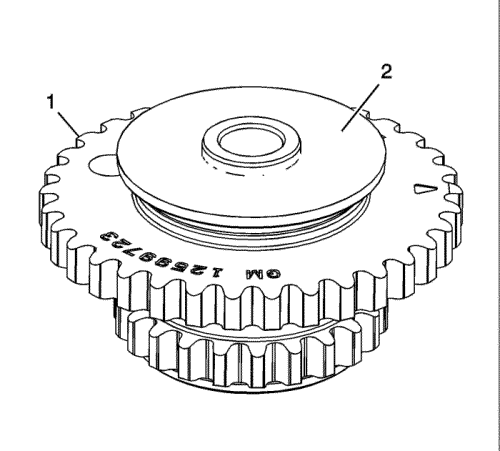
| • | Damage to the right secondary camshaft drive chain sprocket (1) |
| • | Damage to the hub bearing (2)--Ensure the hub bearing spins freely. If the hub bearing wobbles, is noisy, or feels rough when rotated, replace the intermediate sprocket. |
| • | Damage to the bolt flange seating/sealing surface (3) |
| • | Damage to the primary camshaft drive chain sprocket (1) |
| • | Damage to the bearing hub-to-engine block sealing surface (2) |
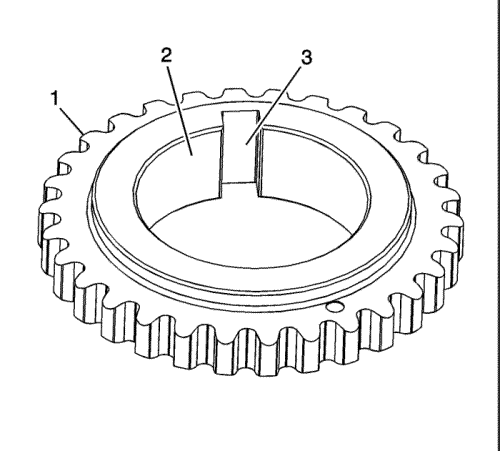
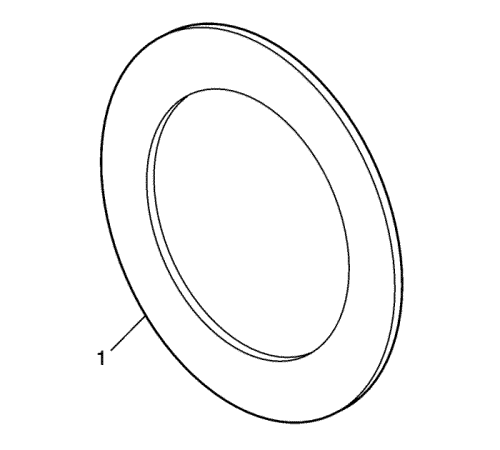
| • | Sprocket damage (1) |
| • | Bore damage (2) |
| • | Keyway damage (3) |
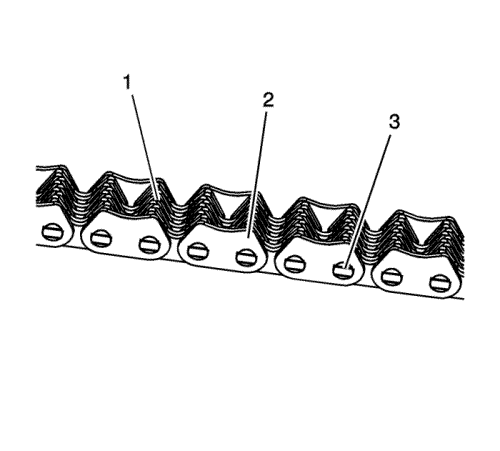
| • | Binding or worn links (1) |
| • | Loose links (2) |
| • | Loose pins (3) |
| • | Binding or worn links (1) |
| • | Loose links (2) |
| • | Loose pins (3) |
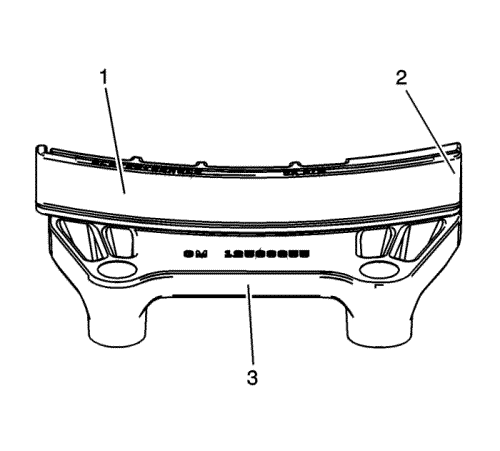
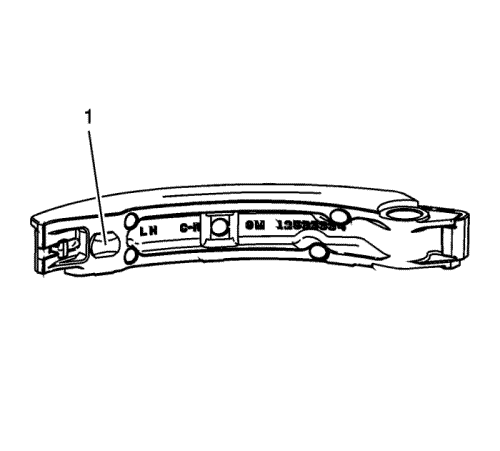
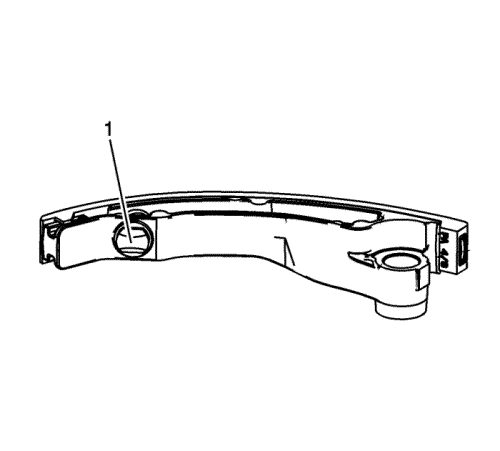
| • | Worn guide surface (1) |
| • | Cracked or broken guide surface (2) |
| • | Cracked or damaged guide base (3) |
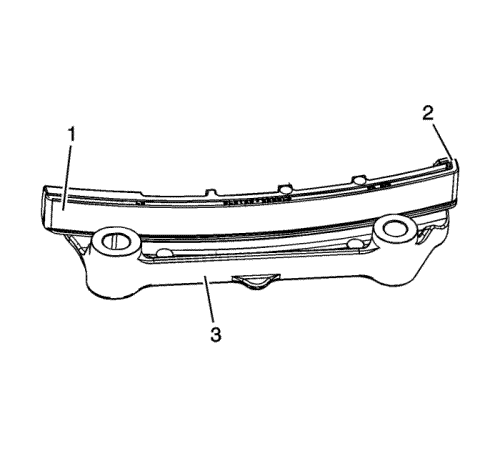
| • | Worn guide surface (1) |
| • | Cracked or broken guide surface (2) |
| • | Cracked or damaged guide base (3) |
| • | Worn guide surface (1) |
| • | Cracked or broken guide surface (2) |
| • | Cracked or damaged guide base (3) |
| • | Worn guide surface (1) |
| • | Cracked or broken guide surface (2) |
| • | Cracked or damaged guide base (3) |
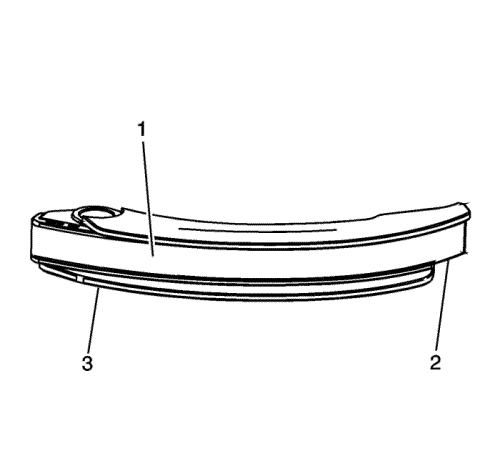
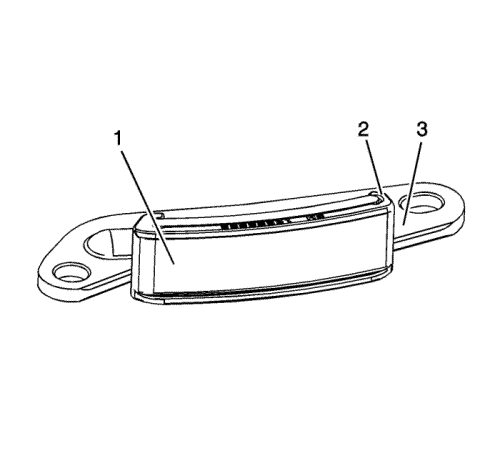
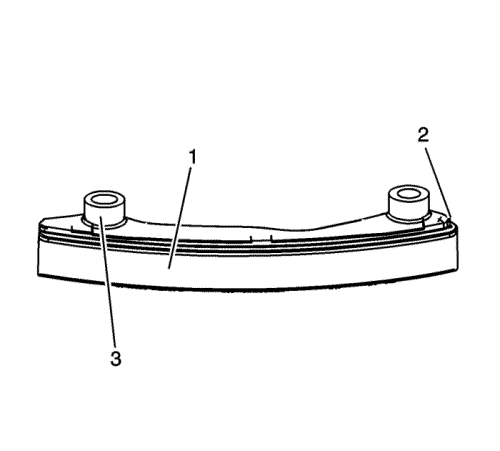
| • | Worn shoe surface (1) |
| • | Cracked or broken shoe surface (2) |
| • | Cracked or damaged shoe (3) |

| • | Worn shoe surface (1) |
| • | Cracked or broken shoe surface (2) |
| • | Cracked or damaged shoe (3) |
| © Copyright Chevrolet. All rights reserved |


