Battery Positive and Negative Cable Replacement - LF1
Removal Procedure
- Record all of the radio station presets.
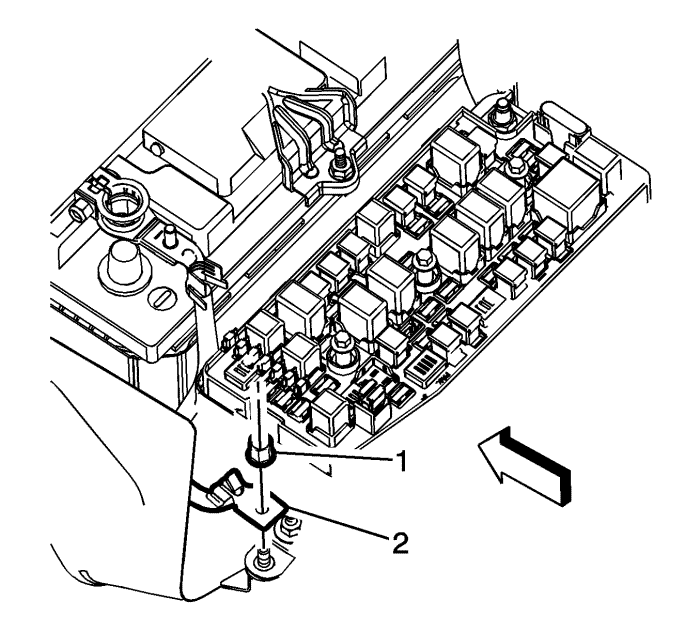
- Remove the body harness terminal (2) and nut (1) from the negative battery cable stud.
- Disconnect the battery negative cable. Refer to Battery Negative Cable Disconnection and Connection .
- Remove the underbonnet fuse block cover.
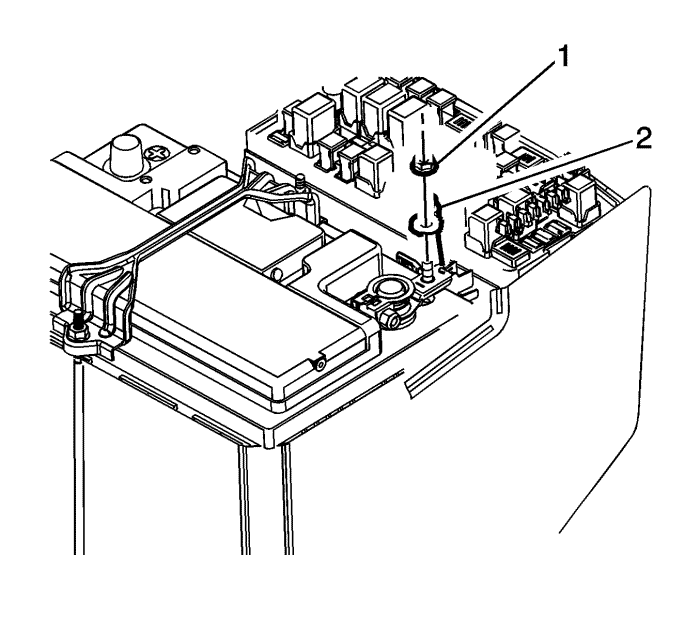
- Remove the negative battery cable nut (1) and terminal (2), from the underbonnet fuse block.
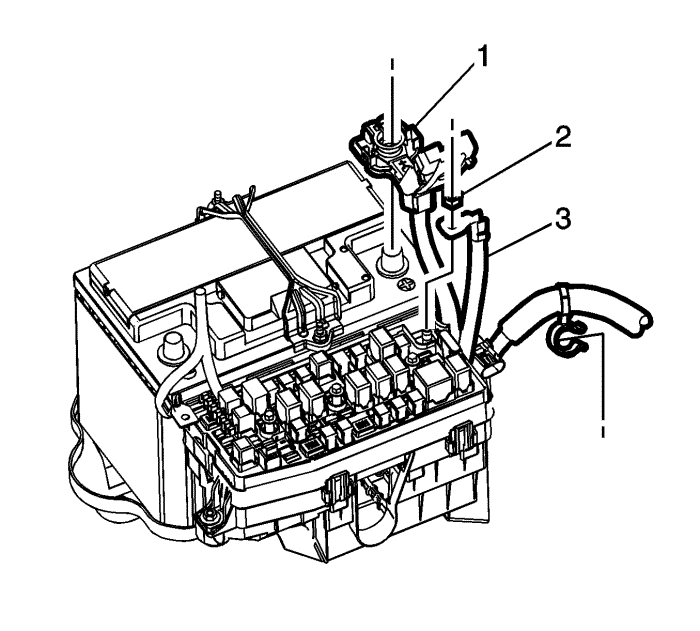
- Remove the battery positive cable nut (2) and cable (3) from the fuse block.
- Loosen the battery positive clamp nut (1) and remove the battery positive cable from the battery.
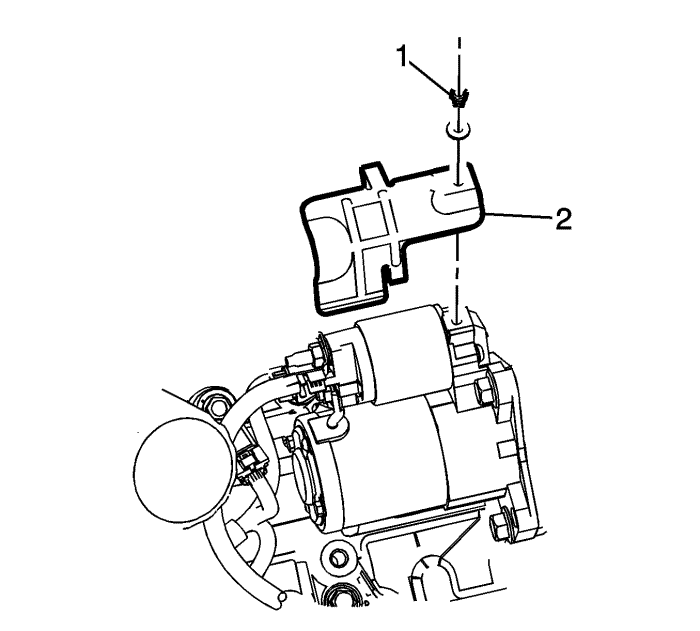
- Remove the starter heat shield screw (1) and the starter heat shield (2), from the starter.
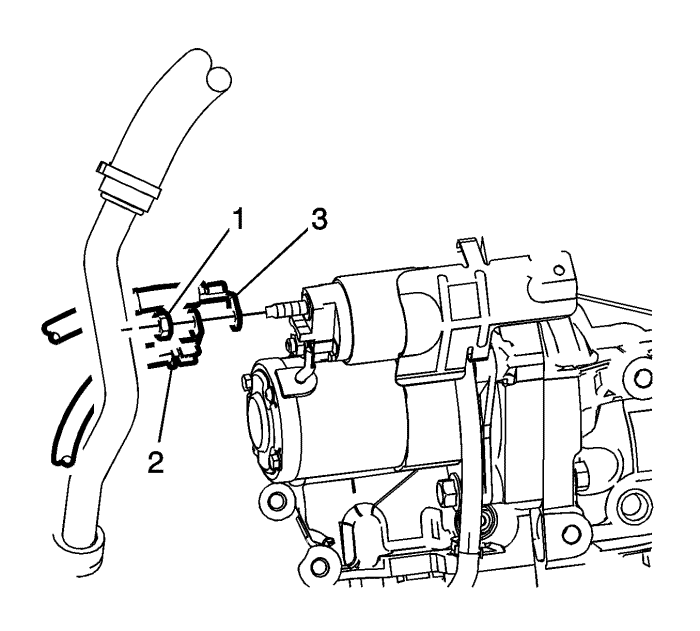
- Remove the battery positive cable nut (1) from the starter solenoid. Remove the battery positive cable (2) from the starter.
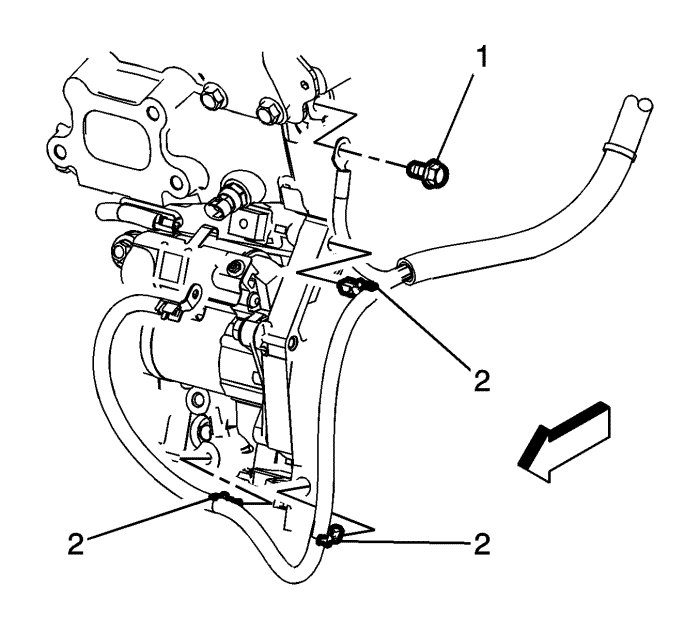
- Remove the battery negative cable ground bolt (1) from the engine block.
- Remove the fasteners (2) securing the battery positive and negative cable to the engine.
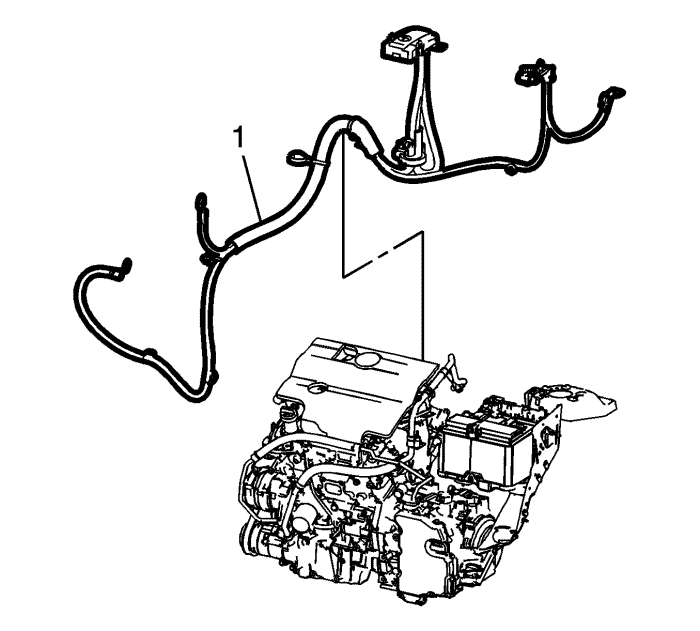
Note: Observe how the battery positive and negative cable was routed within the engine compartment.
- Remove the battery positive and negative cable (1) from the engine compartment.
Installation Procedure
Caution: Refer to Fastener Caution in the Preface section.
- Install the battery positive cable (2) and the alternator jumper cable (3) to the starter solenoid. Tighten to the nut (1) to10 N·m (89 lb in).
- Install the starter heat shield (2), with the screw(1), to the starter.
- Install the battery negative cable bolt (1) to the engine block and tighten to 25 N·m (18 lb ft).
- Secure the battery positive and negative cable to the engine with fasteners (2).
- Install the battery positive cable (3) and nut (2) to the engine fuse block and tighten to 10 N·m (89 lb in).
- Install the battery positive cable clamp to the battery post and tighten the nut (1) to 10 N·m (89 lb in).
- Install the negative battery cable (2) and nut (1) to the fuse block and tighten to 12 N·m (106 lb in).
- Connect the negative battery cable to the battery. Refer to Battery Negative Cable Disconnection and Connection
- Install the body harness terminal (2) to the negative battery stud and tighten nut (1) to10 N·m (89 lb in).
- Install the fuse block cover.
- Reset the radio channel presets.
| © Copyright Chevrolet. All rights reserved |


