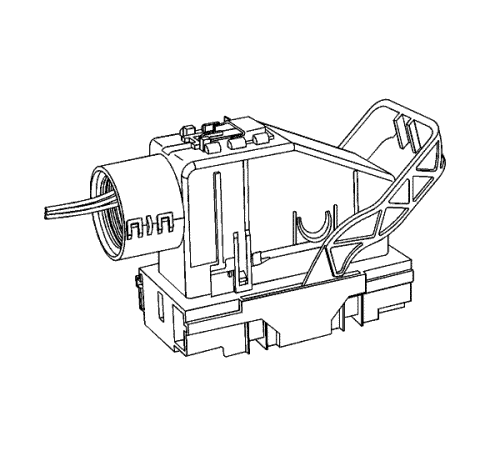
AFL/EPC Connectors
Special Tools
| • | EL-38125-580 Terminal Release Tool Kit |
| • | J-38125-12A Terminal Release Tool |
| • | J-38125-216 Terminal Release Tool |
For equivalent regional tools, refer to Special Tools .
Terminal Removal Procedure
Follow the steps below in order to remove terminals from the connector.
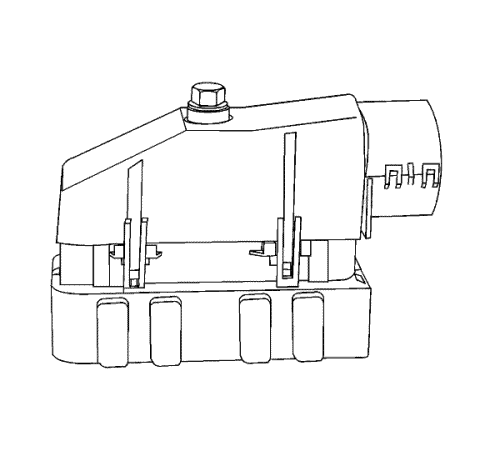
- For connectors with a bolt in the dress cover, turn the bolt anti-clockwise to remove the connector from the component.
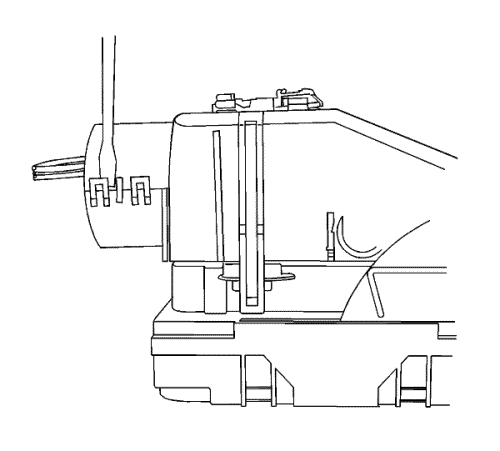
- Locate the connector position assurance (CPA) on the top of the wire dress cover. Slide the CPA forward.
- Slide the lever lock forward while pressing down on the lever lock release tab.
- View showing depressing of the lever lock release tab.
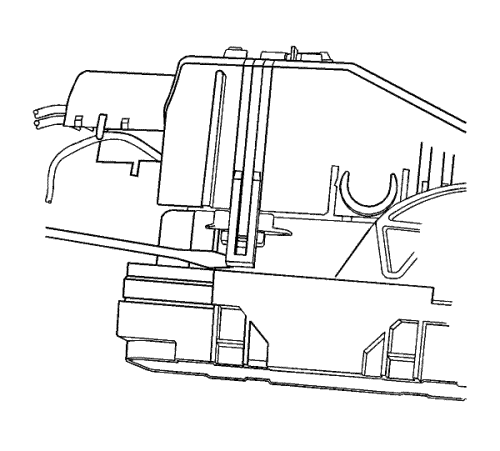
- View of connector in released position.
- Disconnect the connector from the component.
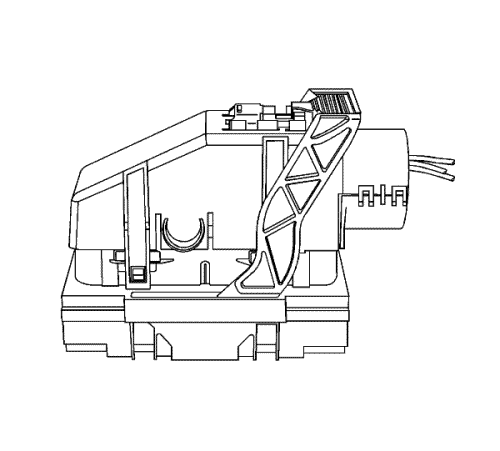
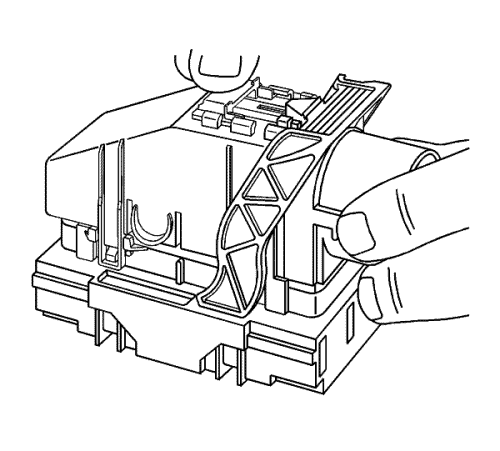
- Locate the dress cover locking tabs at the corners of the dress cover. Use a small flat-blade tool to release the locking tabs and remove the dress cover.
- Release the rear lower half of the wiredress cover.
- Release the tabs that are holding the wiredress cover to the connector body.
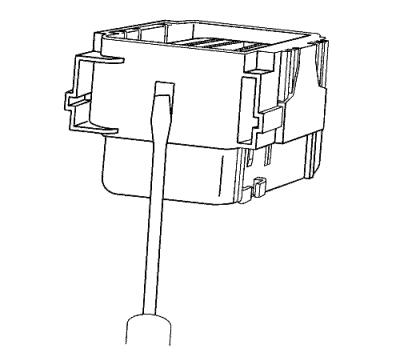
- Remove the nose piece by inserting a small flat-blade tool into the slots on both ends of the connector body. Gently prise the nose piece out of the connector. J-38125-216 can also be used to remove the nose piece.
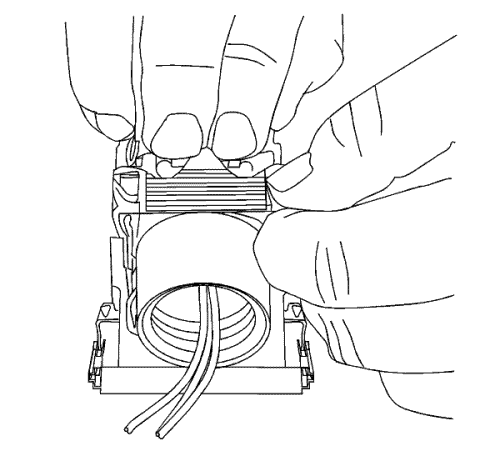
- Use the J-38125-12A tool to release the terminals by lifting the terminal retaining tabs on the inside of the connector.
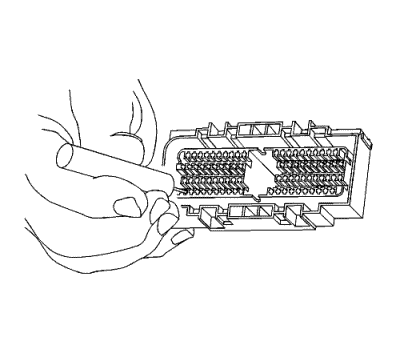
- While holding the removal tool in place, gently pull the wire out of the back of the connector. Always remember never use force when pulling a terminal out of a connector.
- Repair the terminal by following the
Repairing Connector Terminals : Terminated Lead Repair procedure.
- Insert the repaired terminal back into the cavity. Repeat the diagnostic procedure to verify the repair and reconnect the connector bodies.
| ©© Copyright Chevrolet. All rights reserved |


