Sump Replacement
Special Tools
EN-49980 Guidance Pins
For equivalent regional tools, refer to Special Tools .
Removal Procedure
- Remove the oil filter and drain the engine oil. Refer to Engine Oil and Oil Filter Replacement .
- Remove the catylitic converter. Refer to Catalytic Converter Replacement .
- Remove the heater inlet and outlet pipes. Refer to Heater Inlet And Outlet Pipe Replacement
- Remove the crankshaft pulley. Refer to Crankshaft Balancer Replacement .
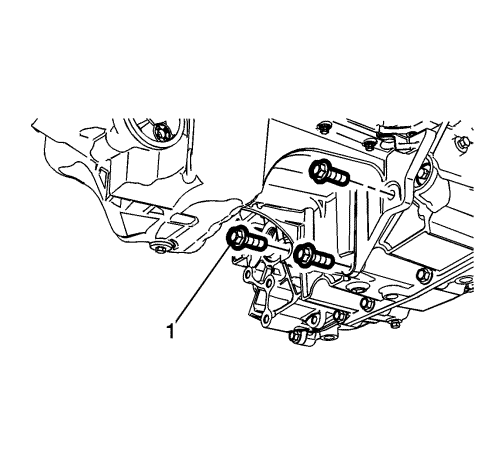
- Remove the sump to transmission bolts (1).
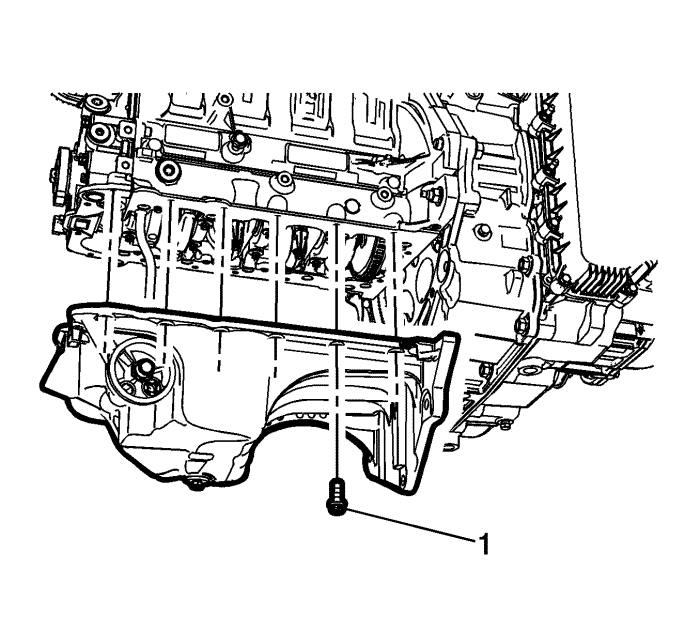
- Remove the oil sump bolts (1).
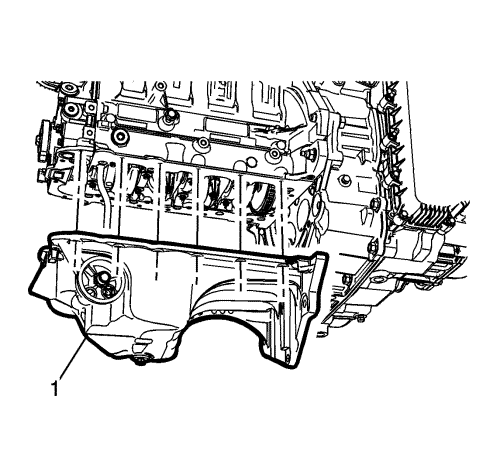
- Remove the sump.
Installation Procedure
- Clean the sealing surface of crankshaft bearing cap tie plate and the groove in the engine front cover from old gasket material, oil, dirt and grease.
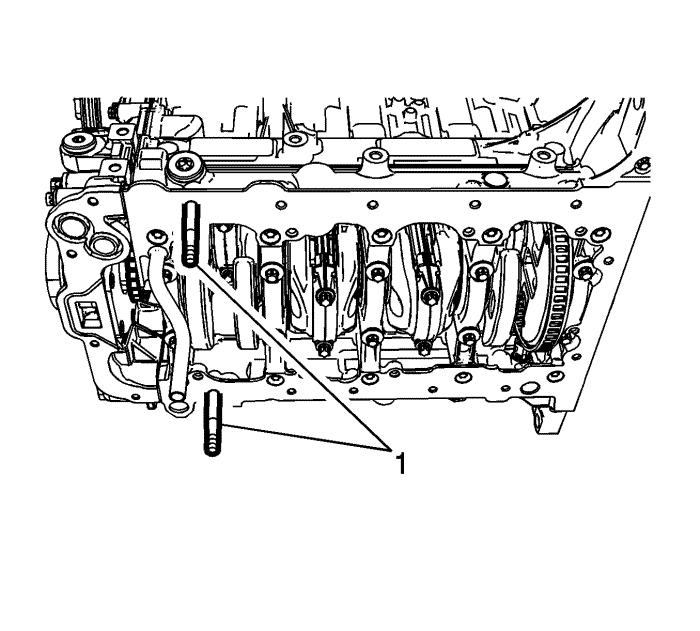
- Install the 2 EN-49980 guide pins (1) to the sump screw bores as shown.
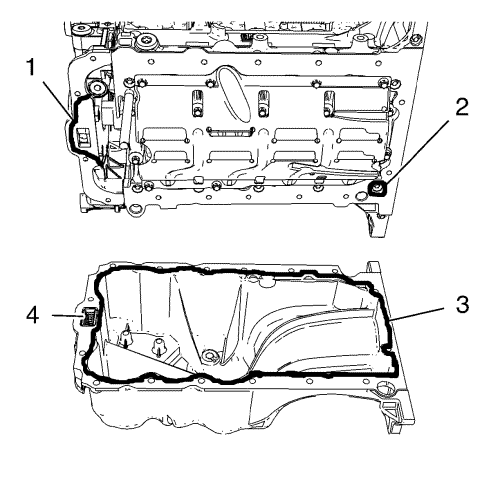
Note: The sealing bead should be applied close to the inner edge of the oil sump. Take care that the oil suction gallery (4) will not get contaminated with sealing compound or dirt.
- Apply 2 mm (0.0787 in) thickness of sealing compound (3, 2, 1).
Caution: Refer to Fastener Caution in the Preface section.

Note: The complete installation procedure of the oil sump should be done in 10 minutes.
- Loosely install the sump bolts (1) in all but the guide pin locations.
- Remove the EN-49980 guide pins and install the remaining sump bolts.
- Tighten the oil sump bolts to 10 N·m (89 lb in).
- Position the transmission converter cover and hand tighten the cover to transmission bolt.

- Install the sump to transmission bolts (1), and tighten to 40 N·m (30 lb ft).
- Install a NEW oil filter and fill the engine with oil. Refer to Engine Oil and Oil Filter Replacement .
- Install the catylitic converter. Refer to Catalytic Converter Replacement .
- Install the crankshaft pulley. Refer to Crankshaft Balancer Replacement .
- Install the heater inlet and outlet pipes, and refill the coolant system. Refer to Heater Inlet And Outlet Pipe Replacement
| © Copyright Chevrolet. All rights reserved |


