Captiva |
||||||||
|
|
|
|||||||
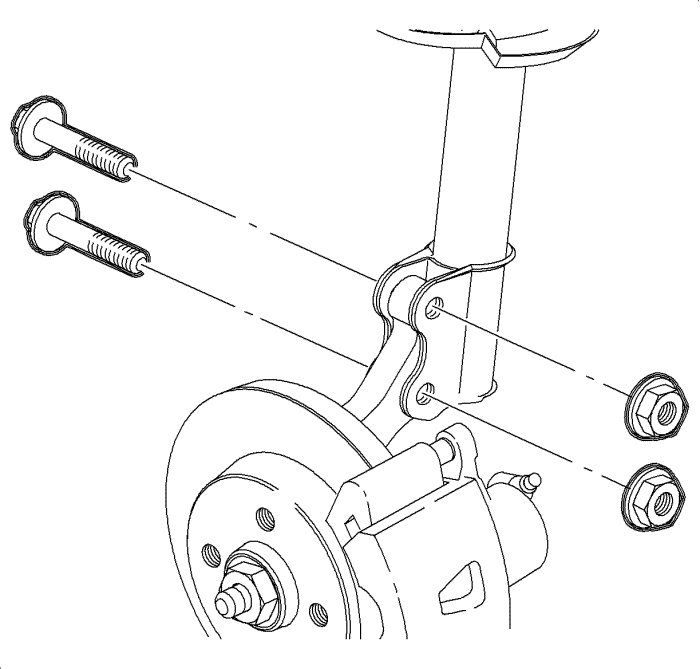

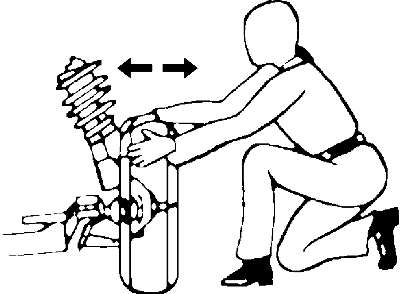
| 4.1. | Disconnect the strut from the knuckle. |
Note:
|
| 4.2. | If increasing negative camber, remove material from the outside of the lower strut hole. |
| 4.3. | If decreasing negative camber, remove material from the inside of the lower strut hole. |
Caution: Refer to Fastener Caution in the Preface section.
Tighten
Tighten the nuts and bolts to 180 N·m (133 lb ft).
| © Copyright Chevrolet. All rights reserved |


