Air Conditioning Clutch Coil Replacement
Removal Procedure
Warning: Refer to Battery Disconnect Warning in the Preface section.
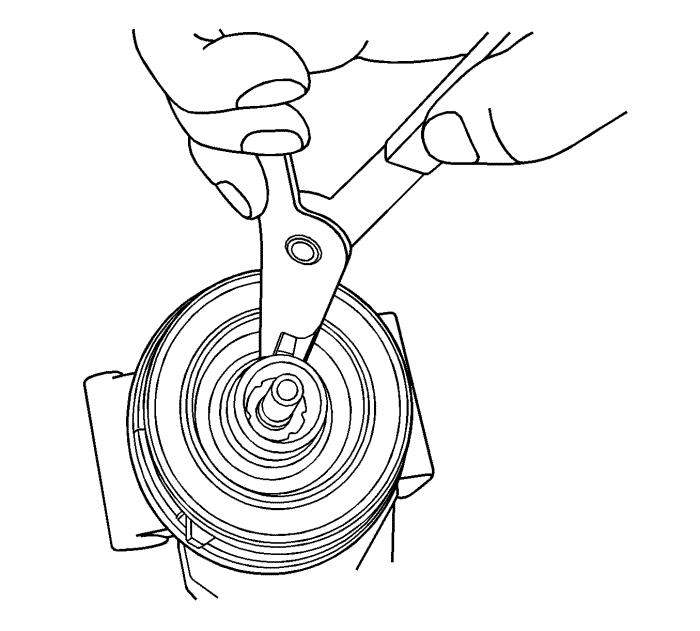
- Disconnect the negative battery cable. Refer to Battery Negative Cable Disconnection and Connection .
- Recover the refrigerant. Refer to Refrigerant Recovery and Recharging .
- Remove the compressor. Refer to
Air Conditioning Compressor Replacement : Diesel → V6 → 2.4L .
- Remove the clutch drive assembly. Refer to Air Conditioning Clutch Assembly Replacement .
- Remove the pulley and bearing assembly. Refer to Clutch Rotor and/or Bearing Replacement .
- Remove the circlip from the clutch coil.
- Remove the clutch coil from the compressor.
Installation Procedure
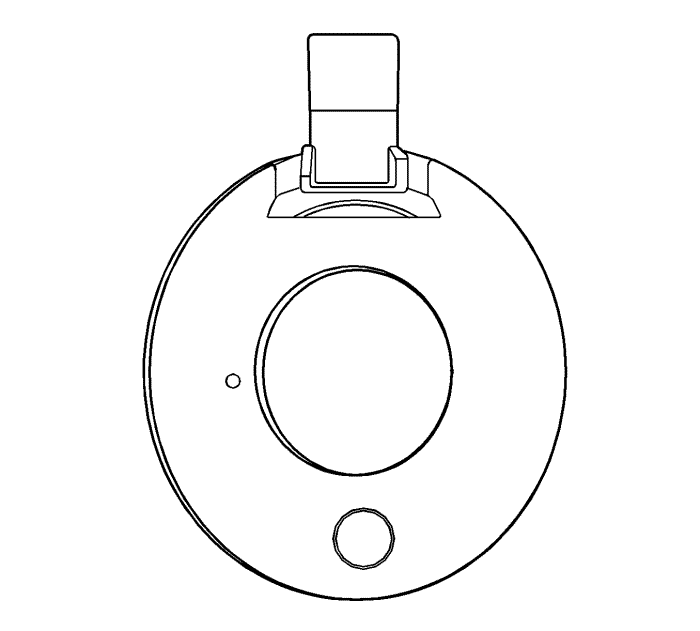
- Prior to assembly, ensure that the boss on the coil plate is in the locating slot on the compressor to secure the pump so that coil can not be rotated.
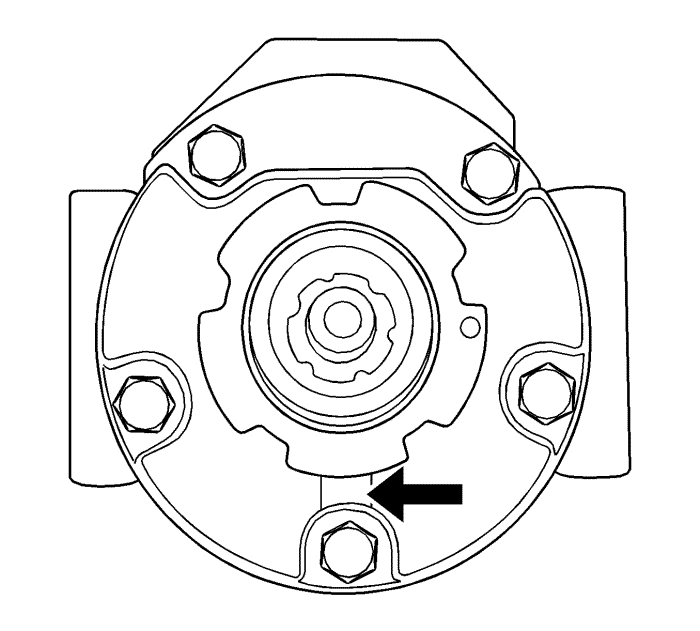
- The locating hole on the coil plate should be placed on the locating pin on the compressor to ensure that the coil can not be rotated. (VM Diesel only)
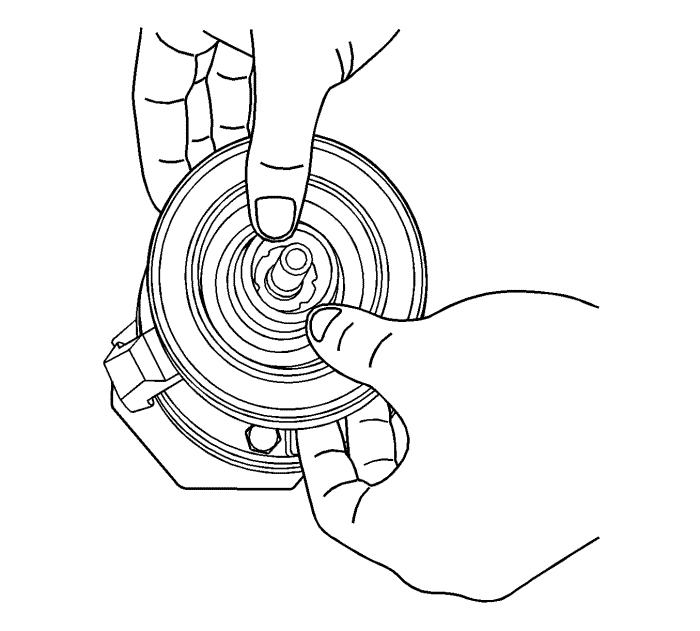
Note: The circlip can not be seated if the coil is not placed correctly.
- Install the clutch coil to the compressor.
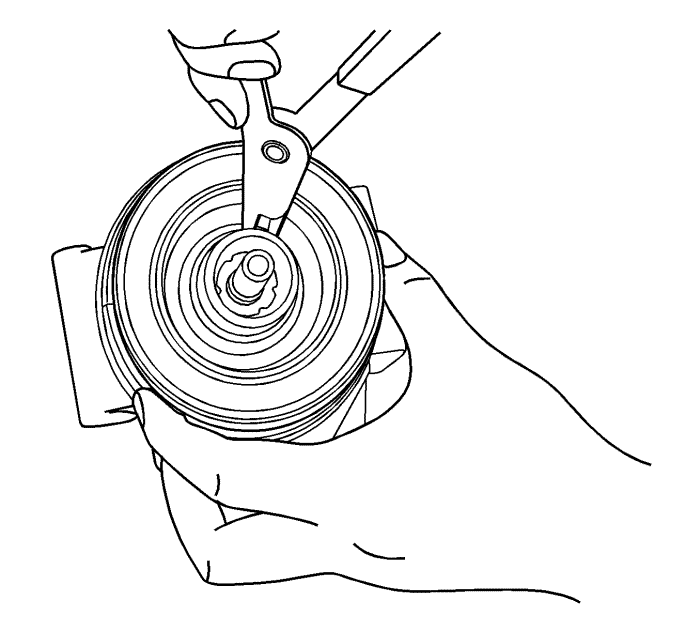
Note: Make sure that the chamfer edge side the circlip is on the upper side. After assembling, squeezing is required to make sure that the circlip was assembled correctly.
- Install the circlip to the clutch coil.
- Install the pulley and bearing assembly. Refer to Clutch Rotor and/or Bearing Replacement .
- Install the clutch drive assembly. Refer to Air Conditioning Clutch Assembly Replacement .
- Install the compressor. Refer to
Air Conditioning Compressor Replacement : Diesel → V6 → 2.4L .
- Connect the negative battery cable. Refer to Battery Negative Cable Disconnection and Connection .
- Recharge the A/C. Refer to Refrigerant Recovery and Recharging .
| © Copyright Chevrolet. All rights reserved |


