Coil Spring Replacement
Removal Procedure
- Raise and support the vehicle. Refer to Lifting and Jacking the Vehicle .
- Remove the rear tyre and wheel assembly. Refer to Tyre and Wheel Removal and Installation .
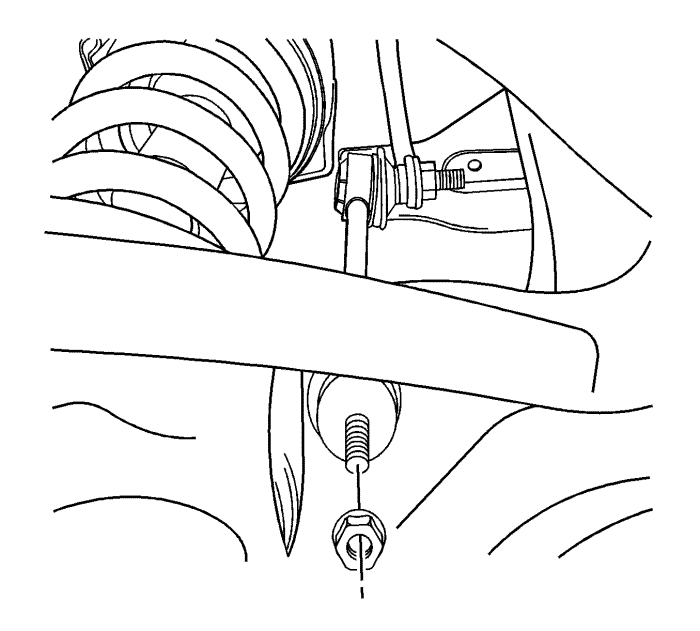
Note: Hold the link with a wrench during nut removal.
- Remove the stabilizer link to lower control arm nut.
Warning: To prevent personal injury and/or component damage, use the proper tools to support the lower control arm when removing the coil spring. The coil spring is under extreme pressure and can become a projectile should the spring separate from the lower control arm before all of the tension is relieved.
- Place a screw-type jack under the lower control arm.
- Using the jack, compress the coil spring.
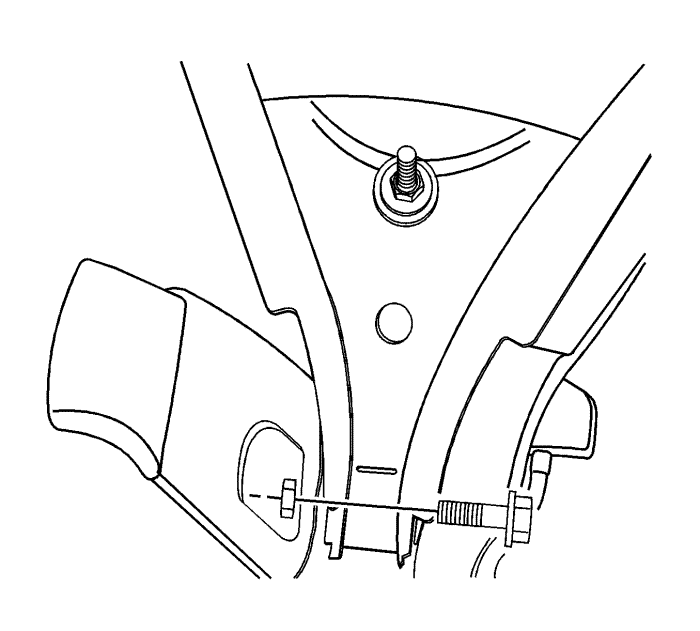
- Remove the lower shock bolt.
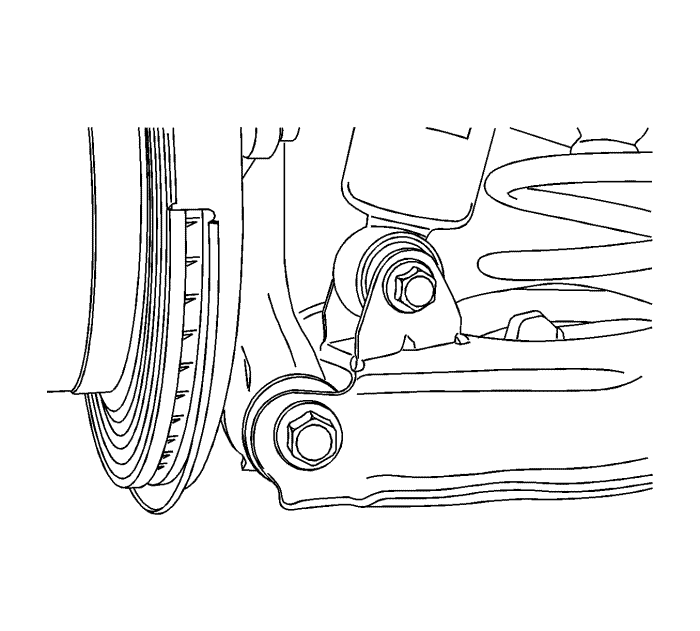
- Loosen the lower control arm to support frame bolt.
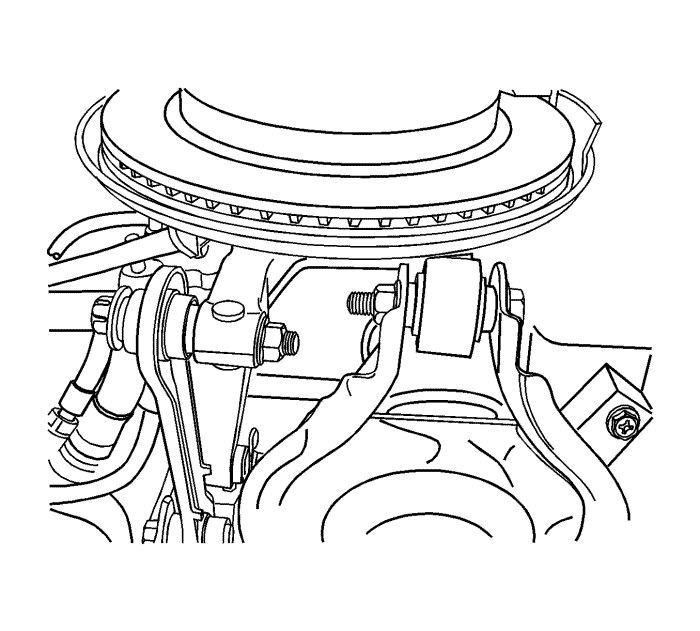
- Remove the lower control arm to knuckle nut and bolt.
- Lower the control arm in order to unload the coil spring.
- Remove the coil spring and the insulators.
Installation Procedure

- Fully seat the top and bottom insulators to the coil spring.
- Install the coil spring with the insulators to the lower control arm.
- Using the screw type jack under the lower control arm, compress the coil spring.
Caution: Refer to Fastener Caution in the Preface section.
- Install the knuckle to the lower control arm and tighten.
| • | The lower control arm to knuckle bolt to 160 N·m (118 lb ft). |
| • | The lower control arm to support nut and bolt. |
| • | The bolt to 110 N·m (81 lb ft). |
- Install the shock to the lower control arm and tighten to 110 N·m (81 lb ft).
- Remove the jack.
Note: Hold the link with a wrench during nut installation.
- Install the stabilizer link to the lower control arm and tighten to 15 N·m (11 lb ft).
- Install the rear tyre and wheel assembly. Refer to Tyre and Wheel Removal and Installation .
- Lower the vehicle.
| © Copyright Chevrolet. All rights reserved |


