Intermediate Steering Shaft Replacement
Removal Procedure
Caution: With wheels of the vehicle facing straight ahead, secure the steering wheel utilizing steering column anti-rotation pin, steering column lock, or a strap to prevent rotation. Locking of the steering column will prevent damage and a possible malfunction of the SIR system. The steering wheel must be secured in position before disconnecting the following components:
| • | The intermediate shaft(s) |
Note: The left-hand drive model is shown. The right-hand drive model is similar.
- With the front wheels in the straight ahead position, turn the ignition switch to the OFF position and remove the key from the ignition lock cylinder.
- Rotate the steering wheel in order to lock the steering column.
- Raise and support the vehicle. Refer to Lifting and Jacking the Vehicle .
- Remove the left front tyre and wheel assembly. Refer to Tyre and Wheel Removal and Installation .
- Ask an assistant to unlock, rotate, and hold the steering wheel in order for you to access the intermediate steering shaft lower bolt.
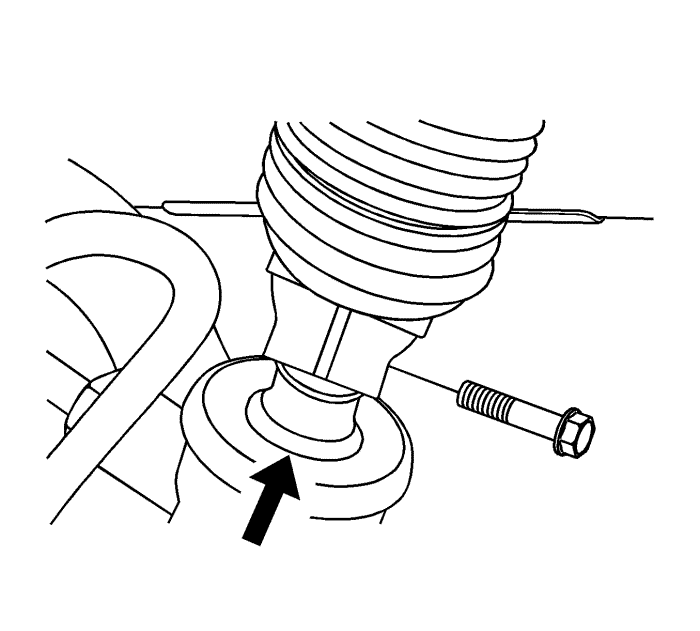
- Use paint in order to place a match mark on the steering gear pinion shaft housing that lines up with the groove on the intermediate steering shaft lower coupling.
- Remove the intermediate steering shaft lower bolt.
- Disconnect the intermediate steering shaft from the steering gear pinion shaft.
- Ask an assistant to lock the steering column in the straight-ahead position.
- Disengage the intermediate steering shaft seal from the floor.
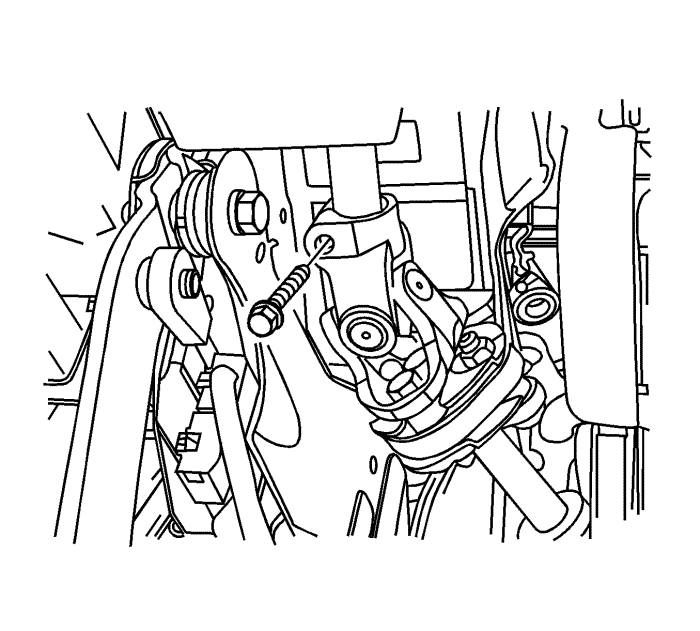
- Use paint in order to place match marks on the intermediate steering shaft and on the steering column shaft.
- Remove the intermediate steering shaft upper bolt.
- Disconnect the intermediate steering shaft from the steering column shaft.
- Remove the intermediate steering shaft with the seal from the vehicle.
Installation Procedure
- If you are replacing the intermediate steering shaft, copy the match marks from the old intermediate steering shaft to the new intermediate steering shaft.
Note: Ensure the steering wheel is in the straight-ahead position.
- Position the intermediate steering shaft with the seal in the vehicle.
- Align the match marks and connect the intermediate steering shaft to the steering column shaft.
Caution: Refer to Fastener Caution in the Preface section.
- Install the intermediate steering shaft upper bolt and tighten to 22 N·m (16 lb ft).
- Install the intermediate steering shaft seal to the floor.
- Align the match marks and connect the intermediate steering shaft to the steering gear pinion shaft.
- Ask an assistant to unlock, rotate, and hold the steering wheel in order for you to access the intermediate steering shaft lower bolt.
Note: When installing the intermediate steering shaft lower bolt, ensure the bolt goes through the universal joint on the side of the stub shaft with the notch.
- Install the intermediate steering shaft lower bolt and tighten to 25 N·m (18 lb ft).
- Ensure the steering column and the steering gear are in the straight-ahead position.
- Install the left front tyre and wheel assembly. Refer to Tyre and Wheel Removal and Installation .
- Lower the vehicle.
| © Copyright Chevrolet. All rights reserved |


