To the top of the document
Captiva
   
GMDE Start Page Load static TOC Load dynamic TOC Help?

Frame Replacement

Removal Procedure

  1. Install the engine support fixture. Refer to Engine Support Fixture
  2. Raise and suitably support the vehicle and remove the wheels. Refer to Lifting and Jacking the Vehicle and Tyre and Wheel Removal and Installation .

  3. 1768764
  4. Remove the engine shield from the under body of the vehicle. Refer to Engine Shield Replacement .

  5. 1768738
  6. Remove the front control arm ball joint to knuckle nut and pin.
  7. Remove the front exhaust pipe assembly. Refer to Front Pipe Replacement : LNQ  → LF1  → LE5 .
  8. In case of 4-wheel drive vehicle, remove the propeller shaft.

  9. 1768768
  10. Remove the outer track rod to knuckle nut.
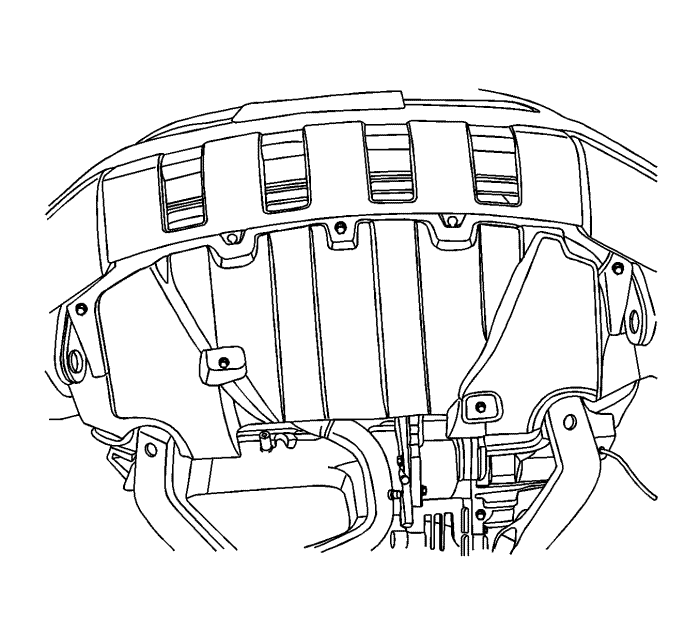
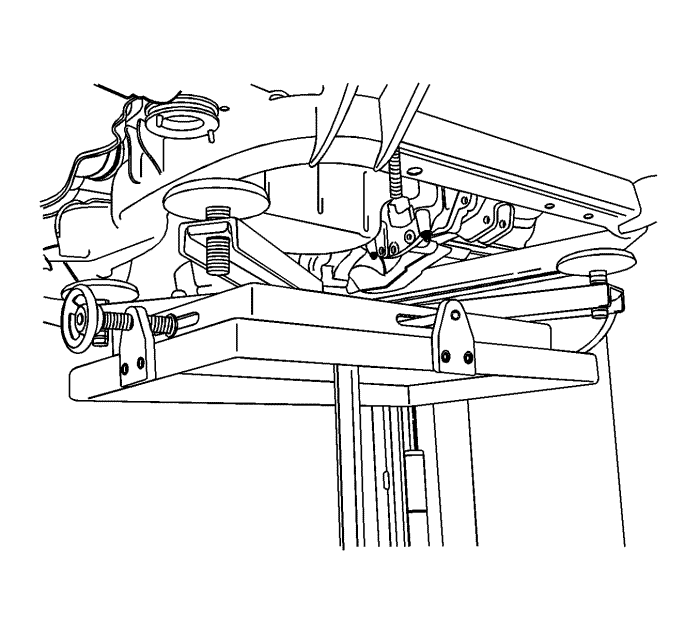
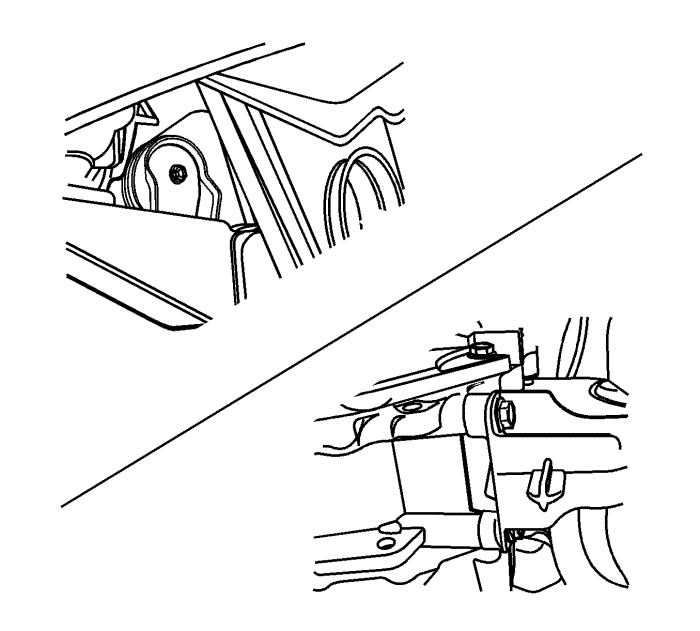
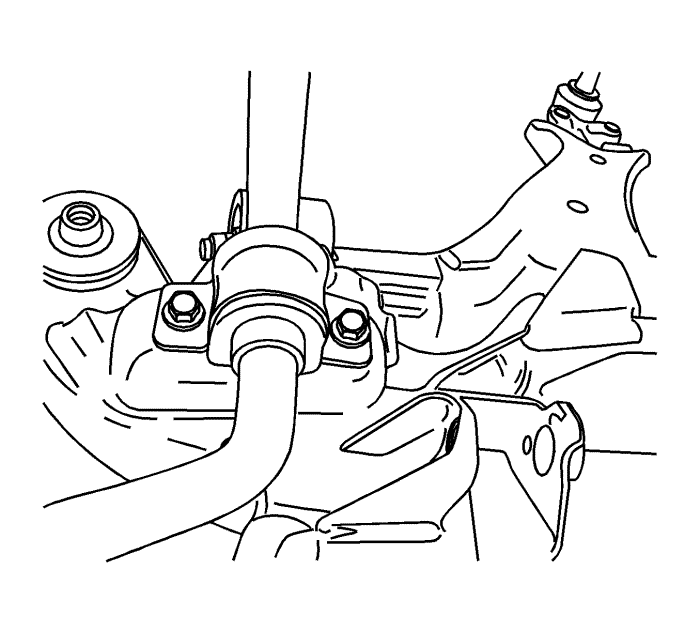
  11. Note : Do not allow the radiator to swing after removing the front suspension crossmember. The upper part of the radiator should be fixed using strings.

  12. Remove the stabiliser shaft link to strut nut.

  13. 1768774
  14. Remove the power steering gear to front suspension crossmember bolts.
  15. Support the front suspension crossmember by a jack stand.

  16. 1768778
  17. Remove the front suspension crossmember to transmission rear mount bracket bolts.

  18. 1768805
  19. Remove the transmission front mount to front suspension crossmember bolt and remove the mount.

  20. 1768827
  21. Remove the front suspension crossmember to body bolts.

  22. 1768831
  23. Remove the front suspension crossmember support bracket to body bolts.
  24. Lower the front suspension crossmember slowly with care. Rotate the stabiliser shaft and track rod properly to have enough space during lowering the cradle.

  25. 1768834
  26. Remove the stabiliser shaft clamp to front suspension crossmember bolts.
  27. Remove the control arm to front suspension crossmember bolts and nuts. Refer to Lower Control Arm Replacement .
  28. .

Installation Procedure


    1768838
  1. Install the front control arm to front suspension crossmember bolts and nuts. Refer to Lower Control Arm Replacement .
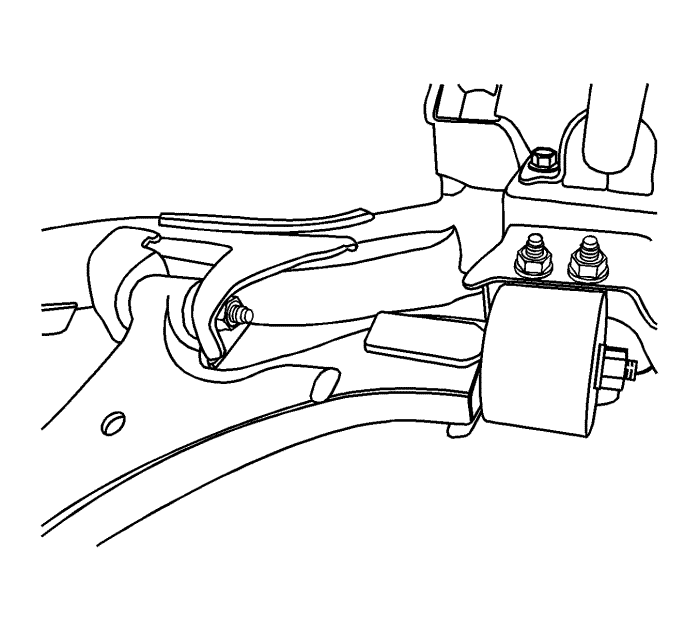
  2. Caution : Refer to Fastener Caution in the Preface section.
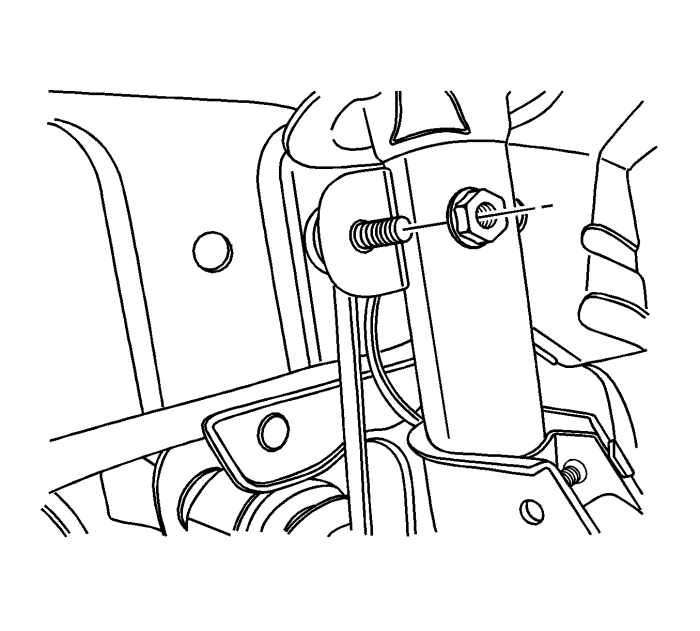
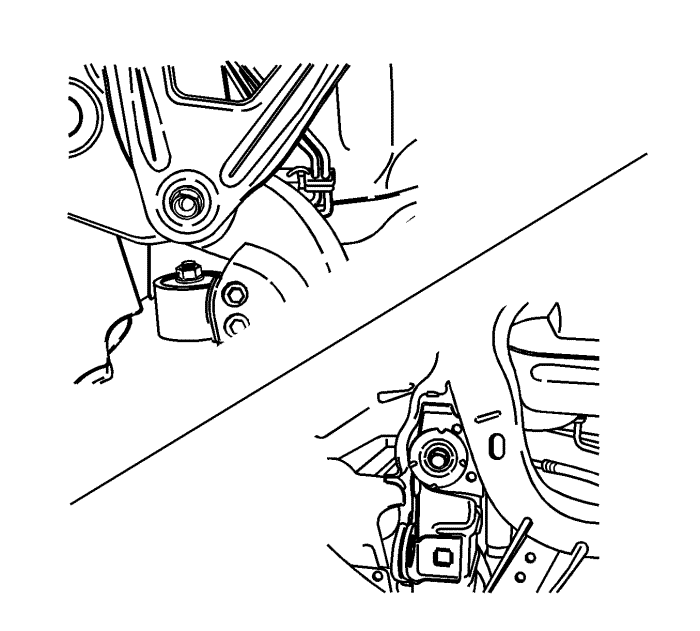

    1768834
  3. Install the stabiliser shaft clamp to front suspension crossmember bolts and tighten to 50 N·m (37 lb ft).

  4. 1768831
  5. Raise the front suspension crossmember slowly with care using a jack stand. Rotate the stabiliser shaft and track rod properly to settle the front suspension crossmember in the correct position.
  6. Install the front suspension crossmember support bracket and front suspension crossmember to body bolts.
  7. • Tighten the front suspension crossmember to body bolts to 155 N·m (114 lb ft).
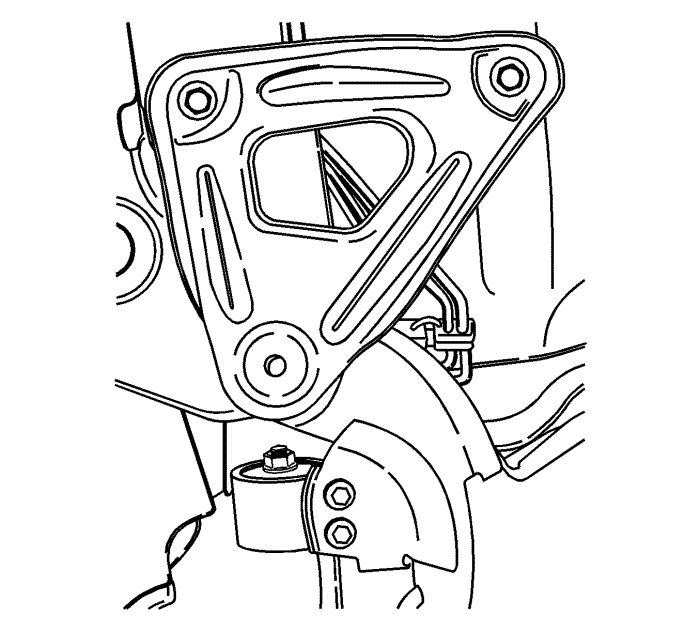
    • Tighten the front suspension crossmember support bracket to body bolts to 50 N·m (37 lb ft).
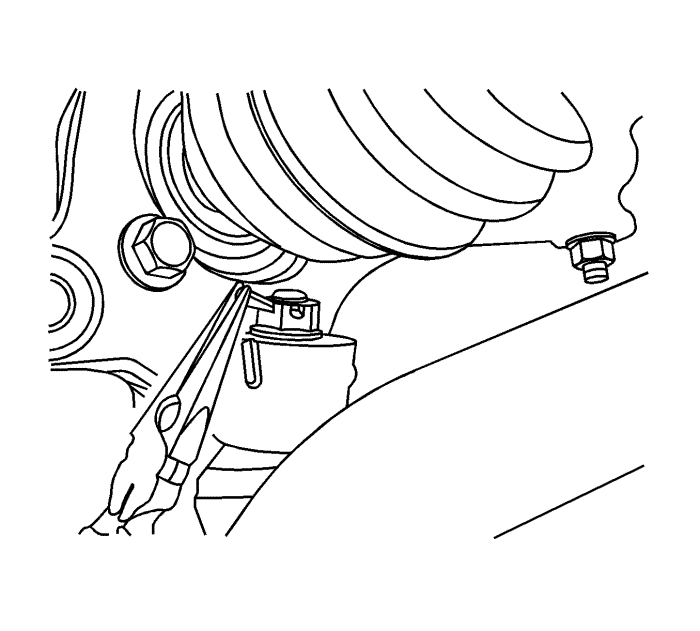
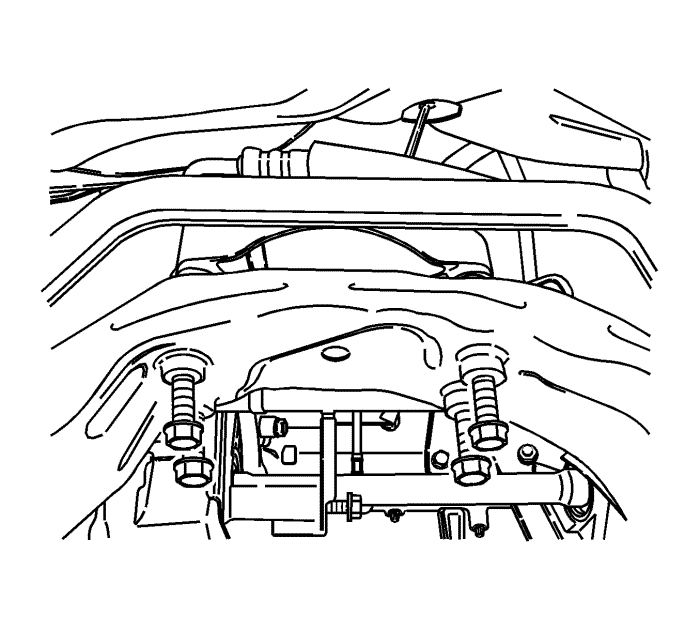
    1768778
  8. Install the front suspension crossmember to transmission rear mount bolts and tighten to 110 N·m (81 lb ft).

  9. 1768805
  10. Install the transmission front mount and install the front suspension crossmember to transmission front mount bolt.
  11. • Tighten the transmission front mount to transmission bolts to 50 N·m (37 lb ft).
    • Tighten the front suspension crossmember to transmission front mount bolt to 110 N·m (81 lb ft).

    1768774
  12. Install the power steering gear to front suspension crossmember bolts and tighten to 110 N·m (81 lb ft).

  13. 1768768
  14. Install the stabiliser shaft link to strut nut and tighten to 65 N·m (48 lb ft).
  15. Install the track rod to knuckle nut and tighten to 50 N·m (37 lb ft).

  16. 1768738
  17. Install the front exhaust pipe assembly. Refer to Front Pipe Replacement : LNQ  → LF1  → LE5 .
  18. Install the front control arm ball joint to knuckle nut and pin. Refer to Lower Control Arm Replacement .

  19. 1768764
  20. Install the engine shield to the under body of the vehicle. Refer to Engine Shield Replacement .
  21. Install the wheels. Refer to Tyre and Wheel Removal and Installation .
  22. Lower the vehicle.
  23. Remove the engine support fixture.


© Copyright Chevrolet. All rights reserved