Captiva |
||||||||
|
|
|
|||||||
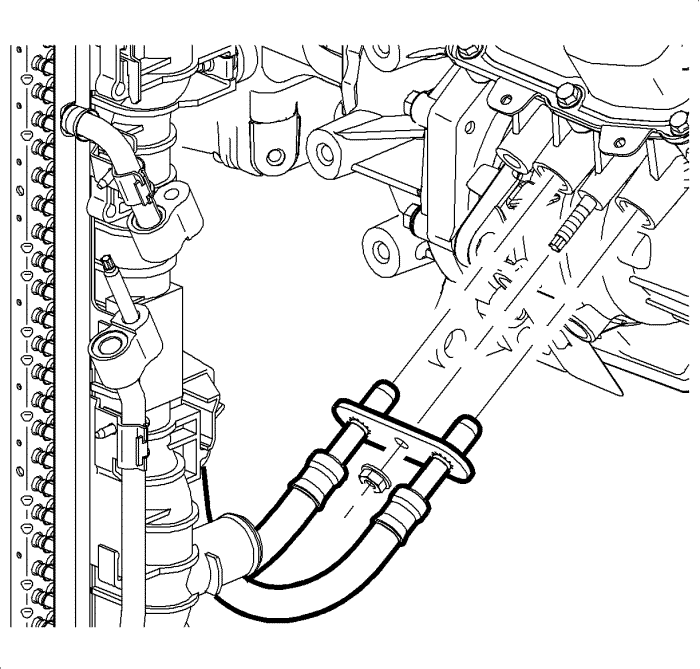
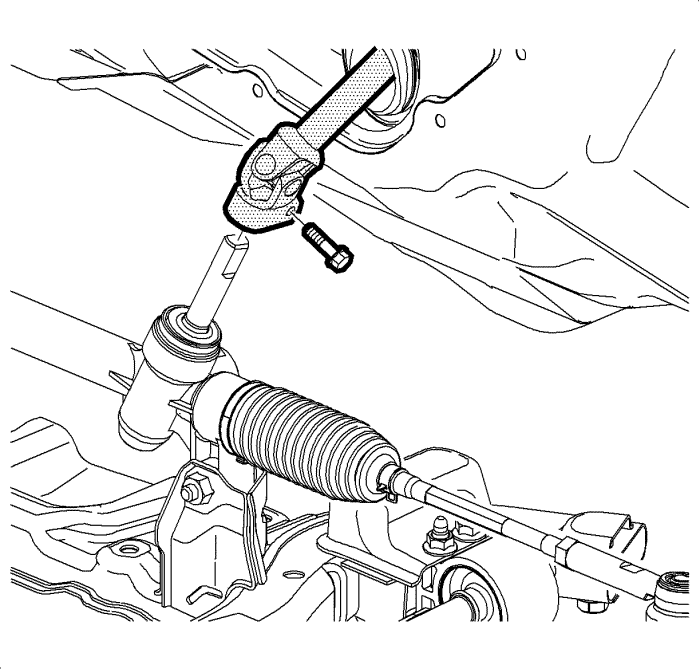
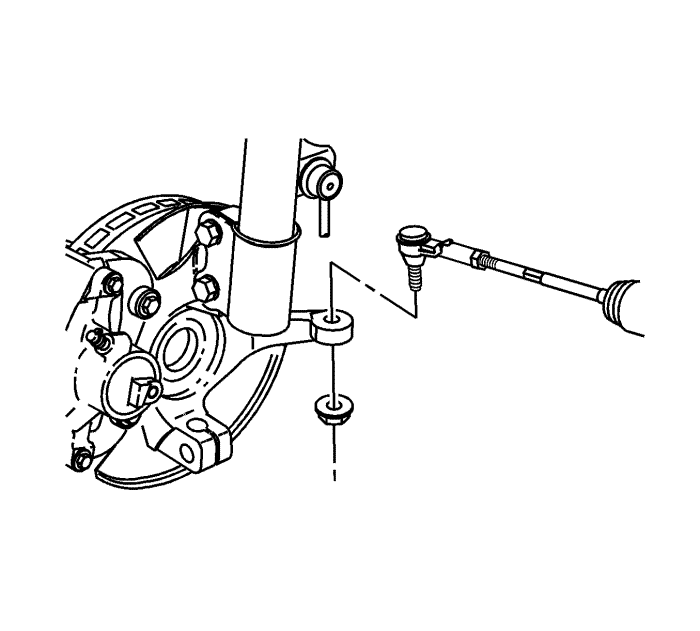
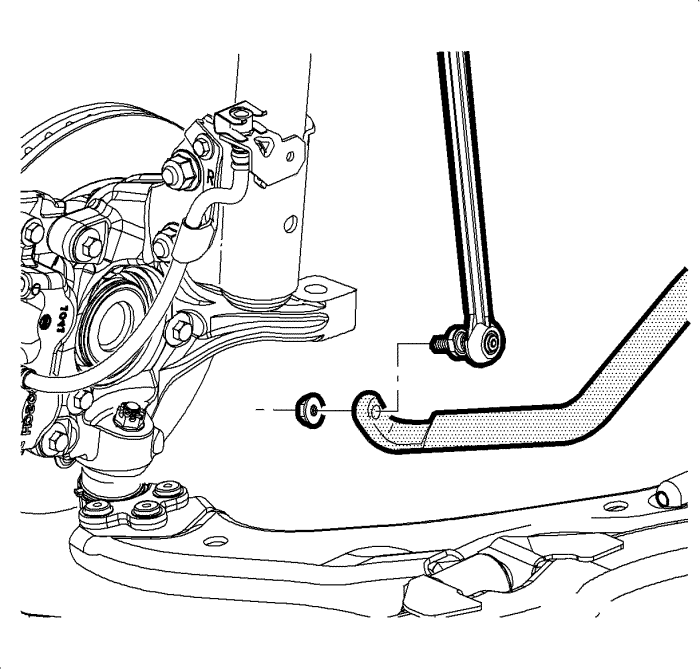
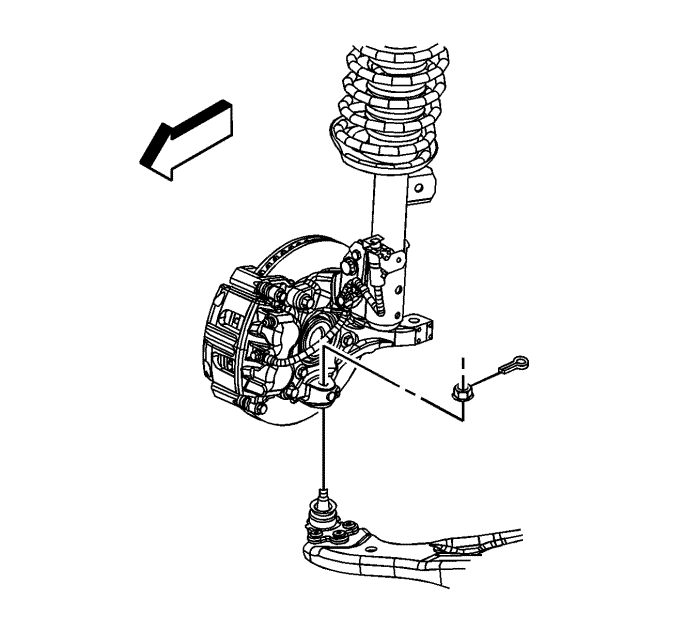
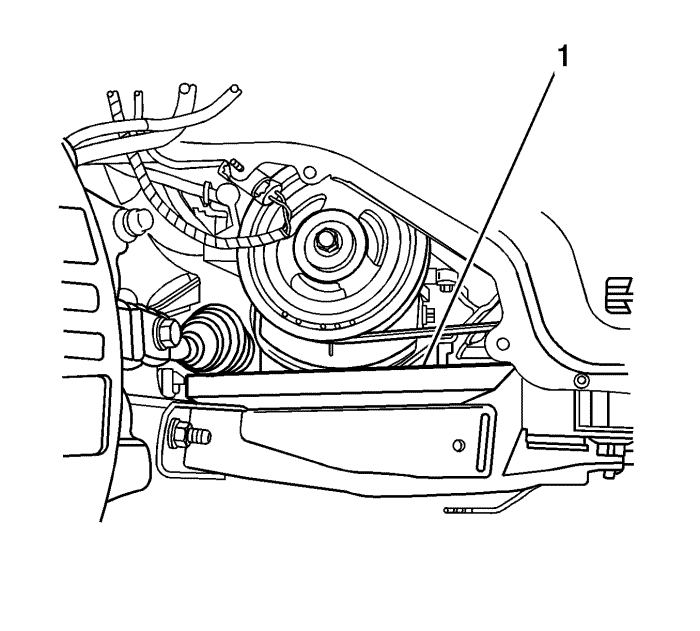
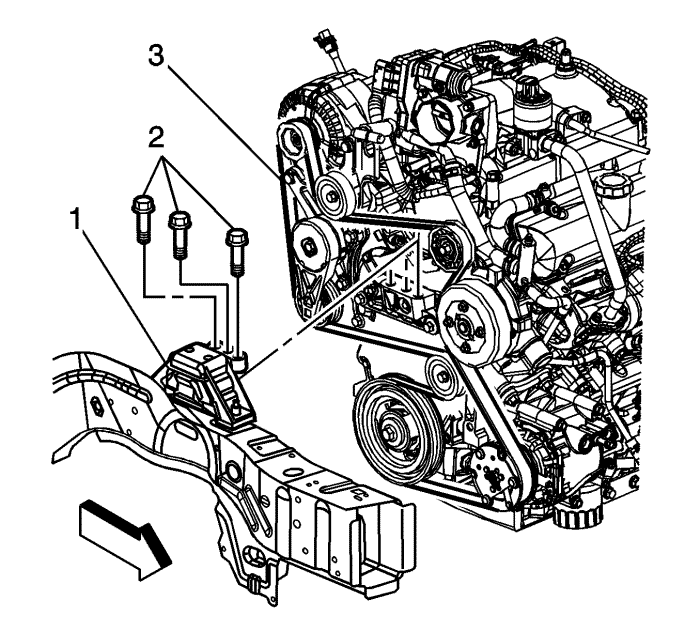
Note: Ensure the vehicle body is secured to the hoist.
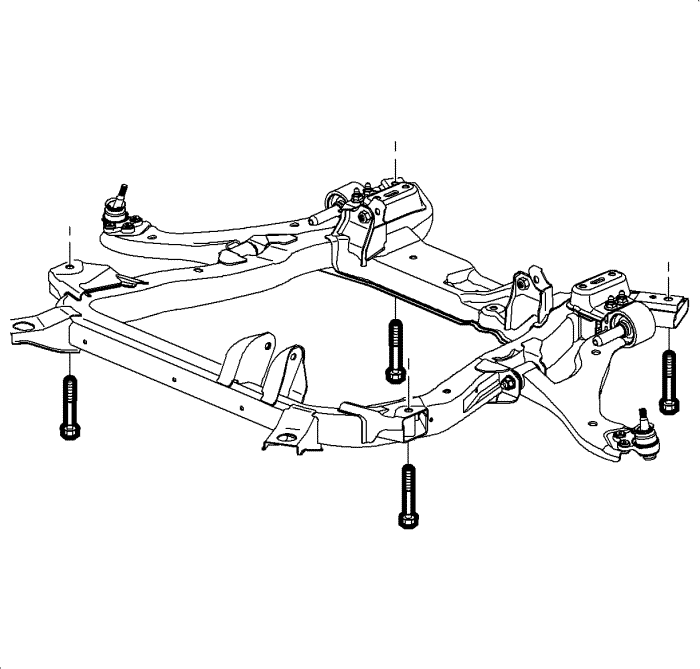
Note: Inspect for areas of body to powertrain contact or entanglement of wires and hoses while separating the vehicle body and powertrain.
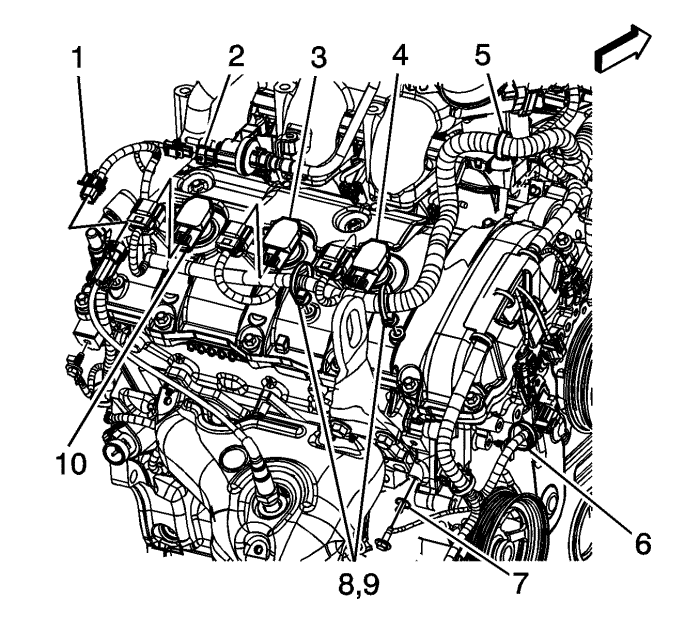
| • | Oxygen sensor (1) |
| • | EVAP purge solenoid (2) |
| • | Ignition coils (3, 4, 10) |
| • | Ground leads (7, 11) |
| • | Remove wire harness from retainers (5, 6, 8, 9) |
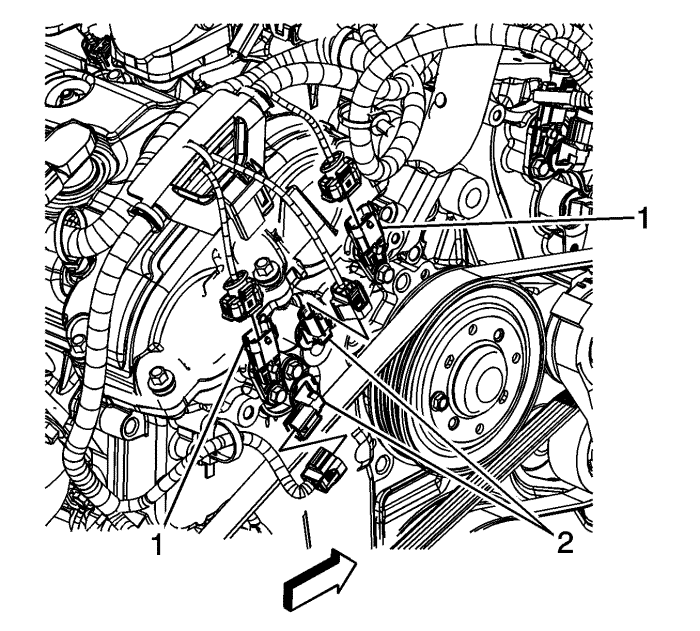
| • | Camshaft position sensors (1) |
| • | Camshaft position actuators (2) |
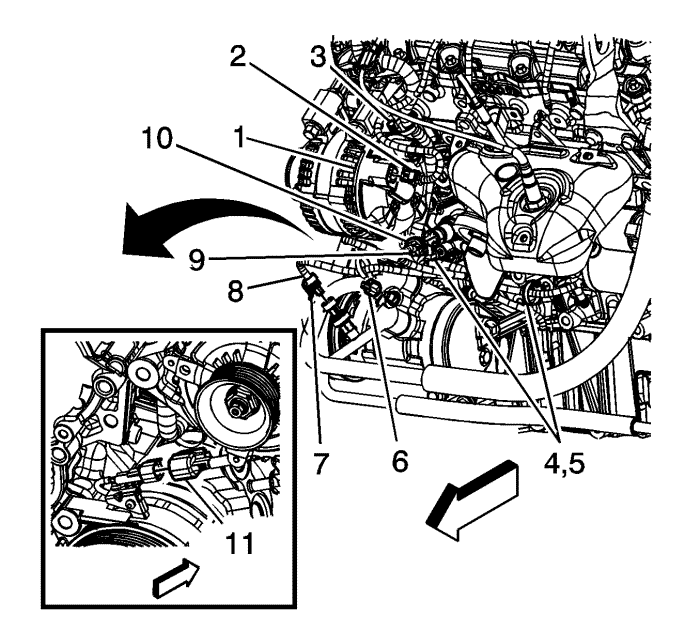
| • | Alternator (1) |
| • | Retainer clips (2, 3, 4, 5, 6, 7, 9) |
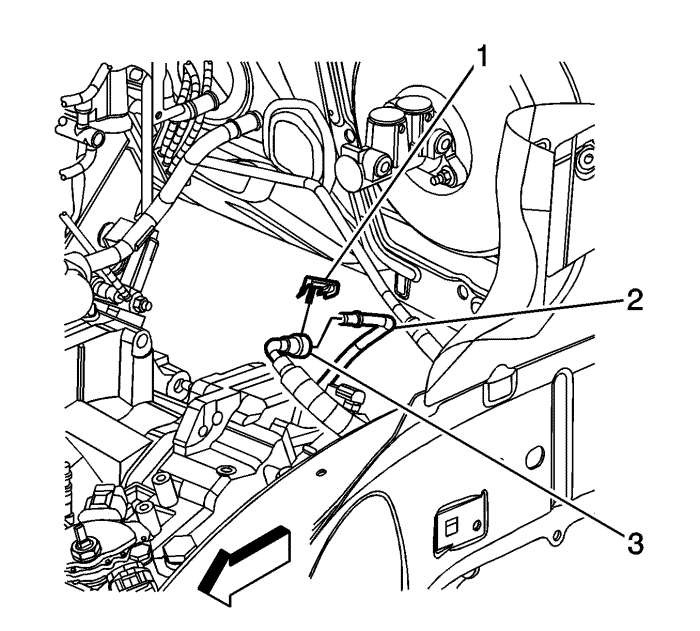
| • | A/C compressor hose (8) |
| • | Oil pressure switch (10) |
| • | A/C compressor (8) |
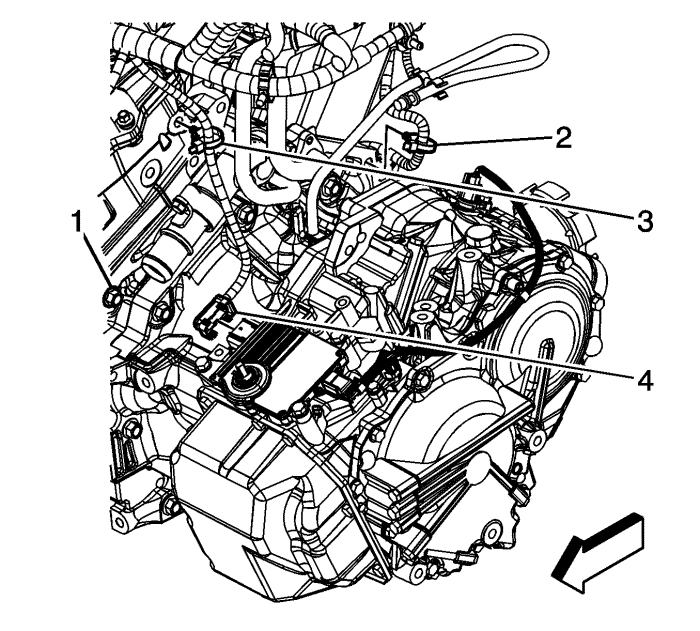
| • | Battery cable (1) |
| • | Retainer clips (2, 3) |
| • | Transmission module (4) |
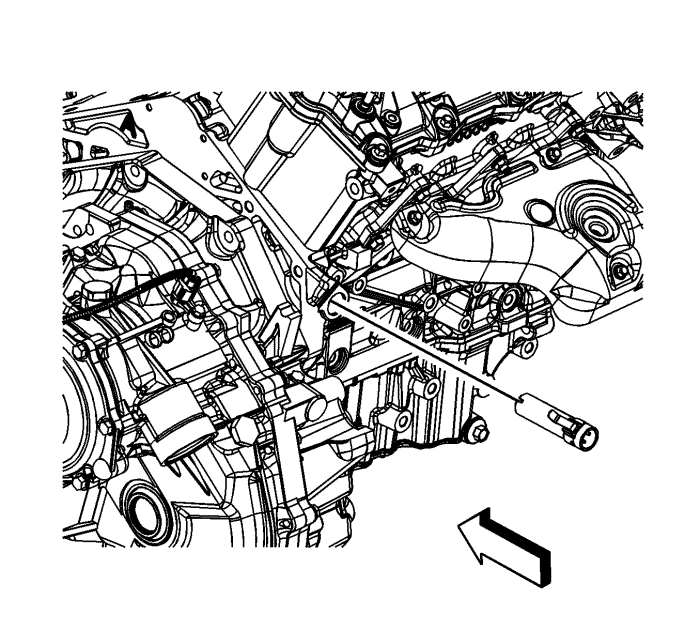
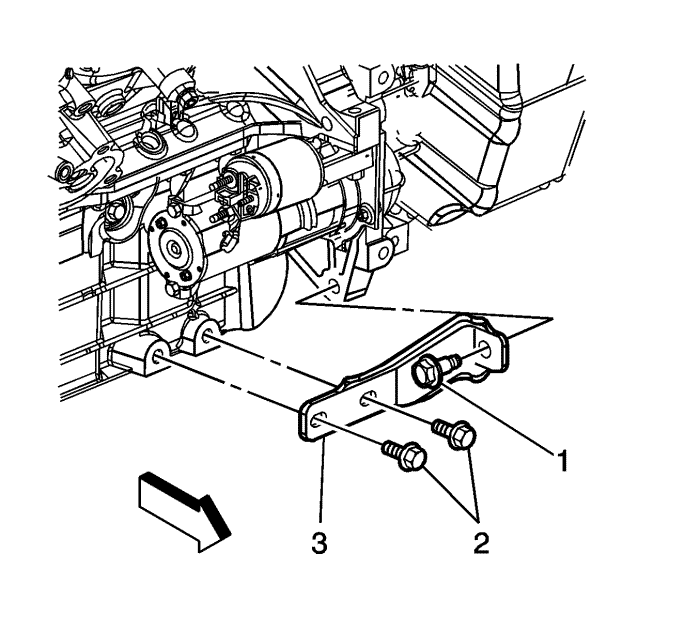
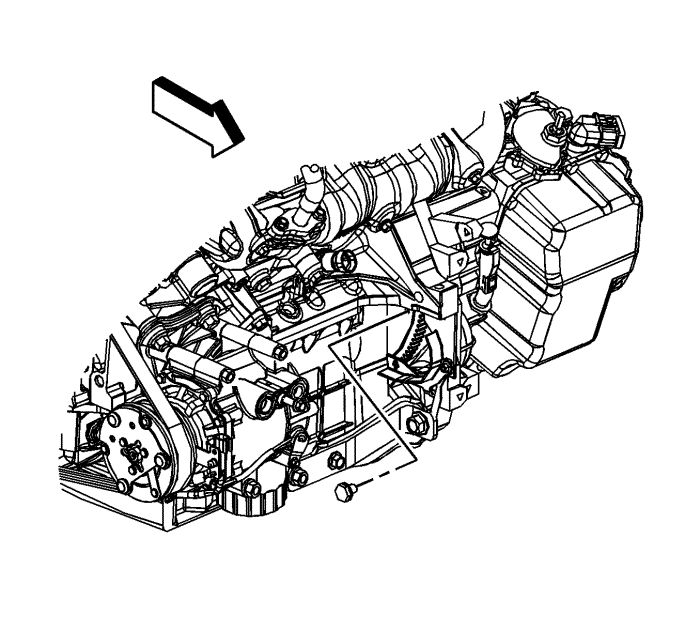
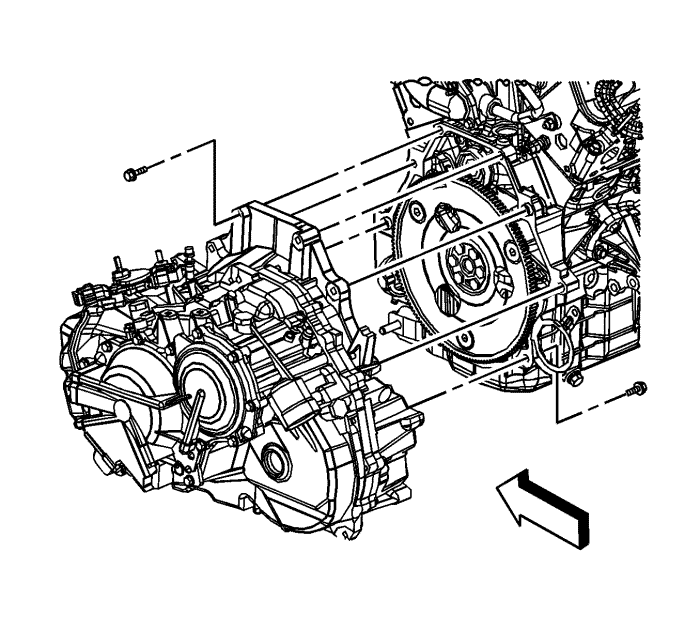

Caution: Refer to Fastener Caution in the Preface section.


| • | Transmission module (4) |
| • | Retainer clips (3, 2) |
| • | Battery cable (1) |
| Tighten the bolt to 25 N·m (18 lb ft). |

| • | A/C compressor (8) |
| • | Oil pressure switch (10) |
| • | A/C compressor hose (8) |
| • | Retainer clips (2, 3, 4, 5, 6, 7, 9) |
| • | Alternator (1) |
| Tighten the nut to 13 N·m (115 lb in). |

| • | Camshaft position actuators (2) |
| • | Camshaft position sensors (1) |

| • | Install wire harness to retainers (5, 6, 8, 9) |
| • | Ground leads (7, 11) |
| • | Ignition coils (3, 4, 10) |
| • | EVAP purge solenoid (2) |
| • | Oxygen sensor (1) |


| 55.1. | Cycle the ignition ON for 5 seconds then OFF for 10 seconds. Repeat cycling twice. |
| 55.2. | Crank the engine until it starts. The maximum starter motor cranking time is 20 seconds. |
| 55.3. | If the engine does not start, repeat the steps. |
| © Copyright Chevrolet. All rights reserved |